Tu carrito está vacío
Envío gratis a partir de $150 (No incluye productos de gran tamaño)
Envío gratis a partir de $150 (No incluye productos de gran tamaño)
Bandas de lijado
Discos de lijado

How to Properly Use a Drum Sander
por David Kranker 11 lectura mínima

Quick Summary
A drum sander helps you smooth and level wide boards, glued panels, and veneers. To use it correctly, you need to set up the machine carefully, select the right abrasive grit, install your sanding strip, and feed each board with a steady speed and proper alignment. Always sand with the grain, use gradual grit sequences, and avoid removing too much material in one pass. Keep the machine clean by clearing dust, checking belt tracking, and inspecting the drum after each use. Use open-coat aluminum oxide for general woodworking and zirconia when working with harder materials. Red Label Abrasives provides high-quality sanding wraps and rolls that hold up under heat, pressure, and extended use.
A drum sander is a machine that uses a rotating drum wrapped in sandpaper to remove surface material from wood panels and boards. Strong yet versatile, they’re frequently used in woodworking shops and furniture production factories to flatten stock, eliminate glue lines, and prepare surfaces for finishing. Unlike planers, which are designed for rapid material removal, drum sanders are primarily for finishing and surface preparation.
While drum sanders are invaluable for woodworking projects, using them incorrectly can lead to issues like uneven sanding, burn marks, or rapid abrasive wear. In this guide on how to properly use a drum sander, the team at Red Label Abrasives will outline how to set up your machine, choose the right abrasives for your project, and achieve quality results.
What Is a Drum Sander and What Does It Do?
As we explained above, a drum sander is a stationary machine that smooths and levels wood surfaces by passing material under a rotating drum covered with abrasive paper. The drum spins at high speed while the conveyor belt or feed rollers move the wood beneath it. Each pass removes a controlled amount of material, allowing you to flatten wide boards and get surfaces ready for final finishing.
Drum sanders come in two main types: open-ended and closed-ended:
- Open-Ended:With open-ended drum sanders, you feed the workpiece through one side, then turn it around and feed it through the other side. This way, you can sand pieces of wood that are wider than the drum itself. They are particularly useful for reducing the amount of hand sanding required on large or uneven surfaces and can even be used to prepare delicate pieces like scrollwork or veneers.
- Closed-Ended:With a closed-ended drum sander, the drum is enclosed at both ends, so you have to feed the workpiece through from one end to the other. This enclosed structure provides more stability and prevents the drum from flexing or deflecting, leading to more consistent sanding results. Many closed-ended drum sanders incorporate dual drums, which can expedite the sanding process and simplify adjustments.
You don’t use a drum sander for rough dimensioning: that’s a job for a planer. Instead, drum sanders are best suited for cleaning up planed boards, removing surface defects, and refining glued panels after clamp-up. They can also handle delicate materials like veneers when set properly with fine-grit abrasives. While they’re slower than planers, they let you finish surfaces without gouging, chipping, or splintering the wood.
Choosing the Right Drum Sander for Your Project
Before you begin sanding, you need to select a machine that fits the scale and type of work you're doing. Depending on the project, you may need to use a benchtop model instead of a floor-standing unit, or vice versa.
Benchtop Drum Sander
A benchtop drum sander is compact, lightweight, and designed for smaller-scale tasks. These machines, which typically have drums between 10 and 16 inches wide, are well-suited for narrow panels, cabinet parts, and cutting boards. If you work in a limited space or need to move your tools between jobs, a benchtop model gives you portability without sacrificing control. They do have size limitations, so they're best for short pieces or narrower stock.
Floor-Standing Drum Sander
A floor-standing drum sander is heavier, more powerful, and built for large or frequent sanding jobs. These machines can handle wider panels (often up to 25 inches) and maintain consistent results across longer boards. They usually feature stronger motors, adjustable feed speeds, and stronger components. If you build furniture, fabricate large glue-ups, or prepare hardwood flooring, a floor-standing model can handle the volume and scale your work demands.
If you're planning a one-time project, renting might be enough. But if sanding wide material is a regular part of your work, owning a well-built machine saves time and improves results. Before you choose, make sure the sander matches your shop's electrical capacity and can connect to your dust collection system.
Drum Sander Safety Basics
Before using a drum sander, you need to make sure the machine is ready and your workspace is clear: many safety issues happen because of rushed setup or skipped checks. A few basic precautions can prevent damage to the machine, protect your material, and keep you safe while sanding.
- Inspect the Machine Before Use:Check that the power cord is intact and that the drum is raised above the conveyor belt. Once you've confirmed, attach the dust collection hose firmly to prevent dust from escaping during operation.
- Clear the Work Area:Remove tools, offcuts, and cords from both the infeed and outfeed zones to allow smooth material movement. Keeping this area clean helps prevent tripping hazards and reduces the risk of boards catching on debris.
- Wear Personal Protective Equipment:Use safety glasses or a face shield to protect your eyes and a respirator or dust mask to protect your lungs. You should also add hearing protection to reduce the risk of damage from prolonged exposure to the machine’s noise.
- Never Feed Material by Hand:Let the conveyor belt move the board through while you keep your hands at a safe distance. If the board jams or stalls, shut off the sander before making any adjustments or clearing material.
- Check the Drum Height Before Sanding:Start with the drum slightly above the board so it makes light contact on the first pass. Setting it too low can overheat the abrasive, strain the motor, or damage the surface of your workpiece.
- Inspect Conveyor Belt Tracking:Watch the belt as it moves to see if it stays centered and under tension. If it drifts or slips, stop the machine and adjust the tracking before feeding in any material.
Pro Tip:Connect and run a dust extraction system for the entire sanding session to pull dust directly from the housing. Consistent airflow helps prevent clogging inside the machine and keeps airborne particles to a minimum.
When to Use a Drum Sander vs. a Planer or Belt Sander
Each sanding tool has a distinct role. A drum sander is often confused with a planer or a handheld belt sander, but these machines serve different purposes. Knowing when to use each tool helps you avoid surface damage, save time, and get the finish you want.
- Use a Planer for Rough Dimensioning:A planer removes larger amounts of material to bring boards to a consistent thickness. It’s faster than a drum sander but more aggressive, which makes it unsuitable for glued panels or boards with wild grain patterns that tear out easily.
- Use a Drum Sander for Final Flattening and Finish Prep:A drum sander works best after planing or glue-up, when you need to level panels or remove marks without taking off too much wood. It handles delicate or figured grain well and allows for better control over surface quality.
- Avoid Using a Belt Sander on Large, Flat Surfaces:A handheld belt sander can dig in and create low spots if not used carefully. It’s better suited for edge sanding, trimming small areas, or removing finish in tight spots where machines can’t reach.
- Choose a Drum Sander for Veneers and End Grain:Veneers and end grain surfaces require a light touch and consistent sanding pressure. A drum sander, when fitted with fine-grit abrasives and set correctly, gives you better results without tearing or chipping.
You can start with a planer to remove bulk, then move to a drum sander to refine the surface and correct imperfections. Avoid switching tools mid-pass, and keep each machine calibrated to do its part in the sequence.
|
Tool |
Primary Use |
Best For |
Avoid Using On |
Key Advantage |
|
Drum Sander |
Surface refinement and leveling |
Glued panels, figured grain, veneers, end grain |
Rough dimensioning, thick stock removal |
Smooth, controlled sanding over wide surfaces |
|
Planer |
Reducing thickness evenly |
Rough lumber, flattening solid boards quickly |
Veneers, glued-up panels, brittle grain |
Fast, consistent removal of material |
|
Belt Sander |
Spot sanding and edge work |
Small areas, trim pieces, finish removal in tight spots |
Wide panels, soft or uneven surfaces |
Portable and aggressive in confined spaces |
Setting Up the Drum Sander
Before you begin sanding, the machine needs to be properly adjusted and ready to handle your material. A poor setup can cause uneven sanding, overload the motor, or damage the surface of your board. You can avoid these problems by checking the drum, abrasive wrap, conveyor belt, and dust collection system before turning anything on.
- Install the Sanding Strip Securely:Wrap the abrasive strip around the drum so it sits flat and follows the manufacturer’s tensioning method. If it’s loose or uneven, it can tear mid-use or create ridges across the board.
- Check Conveyor Belt Tension:Use the adjustment knobs or bolts to make sure the sanding belt has even tension across its width. A loose belt may slip when feeding material, while one that’s too tight can wear down the machine’s components faster.
- Set the Drum Height Carefully:Raise or lower the drum so it makes light contact with the surface of your board for the first pass. Trying to remove too much material in one pass can burn the wood, overheat the abrasive, or cause uneven pressure across the piece.
- Inspect Feed Direction and Tracking:Make sure the conveyor belt moves straight and doesn't drift to one side during operation. Improper tracking affects how the board feeds through the machine and can lead to inconsistent sanding lines.
- Turn On Dust Collection First:Start your vacuum or dust extraction system before powering on the sander. Removing dust during operation prevents buildup inside the housing and helps keep the machine running efficiently.
Selecting the Right Abrasive Grits
The grit sequence you follow (and the type of abrasive grain you use) affects surface quality, sanding time, and how much wood is removed. You should always base your selection on the condition of the surface, the type of wood, and the intended finish.
- Start with a Grit That Matches the Surface Condition:For rough lumber or panels with glue lines, begin with 36 or 40 grit to remove surface material quickly. Planed or previously sanded boards usually require only 80 grit to clean the surface without taking off too much wood.
- Work Through Grits in Gradual Steps:Move in predictable stages, such as 40 to 60, 60 to 80, then to 120 or 150. Avoid jumping too far between grits, as finer abrasives can’t remove deep scratches left by coarser ones in fewer passes.
- Use Open Coat Aluminum Oxide for General Wood Sanding:Open coat aluminum oxide abrasives allow more space between grains, which helps reduce clogging and heat buildup. This makes them a reliable choice for most woodworking applications, especially when sanding resinous or soft woods.
- Choose Zirconia for Heavy Stock Removal:Zirconia abrasives are more durable under pressure and maintain their cutting edge during long sanding sessions. They’re well-suited for harder woods or when you need to remove material quickly.
- Use Closed Coat Aluminum Oxide for Hardwoods or Dense Surfaces:Closed coat abrasives have a denser grain coverage, which provides more cutting points per square inch. This design delivers a smoother finish on hardwoods and performs well in the final sanding stages.
- Don’t Use Coarse Grits Once the Surface Is Flat:Once the board is clean and even, switch to finer grits to refine the surface. Extended sanding with coarse abrasives removes more material than necessary and can leave deep lines that take longer to eliminate later.
- Match the Grit to the Wood Type and Finish Goal:Hardwoods like maple and oak typically start at 80 or 100 grit, while softwoods like pine may need a slightly coarser grit to prevent clogging. If you're working with pre-finished wood or veneers, start with finer grits to avoid surface damage.
- Use Quality Abrasives:Red Label Abrasives products are made with heat-resistant resin bonds and abrasive grains that hold up under extended use. These materials provide consistent cutting performance and reduce the need for frequent abrasive changes.
Pro tip: If you have a worn abrasive strip for your drum sander, don’t toss it out. You can use an old strip to measure for correct replacement sizing, or you can use it as a template to cut your own strips from drum sanding rolls (which is what we recommend to save money).
How to Feed Material Into the Drum Sander
Feeding boards correctly into a drum sander improves both surface quality and machine performance. Poor feeding, on the other hand, can lead to gouging, burning, and inconsistent thickness across the workpiece. You need to guide each board carefully, maintain proper spacing, and make sure it enters the machine with the grain facing the right direction.
- Feed With the Grain Whenever Possible:Run the board so the sanding drum moves along the grain, not across it. Sanding against the grain increases the risk of scratches and reduces surface quality.
- Use a Consistent Feed Speed:Most drum sanders have adjustable feed rates, so set yours based on grit and material type. Slower speeds allow for more aggressive sanding, while faster speeds reduce heat buildup on finer passes.
- Check Each Board for Warping or Bowing:Boards that are cupped, twisted, or bowed may not feed evenly and can lift during sanding. Inspect each piece before use, and avoid forcing warped material into the machine.
- Leave Even Spacing Between Boards:If you're feeding multiple boards in a row, leave a few inches between them. This gives the drum time to return to a neutral load and prevents overheating or clogging at the edges.
- Don’t Feed Short or Narrow Pieces Without Support:Short boards can lift or pivot while under the drum if they lack enough surface contact. Use a sled or sacrificial backing board when sanding small pieces to maintain safe, stable feeding.
- Hold the Board Flat on the Conveyor:Use light, steady pressure to guide the board onto the conveyor without pushing it forward. Let the feed mechanism do the work to avoid kickback or uneven sanding pressure.
Common Sanding Mistakes to Avoid
Drum sanders provide clean, consistent results, but only when used correctly. Here are some mistakes you should avoid while sanding:
- Removing Too Much Material in One Pass:Setting the drum too low and trying to cut aggressively can overheat the abrasive, overload the motor, or burn the wood. Always start with light passes and increase pressure gradually only when the material allows.
- Skipping Grit Levels:Jumping from a coarse grit to a fine grit without intermediate steps leaves scratches that are hard to remove. Follow a gradual sequence so each stage removes the marks left by the previous one.
- Using Worn-Out or Dirty Abrasives:Sanding belts can lose their cutting power or become clogged with resin and dust over time. Continuing to use them once they’ve deteriorated wastes time and increases the chance of burning or streaking the surface.
- Sanding Over Glue, Nails, or Fasteners:Even small amounts of thick glue or hidden metal can damage the abrasive and gouge the drum. Always inspect your boards carefully and remove any contaminants before sanding.
- Feeding Boards Against the Grain:Running a board through the sander in the wrong direction creates visible scratches and inconsistent finish quality. Make sure the sanding action follows the direction of the grain whenever possible.
- Ignoring Conveyor Belt Drift:If the conveyor belt shifts to one side, it can affect sanding alignment and pull boards off center. Watch the tracking as you work and make adjustments before it becomes a problem.
Boost Drum Sander Performance With Red Label Abrasives
Using a drum sander the right way means setting up the machine correctly, picking the right abrasive grit, and using steady feeding techniques to avoid burning, ridges, or surface damage. Skipping setup steps or rushing through grit sequences leads to uneven results and wasted time. But when everything’s dialed in, a drum sander becomes a reliable tool for smoothing panels, cleaning up glue lines, and preparing wood for finishing.
Red Label Abrasives manufactures premium-quality drum sanding rolls that can be cut into strips and are built to perform under pressure. If you're removing heavy stock with zirconia or finishing panels with aluminum oxide, you'll get top-notch performance and consistent results. If you have questions or would like to place an order, please fill out a contact form or call 844-824-1956 today.
Ver artículo completo

Emery Cloth Vs. Sandpaper: When To Use Each
por David Kranker 9 lectura mínima
Ver artículo completo ABOUT THE AUTHOR
David Kranker is a writer and creative maker who has been covering the abrasive and woodworking industries on the Red Label Abrasives Blog since 2020. David spends his time continually researching sanding and woodworking to provide readers with the latest and greatest information. In his free time, David utilizes abrasives for many different home and auto projects at his home in Delton, MI.
Our Most Popular Abrasives For Woodworkers
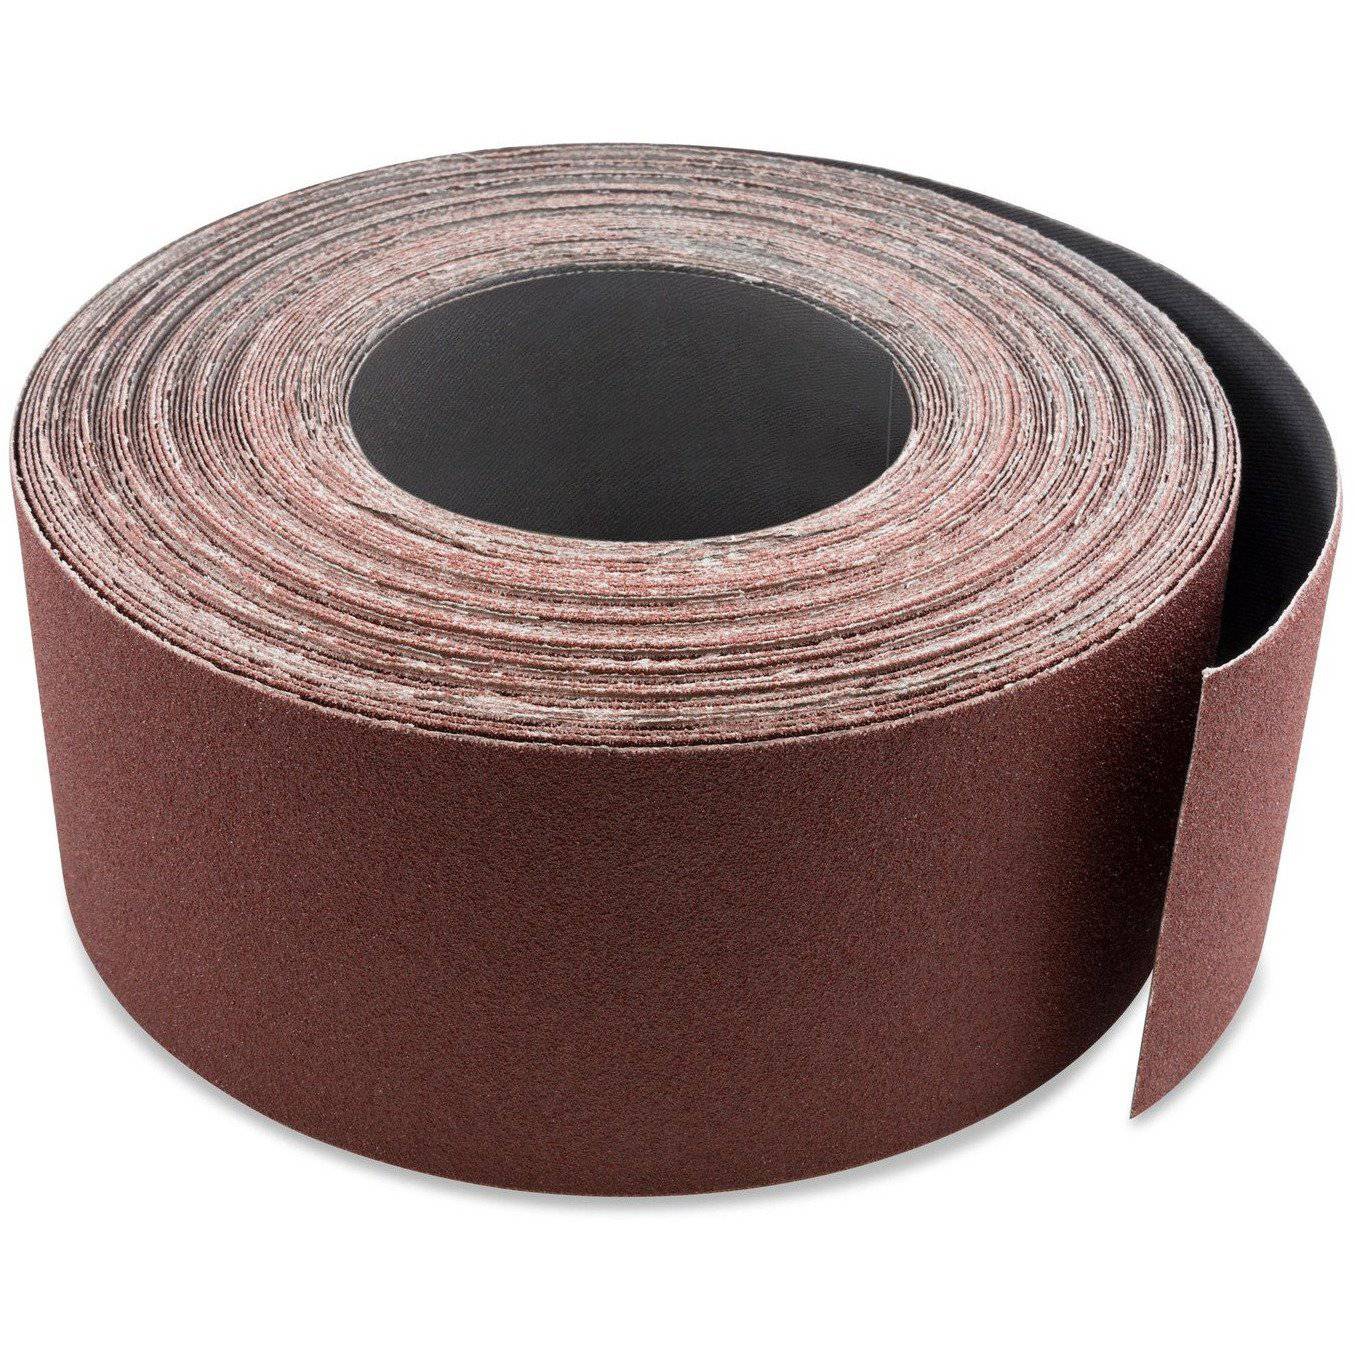
3 inch X 70 FT Woodworking Aluminum Oxide Cloth Drum Sander Strip Roll
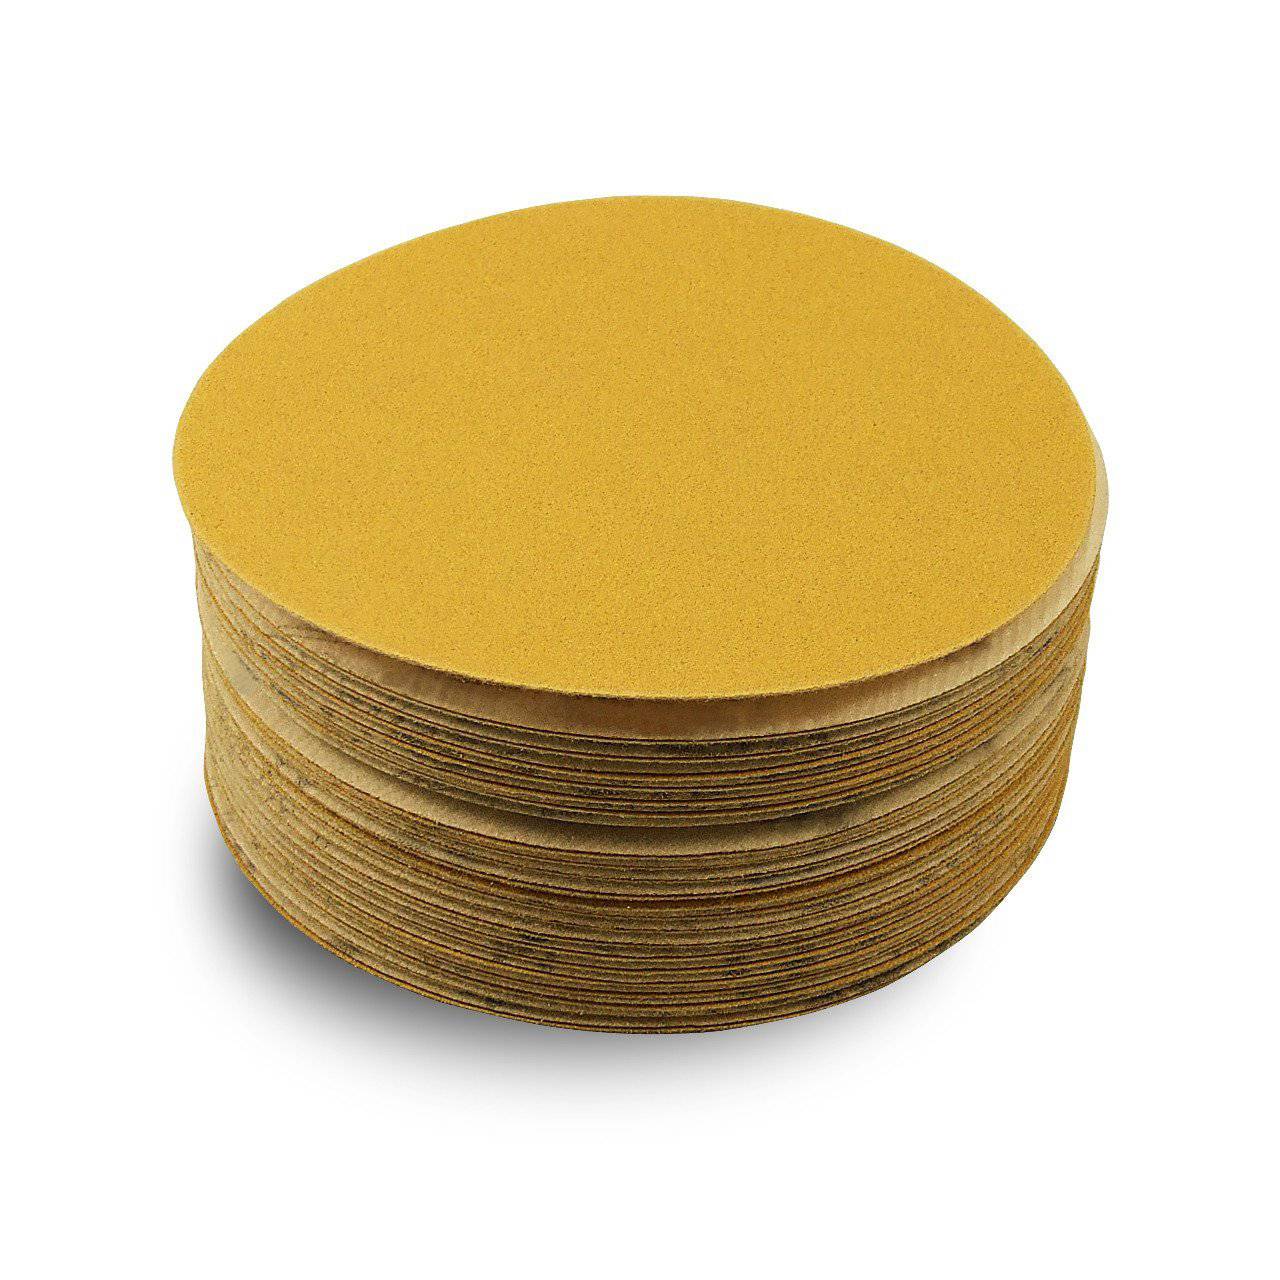
5 Inch Hook and Loop Gold Sanding Discs, 50 Pack
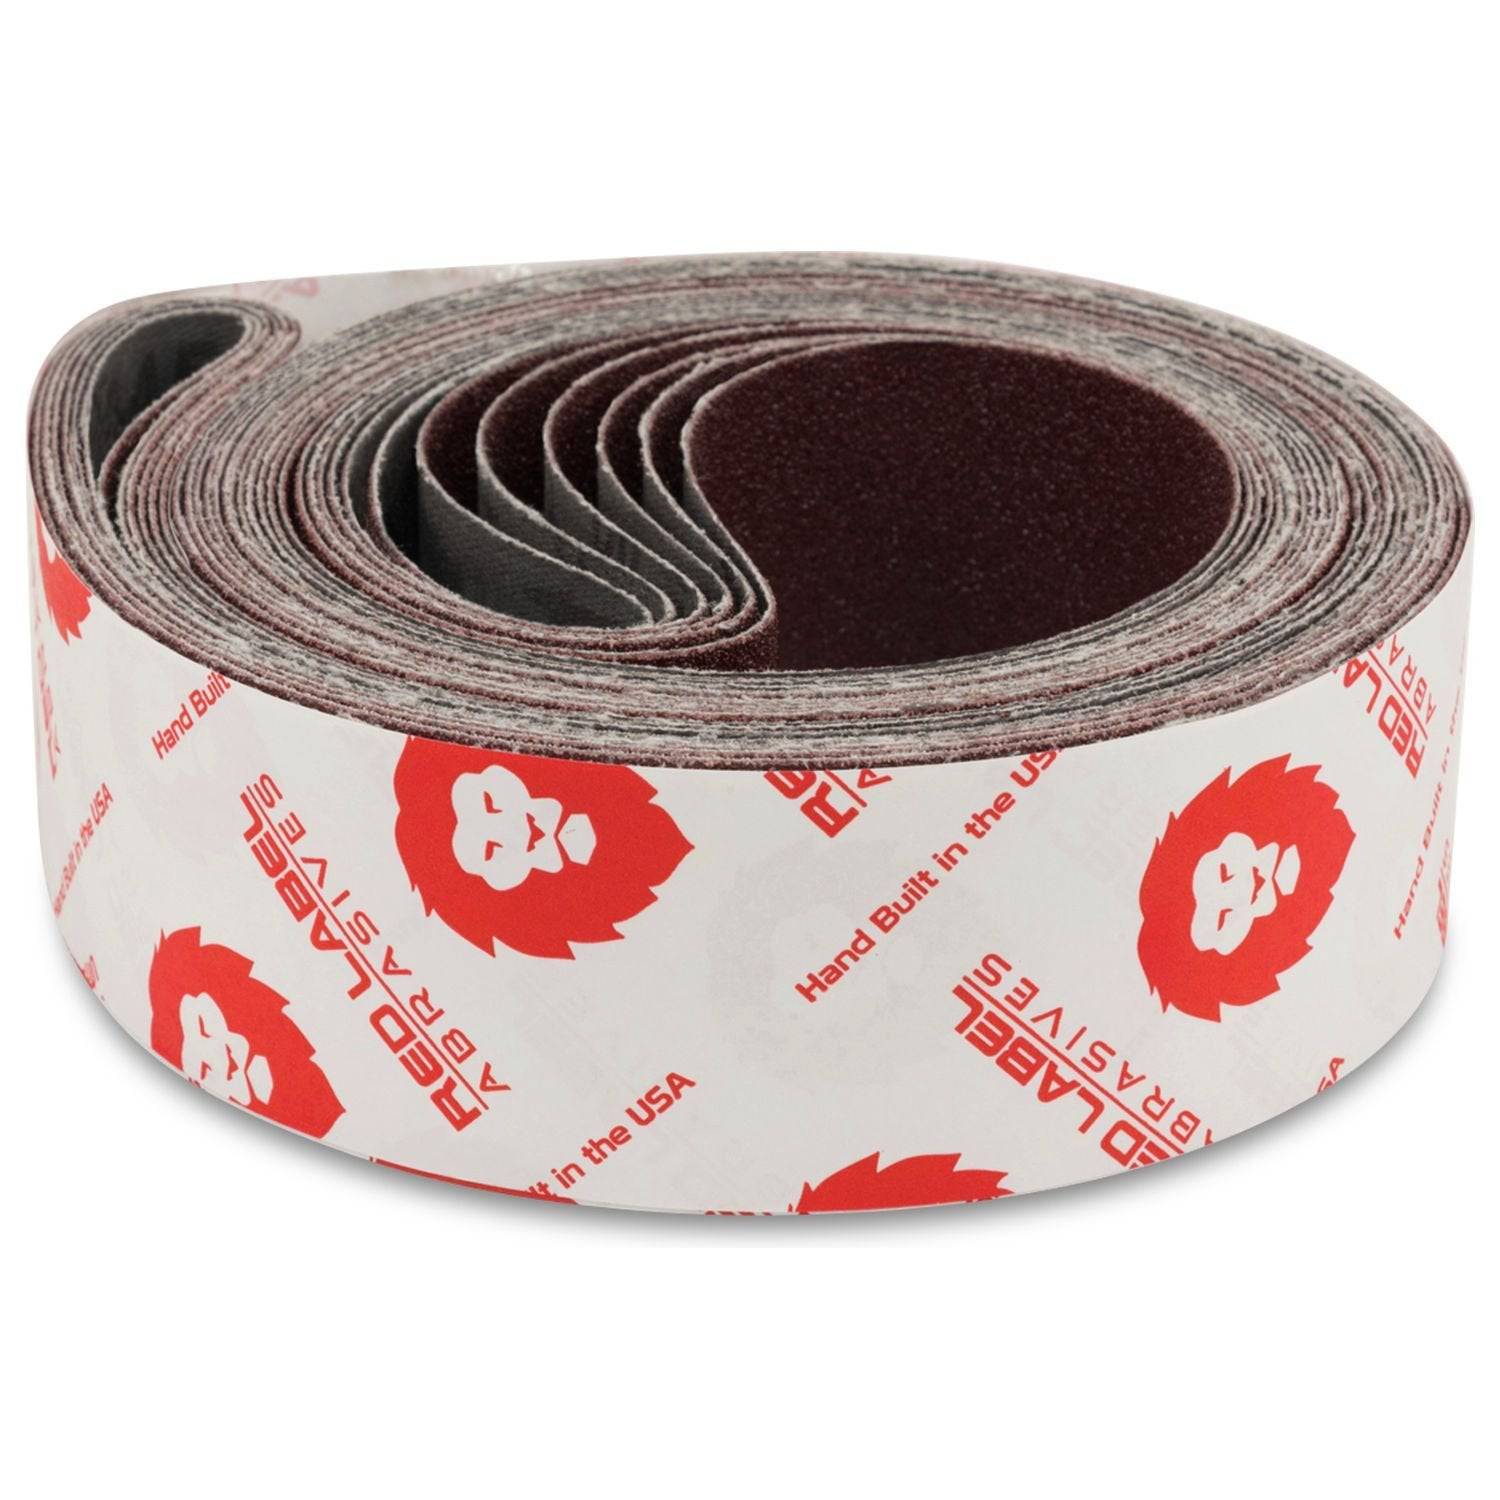
2 X 72 Inch Multipurpose Sanding Belts, 6 Pack
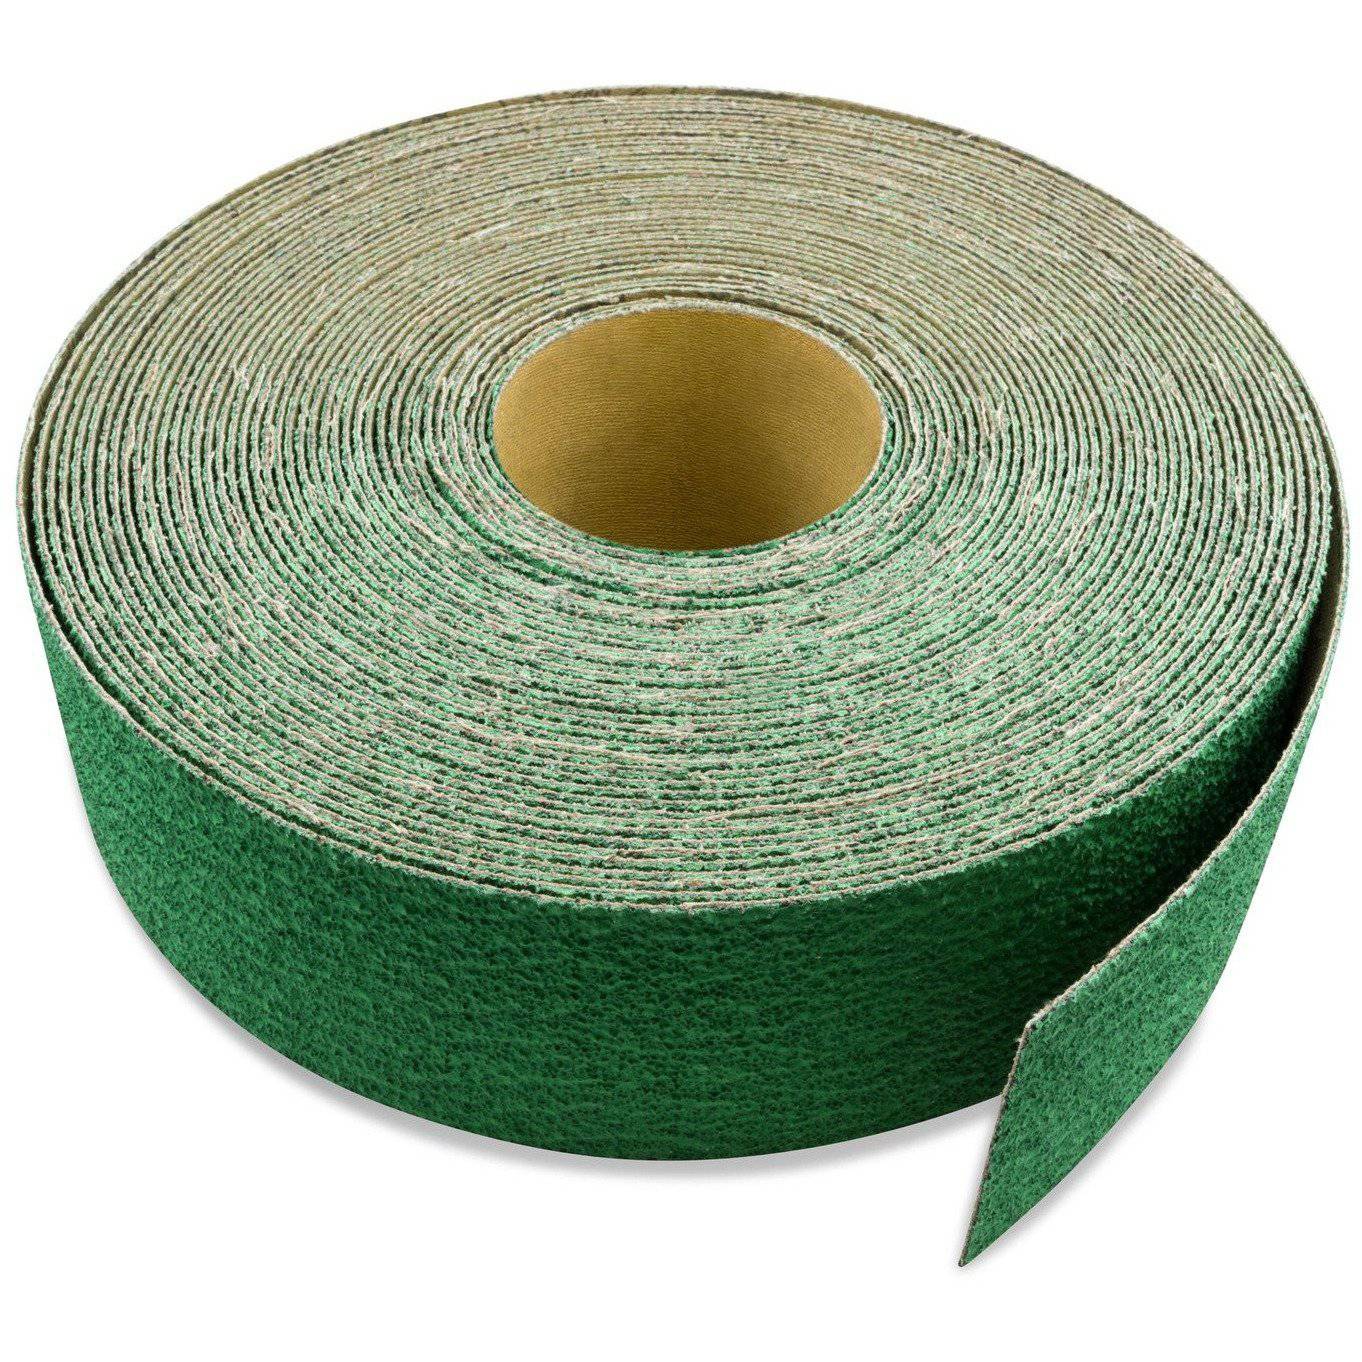
3 inch X 70 FT Premium Zirconia Woodworking Drum Sander Roll
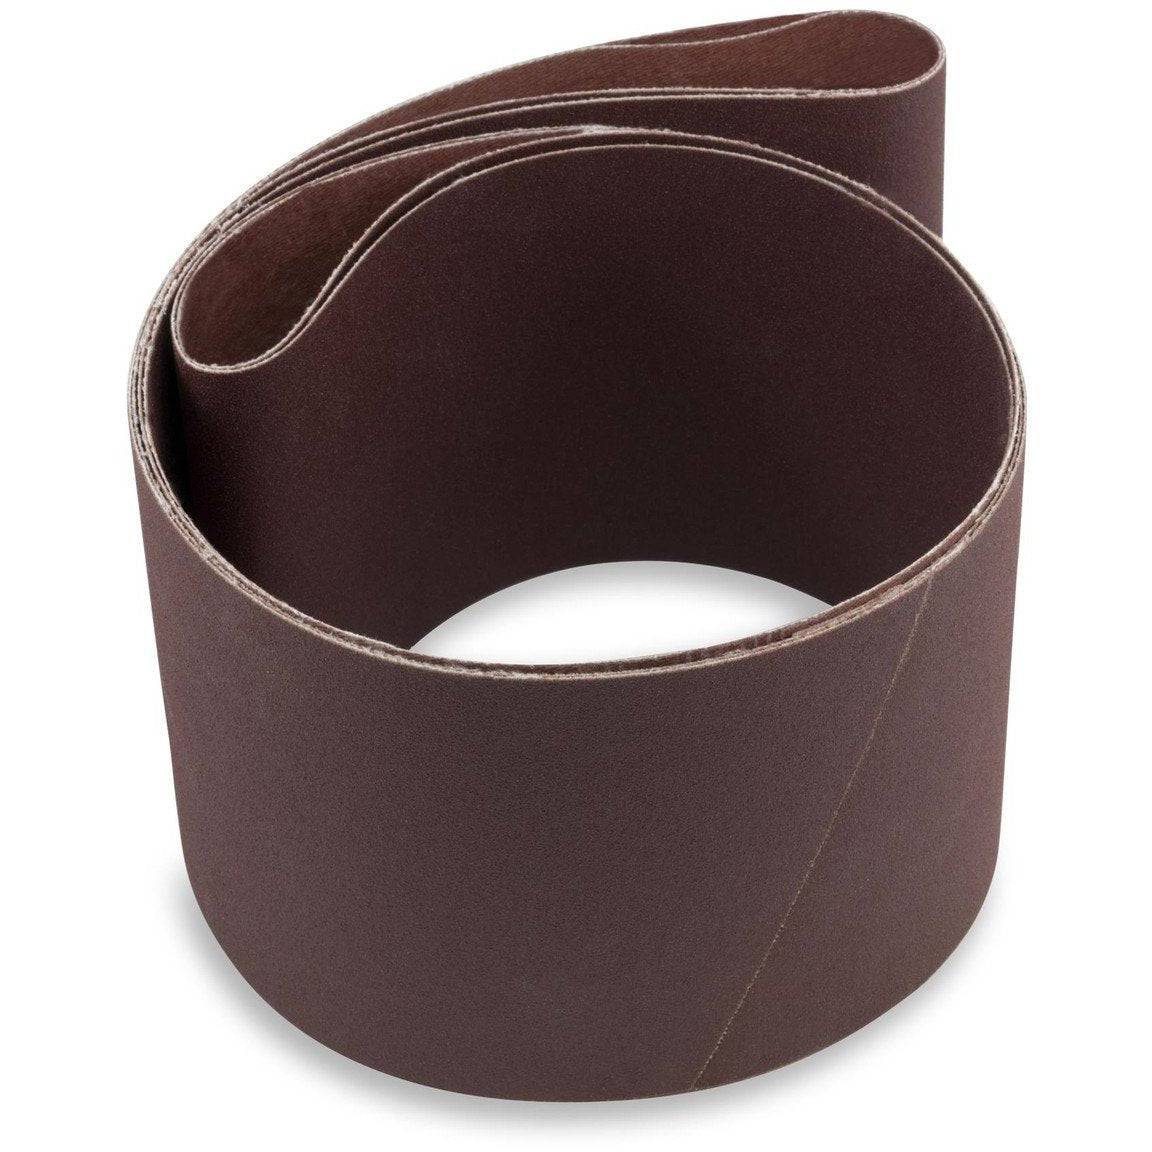
6 X 48 Inch Aluminum Oxide Wood & Non-Ferrous Sanding Belts, 2 Pack
Shop By Product Category


Why Choose Red Label?


