Tu carrito está vacío
Envío gratis a partir de $150 (No incluye productos de gran tamaño)
Envío gratis a partir de $150 (No incluye productos de gran tamaño)
Bandas de lijado
Discos de lijado

How To Properly Hand Sand A Knife
por David Kranker 9 lectura mínima

Quick Summary
Hand sanding lets you control pressure, angle, and finish to avoid machine marks and preserve blade geometry. Progressing through grits from coarse to extra-fine removes imperfections, refines surfaces, and achieves finishes without risking heat damage. Choosing appropriate abrasives streamlines each sanding stage. Backing tools like blocks, dowels, and pads support better contact on flat and curved areas while lubricants and cleaning prevent grit contamination. Challenges such as uneven scratch patterns, rounded edges, clogged abrasives, and heat buildup can be avoided by frequent inspection, cleaning between grits, and adjusting pressure. After sanding, blades need cleaning, coatings, and stropping to maintain the finish and performance.
Long before belt grinders were invented, we were shaping, sanding, and polishing knives by hand. While not as convenient today, hand sanding still has its advantages - unlike machine sanding, it supports control over pressure, angle, and finish quality. It’s also recommended for sanding curves, tight spaces, and areas where a grinder might be too aggressive.
In this guide, the team at Red Label Abrasives outlines the tools and materials you’ll need for hand sanding, how to master proper technique, and what challenges you want to avoid. By the end, you'll have the knowledge you need to transform any blade into a masterpiece.
The Benefits of Hand Sanding Your Knives
While machine sanding provides the speed and aggression you need for rough work like stock removal, hand sanding delivers superior results for fine shaping and detail work.
- Control Over Pressure and Angle: With hand sanding, you can feel every imperfection and adjust pressure accordingly. Unlike machines that apply force regardless of surface variations, hand sanding enables you to work more lightly over thin areas and apply pressure where needed, preventing over-sanding.
- Superior Finish Quality: Hand sanding produces smoother, more consistent scratch patterns than machine methods. It eliminates belt chatter, vibration marks, or heat buildup that can compromise the steel's temper and create uneven surfaces.
- Versatility for Shapes: Hand sanding excels in tight spaces, curves, and areas where machines would be too aggressive or can't reach. When working on finger choils, plunge lines, and other finer details, hand tools provide the flexibility needed for quality work.
- Tactile Feedback: Being able to feel the work surface lets you detect problems immediately, such as high spots, low areas, or scratch patterns that might be invisible. This feedback prevents mistakes that could require rework.
- Heat Control and Steel Preservation: Hand sanding generates minimal heat compared to power tools, protecting the blade's heat treatment and preventing stress patterns. This is important when working on hardened blades.
Best Abrasive Grains for Knife Sanding
Choosing the right abrasive grain material is important for achieving the results you need. Below is an overview of the two most common options for sanding sheets:
- Aluminum Oxide: The most versatile and commonly used abrasive grain for knife making, aluminum oxide works well with carbon and stainless steels. It breaks down during use, exposing fresh cutting edges that maintain performance.
- Silicon Carbide: Silicon carbide excels at cutting through materials like stainless steel and more exotic alloys. It maintains its sharp edges longer than aluminum oxide but doesn't self-sharpen as readily. Silicon carbide is preferred for fine and ultra-fine grits where consistent cutting action is important.
Tools and Materials You'll Need for Hand Sanding
Before you get started, assemble the following tools and equipment:
- Sanding Sheets: High-quality sanding sheets are must-haves. Cloth-backed varieties have the flexibility you need for curved surfaces, while paper-backed options are recommended for flat work.
- Sanding Blocks, Dowels, and Contoured Tools: Flat wooden blocks work for establishing primary bevels, while rubber sanding pads conform to blade contours without losing control. Tapered dowels are ideal for working concave areas like hollow grinds or finger choils.
- Lubricants and Cleaners: Between grit changes, solvents or degreasers remove metal particles and residue that could contaminate the next abrasive stage and cause scratching.
- Safety Equipment: Buy cut-resistant gloves or finger guards to prevent accidents during extended sanding sessions, as well as safety glasses to protect against flying debris. When working with carbon steels or exotic alloys, a dust mask or respirator prevents you from inhaling harmful metal particles.
Preparing the Knife for Sanding
Taking time to inspect, secure, and clean your blade before beginning will prevent problems later.
- Blade Inspection: Begin by examining the blank under good lighting. Look for forging marks, mill scale, existing scratches, or other imperfections. Pay attention to grind lines, nicks, and any areas where the geometry appears inconsistent, as they will need extra work at the beginning.
- Blade Securing: You can use a bench vise with protective soft jaws, although knife jigs offer better control for repetitive work. The goal is to immobilize the blade without marring the steel or creating pressure points that could cause warping.
- Initial Cleaning and Marking: Remove oils, scale, or contaminants using a mild solvent like denatured alcohol or acetone. Some knife makers prefer to mark reference lines for bevel shaping at this stage, although this should be done with removable markers.
- Note Problem Areas: Use a fine-tip marker to circle problem spots. This way, no imperfections are missed during the progression through coarser grits.
Abrasive Grit Progression: What You Need to Know
Learning how different grits work together and why proper sequencing matters will help you achieve consistent results.
- Coarse Grits (120-220): These abrasives excel at removing heavy stock, shaping bevels, and eliminating deep scratches or forging marks. They cut quickly but leave deep scratches that must be removed by subsequent grits. Use coarse grits for initial shaping and heavy defect removal, but don't expect a refined finish at this stage.
- Medium Grits (320-600): Use medium grits to refine bevel angles and even out scratch patterns left by coarse abrasives. This stage calls for patience, as rushing through medium grits often creates problems that become apparent only during fine sanding.
- Fine Grits (800-1200): These grits prepare the surface for polishing while smoothing out micro-grooves. This stage requires attention to lighting and frequent inspection, as defects become difficult to spot as scratches grow finer.
- Extra-Fine Grits (1500+): Extra-fine grits are used to achieve mirror finishes. They call for light pressure and frequent cleaning to prevent loading, which can degrade finish quality. This is where patience pays off in achieving show-quality results.
Don’t skip grits to save time, as jumping from 220 directly to 800 grit causes swirl marks and uneven scratch patterns. A typical progression looks like this: 220 → 320 → 400 → 600 → 800 → 1000 → 1500 → 2000, though some makers prefer smaller increments for demanding work. Mastering grit progression takes practice, but learning these principles will help you develop the approach needed for the best results.
Step-By-Step Hand Sanding Technique
Establishing the Primary Bevel
- Begin with a coarse grit (typically 220) to create the primary bevel shape. Maintaining a steady angle involves practice and patience, but you’ll gradually develop muscle memory for freehand work.
- Stroke patterns impact your results. Long push-pull strokes remove stock evenly and prevent the creation of low spots or waves in the bevel. Some knife makers prefer diagonal strokes that cross the blade width, as they tend to reveal high and low spots more readily than straight longitudinal strokes.
- Check your progress frequently by examining the blade under bright light. The goal is to remove all deeper scratches, grind lines, or imperfections before moving to the next grit. Any deviation from consistency should be corrected immediately, as problems compound as grits get finer.
Refining the Bevel
- Move to medium grits (400-600) to begin the refinement work. At this stage, you want to reduce pressure to avoid oversanding while maintaining the stroke patterns established earlier.
- Flat grinds benefit from long, even strokes across the entire bevel width, maintaining pressure and angle throughout the stroke. The goal is to achieve uniform scratch patterns without waves, dips, or other irregularities.
- Hollow or convex grinds require curved sanding blocks or dowels that match the blade shape. These tools must be used with care to maintain contact pressure across the entire curve while avoiding the tendency to create flat spots or irregularities.
Preparing for Final Polishing
- The transition to fine grits (800-1000) marks the beginning of the polishing phase. The blade should be inspected under bright light between each pass to confirm that all medium-grade scratches are removed.
- Patience is critical at this stage, as the visual differences between grit levels become subtle. Resist the temptation to rush, as shortcuts taken during fine sanding become obvious in the finished product.
Achieving a Mirror Finish
Ultra-fine grits (1500, 2000, and beyond) require the lightest touch and most careful technique. Use light, overlapping strokes to blend any remaining micro-scratches into a uniform pattern. Then apply a polishing compound to a leather strop or canvas pad to highlight the finish and remove the last traces of scratching.
Common Challenges With Hand-Sanding Knives
Even experienced knife makers can run into problems during hand sanding. Recognizing these problems early and knowing how to correct them will save time, frustration, and the need to start over.
- Uneven Scratch Patterns: These scratches result from pressure, skipped grits, or warped sanding blocks. If this happens, you will need to revert to the previous grit to reestablish consistency after checking block flatness with a straightedge. Be sure to maintain pressure throughout each stroke.
- Rounded Edges or Scalloped Bevels: This problem indicates over-sanding at the tip or heel, or improper angle control during the sanding work. Practicing with angle guides helps develop the muscle memory needed for better results, while taking rest periods prevents the fatigue that leads to control problems.
- Abrasive Clogging and Loading: This occurs when lubricant allows metal filings to accumulate in the abrasive structure, reducing cutting efficiency and scratching the blade. Signs include the abrasive feeling, slick or producing a burnished appearance rather than cutting. Switching to wet sanding, cleaning abrasives with rubber erasers, or water flushing can restore cutting action and extend abrasive life.
- Burnishing or Heat Buildup: This problem results from pressure or dry sanding at low grits, creating a polished but scratched surface that's hard to refine further. The steel may feel warm to the touch or show discoloration. Reducing pressure, allowing cooling time between passes, and switching to wet sanding sooner prevent these issues while protecting the blade's heat treatment.
- Cross-Contamination Between Grits: Using contaminated work surfaces or failing to clean between grit changes can introduce coarse particles that create deep scratches in finer stages. Always clean both the blade and work area when changing grits, and consider using separate blocks for different grit ranges to prevent contamination.
Post-Sanding Knife Care and Maintenance
When you’ve finished sanding, clean away all abrasive residue, polishing compounds, and oils that could cause problems later. You can use a mild solvent, followed by immediate drying to prevent flash rust on carbon steels. Other recommendations include:
- Add protective coatings like mineral oil, camellia oil, or knife oils to preserve the shine. Wax or micro-crystalline coatings offer better protection for stored blades.
- Stropping on fine leather maintains the mirror finish and keeps the blade performing at its best. Touch-ups with ultra-fine abrasives restore the finish when needed.
Tips for Extending Abrasive Life and Improving Efficiency
Maximizing the lifespan of your abrasives while improving your sanding efficiency saves both time and money. These techniques can help you get the most value from your materials while streamlining your workflow.
- Rotating Abrasive Zones: Instead of using the same area repeatedly, rotate to different sections of each sheet or block to prevent clogging and loading. Mark fresh areas with a pencil to track usage patterns and make sure you're maximizing the cutting surface of each abrasive. This practice can double or triple the life of your sandpaper.
- Cleaning and Refreshing Abrasives: Use rubber abrasive erasers or abrasive cleaning blocks to remove metal buildup and restore cutting action to loaded surfaces. For cloth-backed papers, rinsing with water can remove debris and allow multiple reuses. Some knife makers tap out loose debris or use compressed air to clear clogged abrasives before cleaning.
- Storage and Organization: Store abrasives in a cool, low-humidity environment to prevent degradation from moisture and temperature fluctuations. Use labeling systems to identify grit sizes instantly and prevent mix-ups during sanding stages. Consider organizing by grit progression rather than size to streamline your workflow.
- Invest in Quality Abrasives: While premium abrasives cost more initially, they last longer, cut efficiently, and produce better finishes than economy options. Track your cost per blade rather than the initial purchase price to learn the value of quality abrasives in your workflow.
Implementing these strategies transforms hand sanding from a chore into a productive and cost-effective process. The time invested in abrasive management pays dividends in both quality results and reduced material costs.
Improve Knife Sanding With Premium Abrasives From Red Label
Hand sanding can transform ordinary blades into cutting tools that perform as well as they look. At Red Label Abrasives, we manufacture a wide range of sanding belts, sanding sheets, and pads, and even complete knife-making kits that include everything from coarse grits for stock removal to ultra-fine polishing grades.
If you have questions about grit selection, technique, or product recommendations, our customer support team stands ready to help. For more information or to place an order, please call 844-824-1956 or fill out our contact form, and we’ll be in touch.
Ver artículo completo

Emery Cloth Vs. Sandpaper: When To Use Each
por David Kranker 9 lectura mínima
Ver artículo completo ABOUT THE AUTHOR
David Kranker is a writer and creative maker who has been covering the abrasive and knife-making industries on the Red Label Abrasives Blog since 2020. David spends his time continually researching sanding and bladesmithing to provide readers with the latest and greatest information. In his free time, David utilizes abrasives for many different home and auto projects at his home in Delton, MI.
Belt Packs Made For Knife Makers
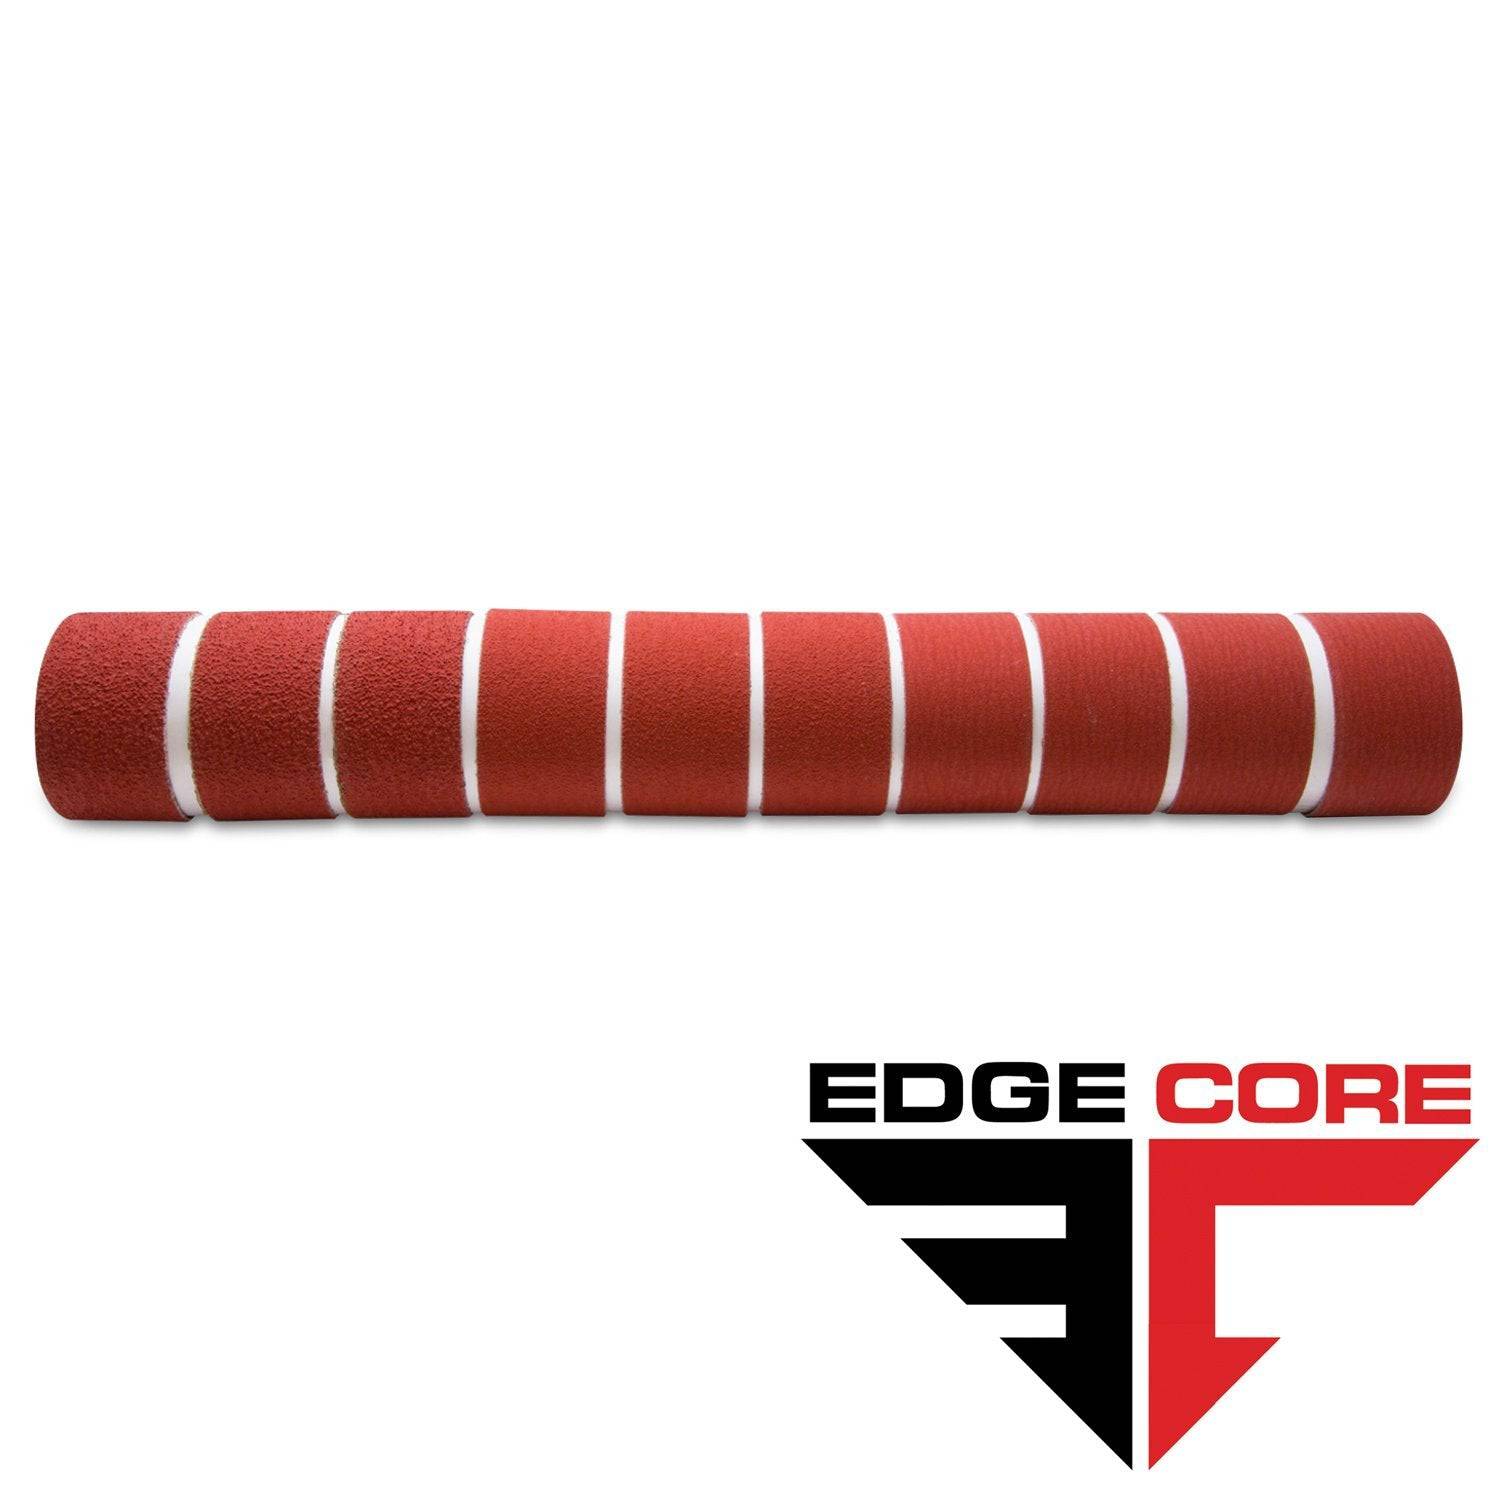
2 X 72 Inch Knife Makers Sanding Belts Assortment
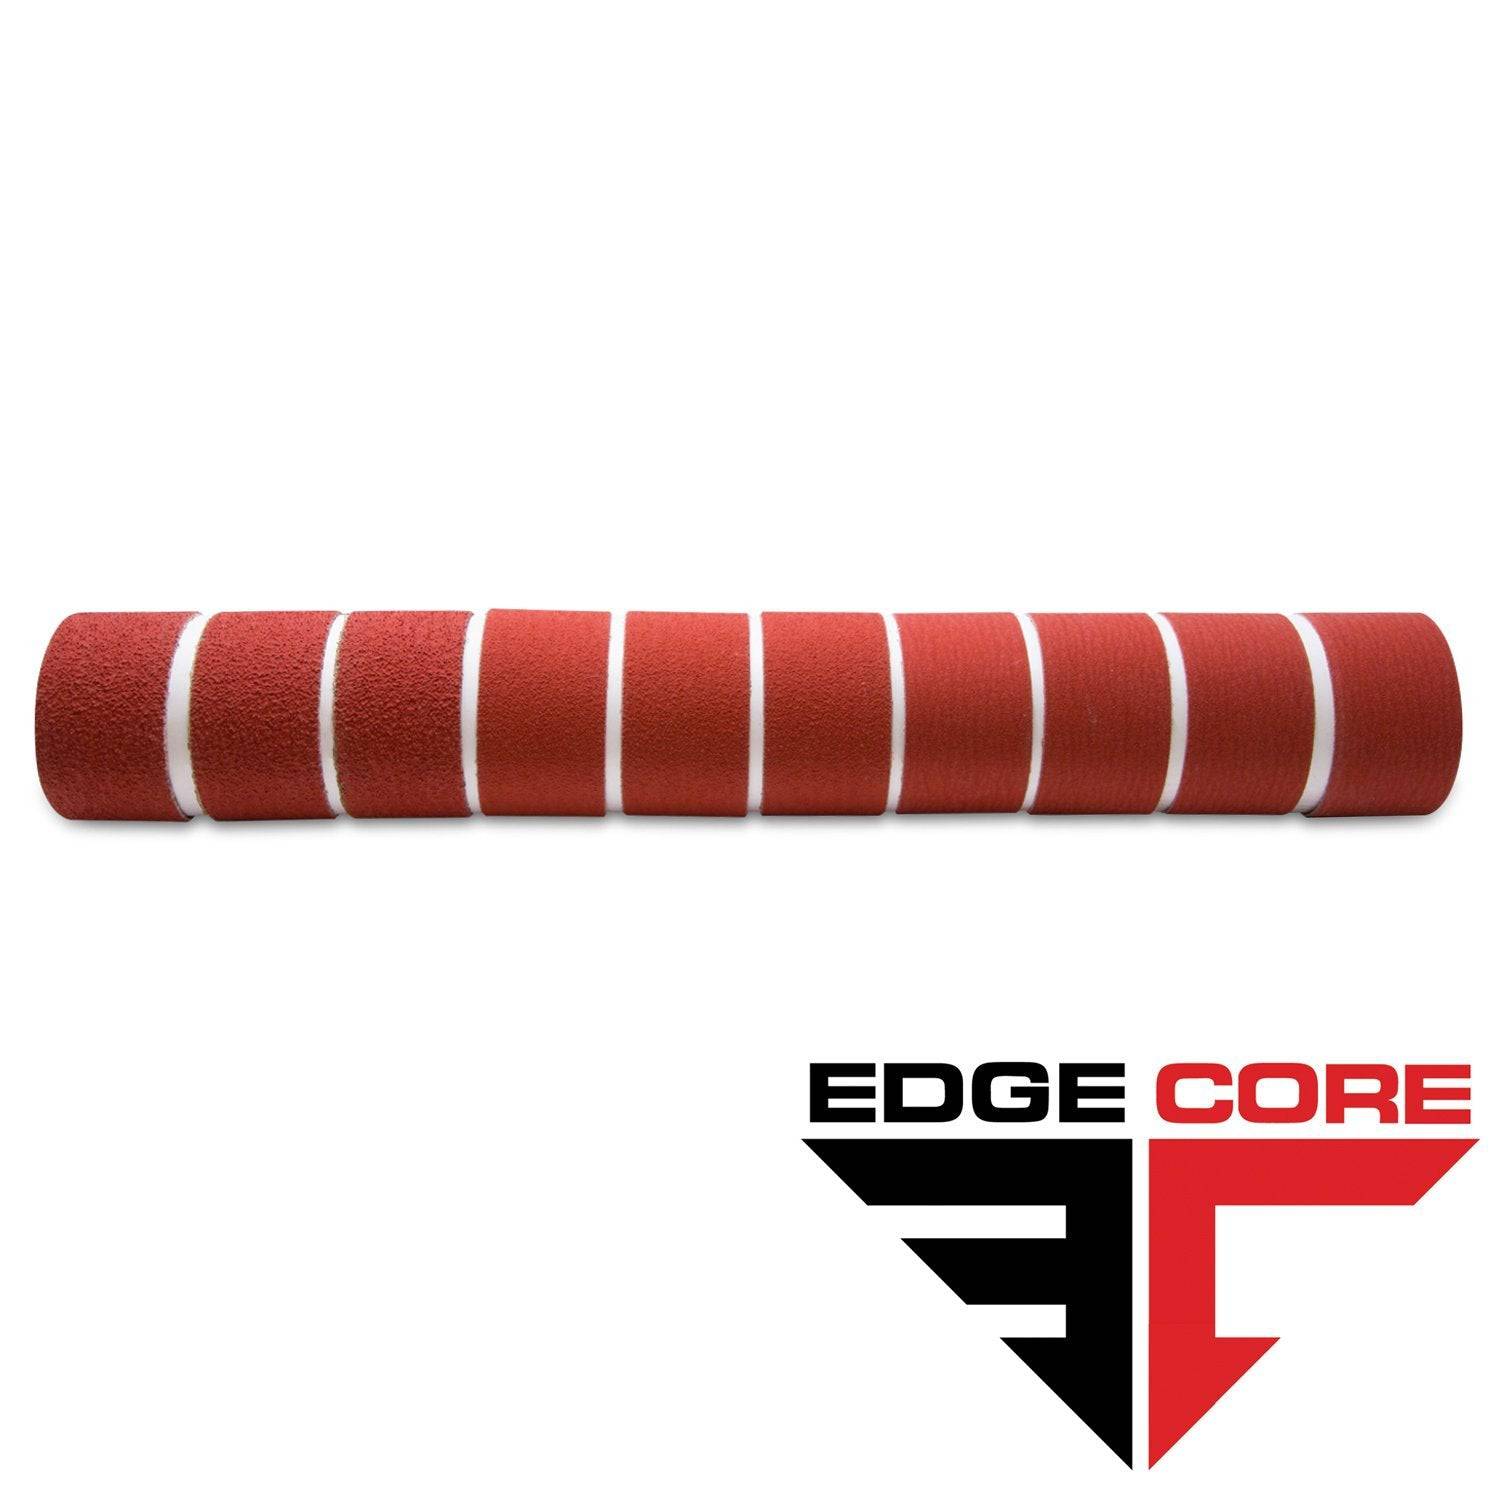
2 X 60 Inch Knife Makers Sanding Belts Assortment
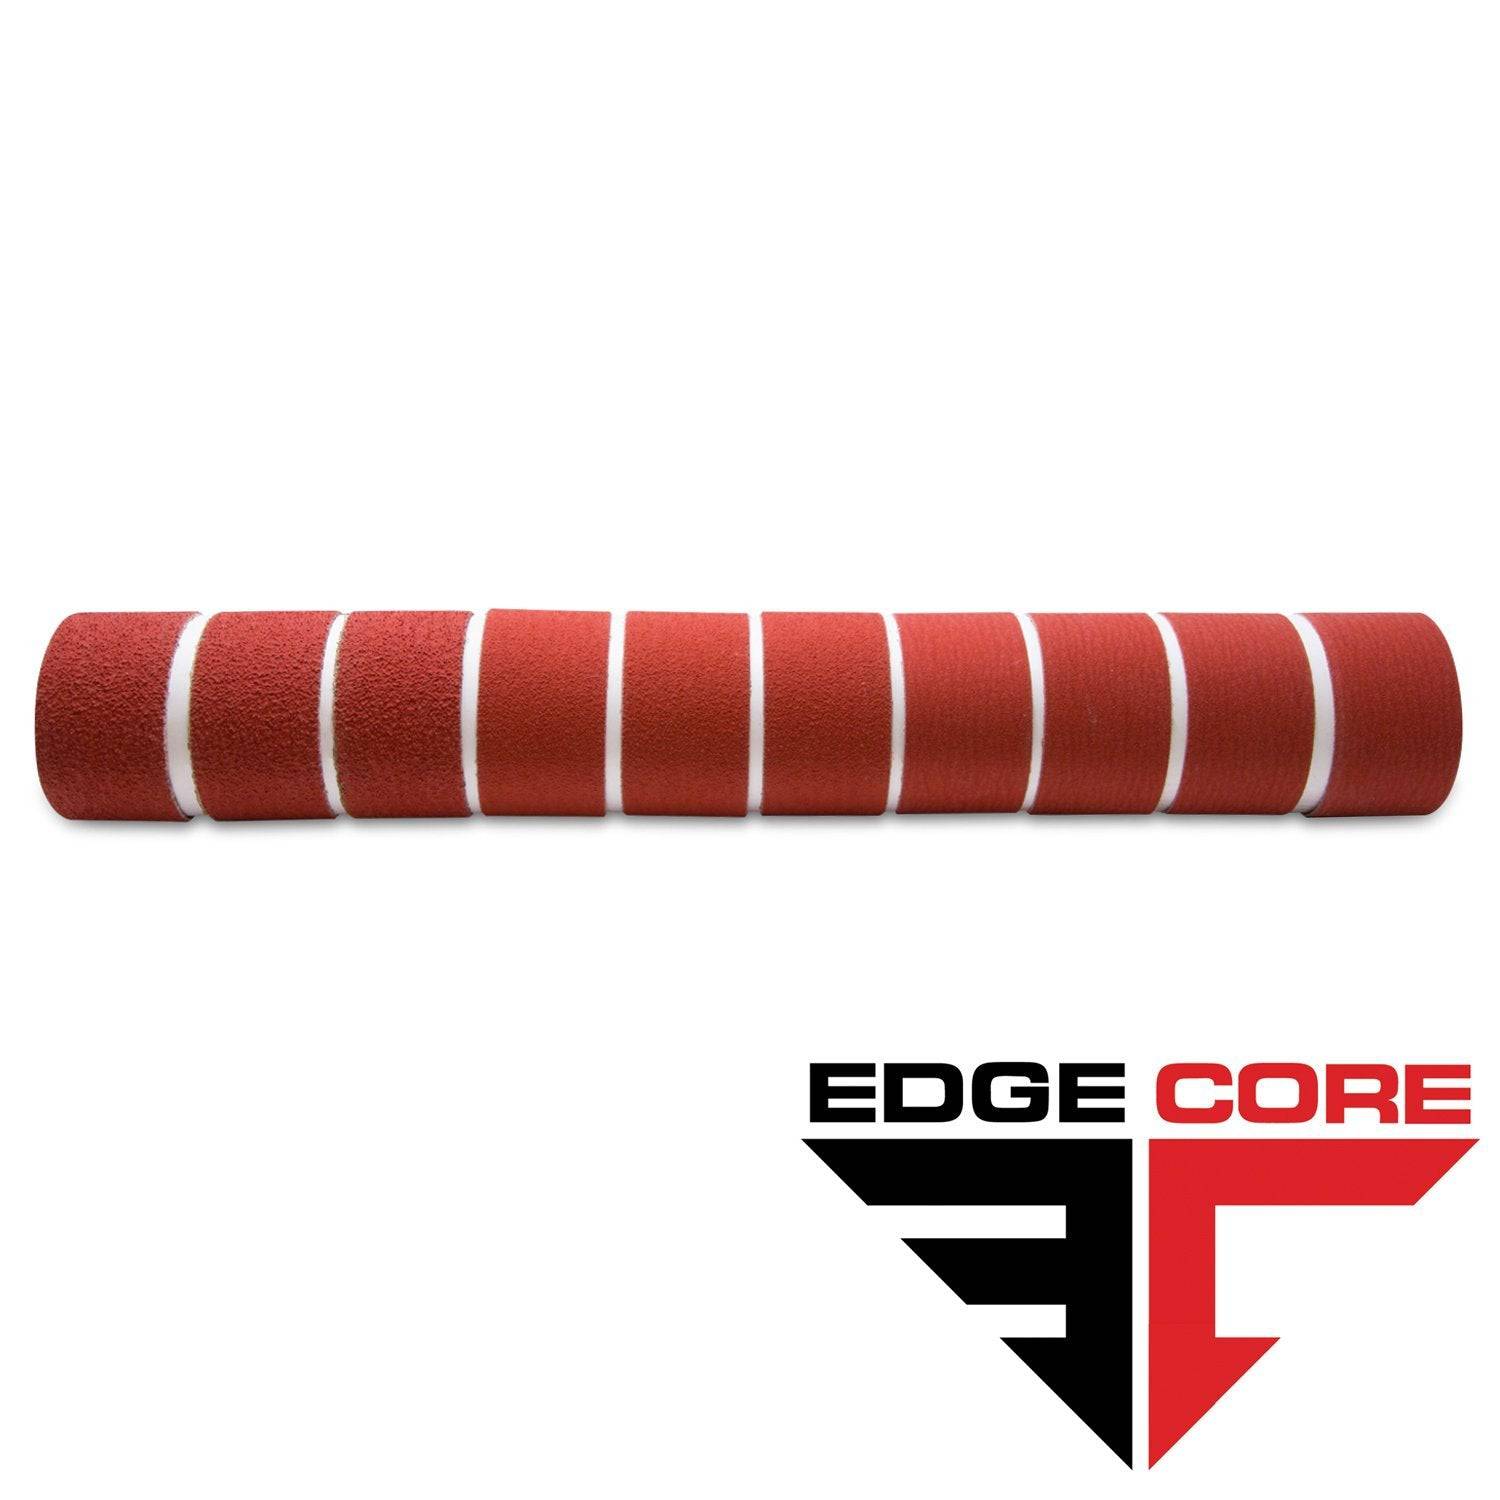
2 X 48 Inch Knife Makers Sanding Belts Assortment
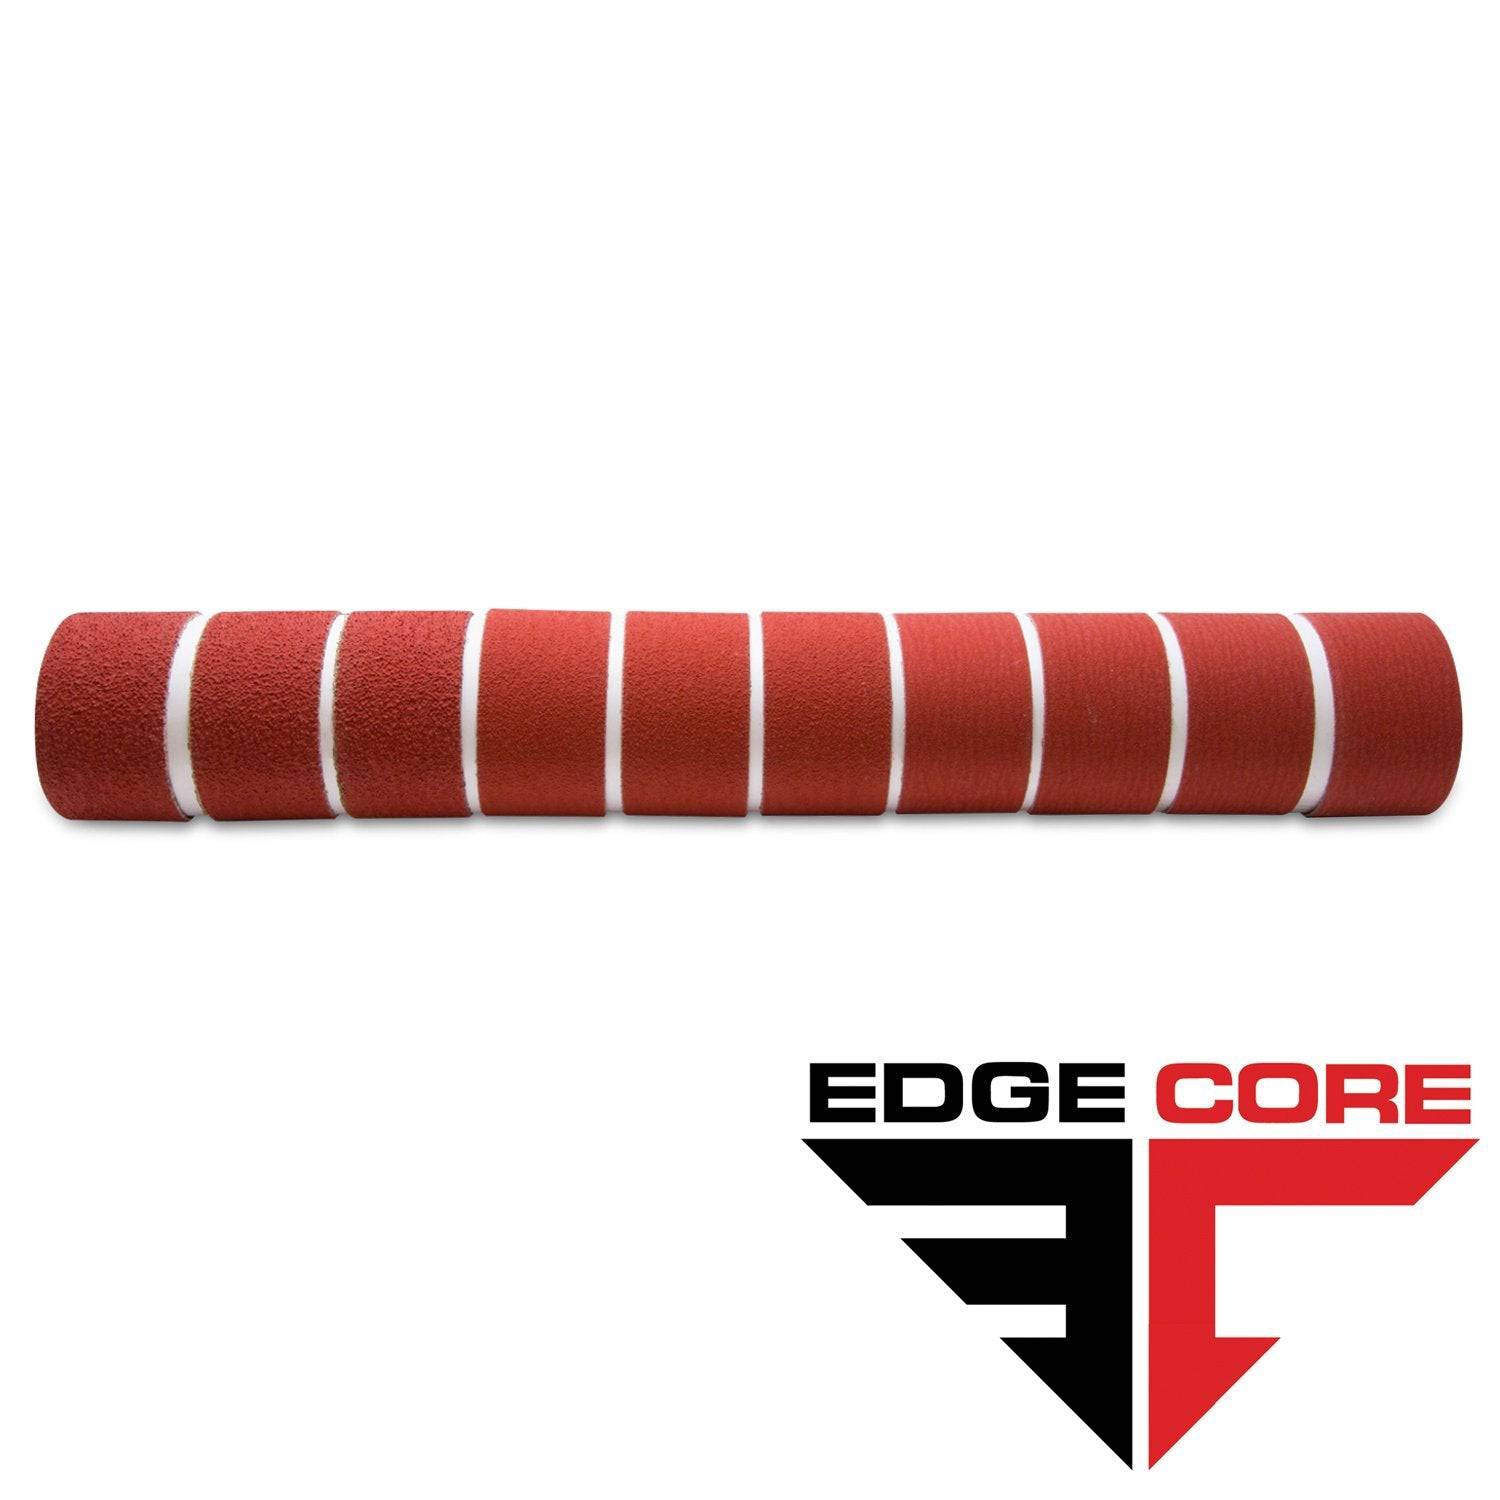
2 X 36 Inch Knife Makers Sanding Belt Assortment
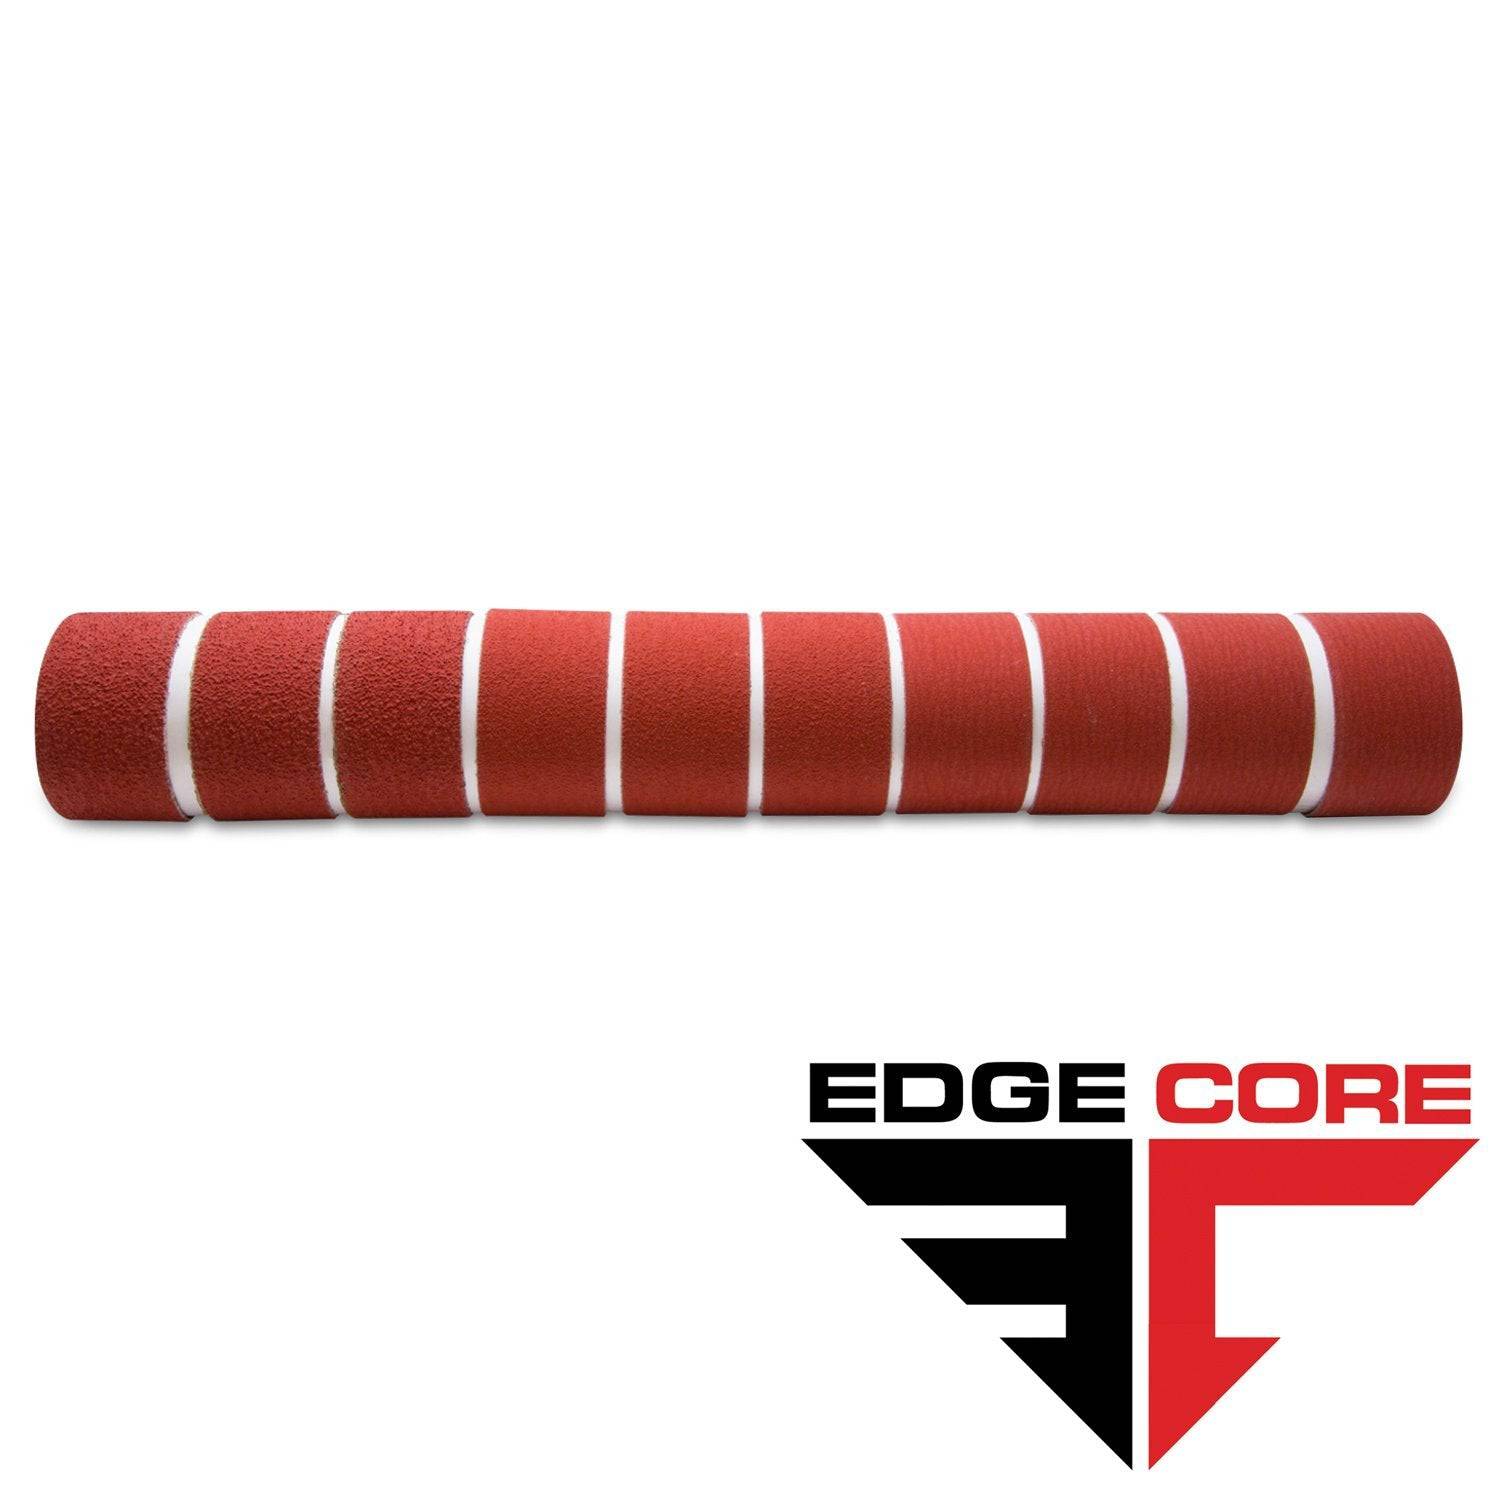
2 X 42 Inch Knife Makers Sanding Belts Assortment
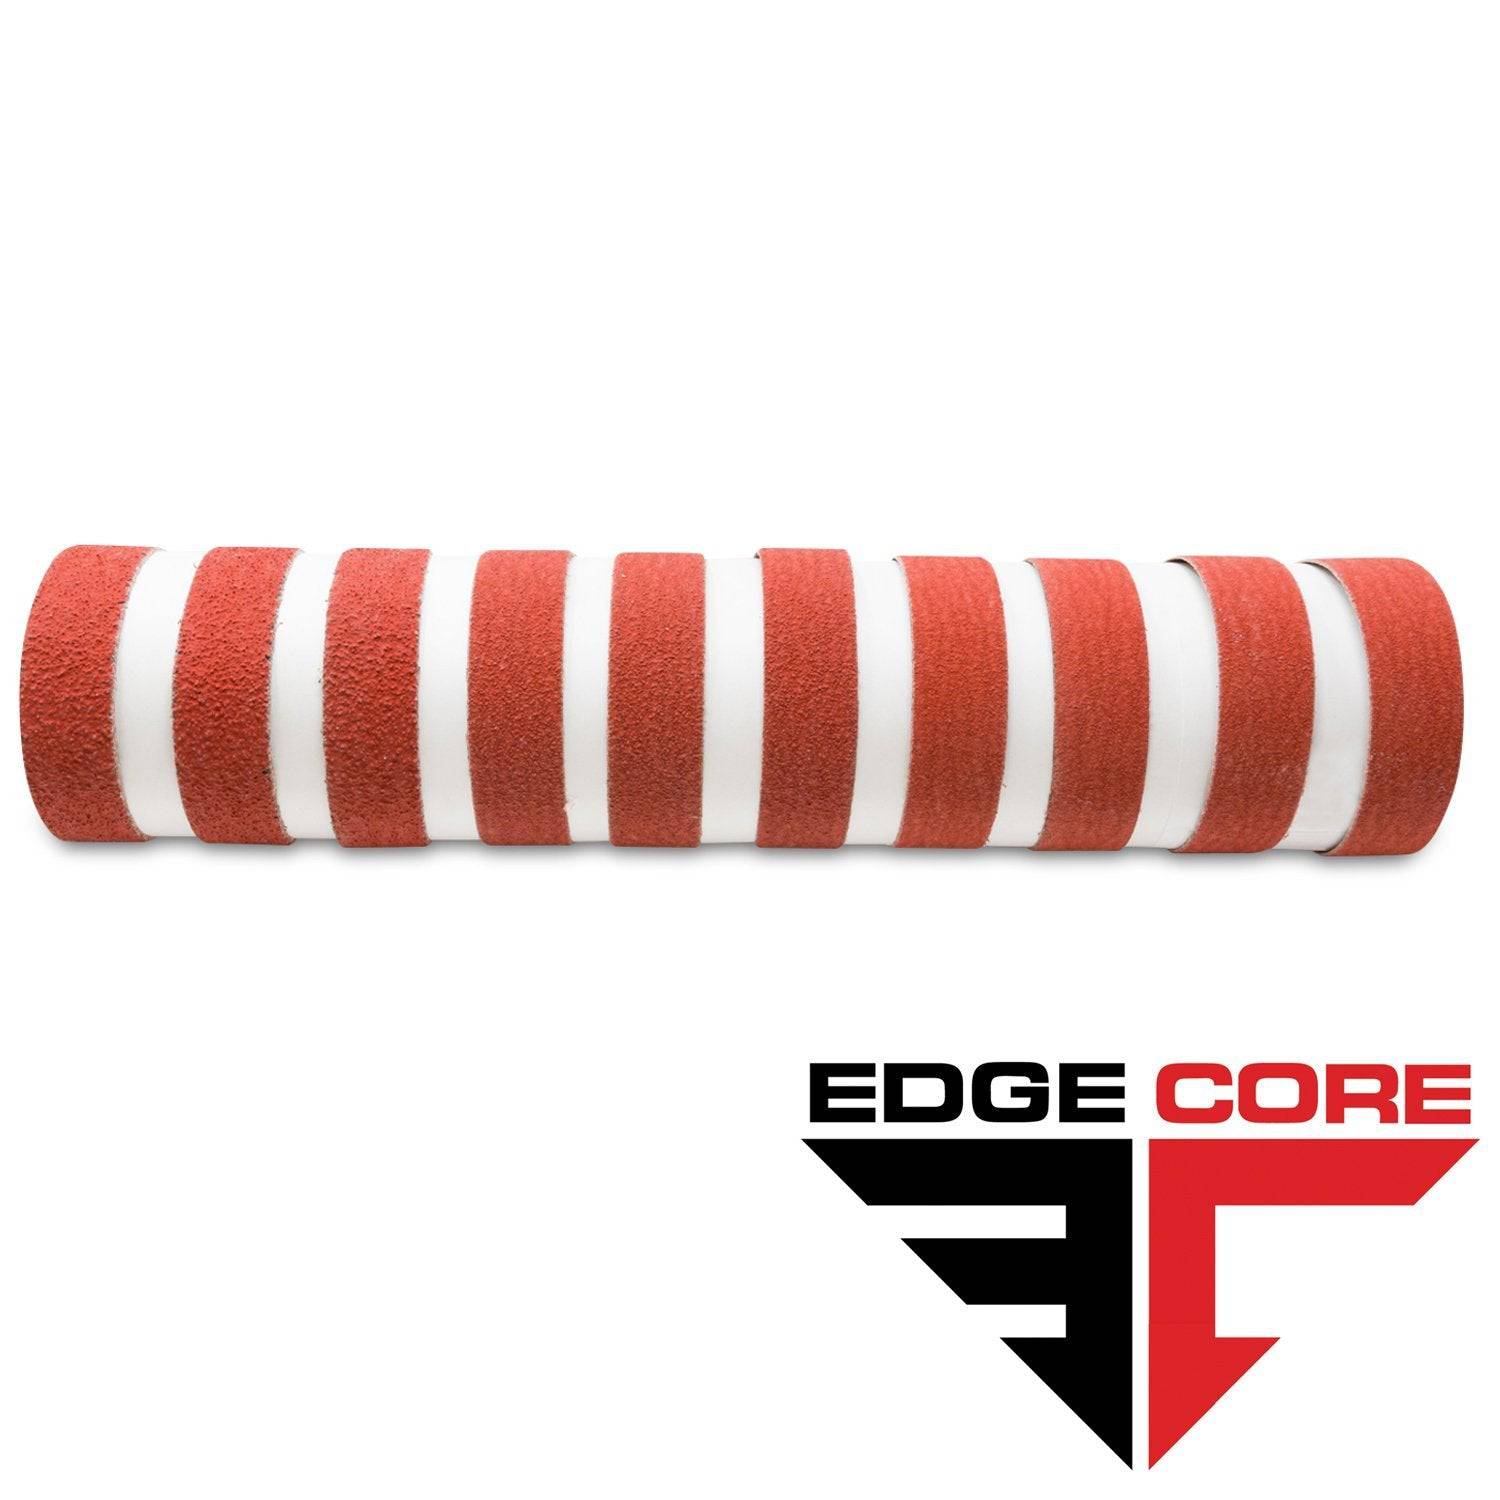
1 X 30 Inch Knife Makers Sanding Belts Assortment
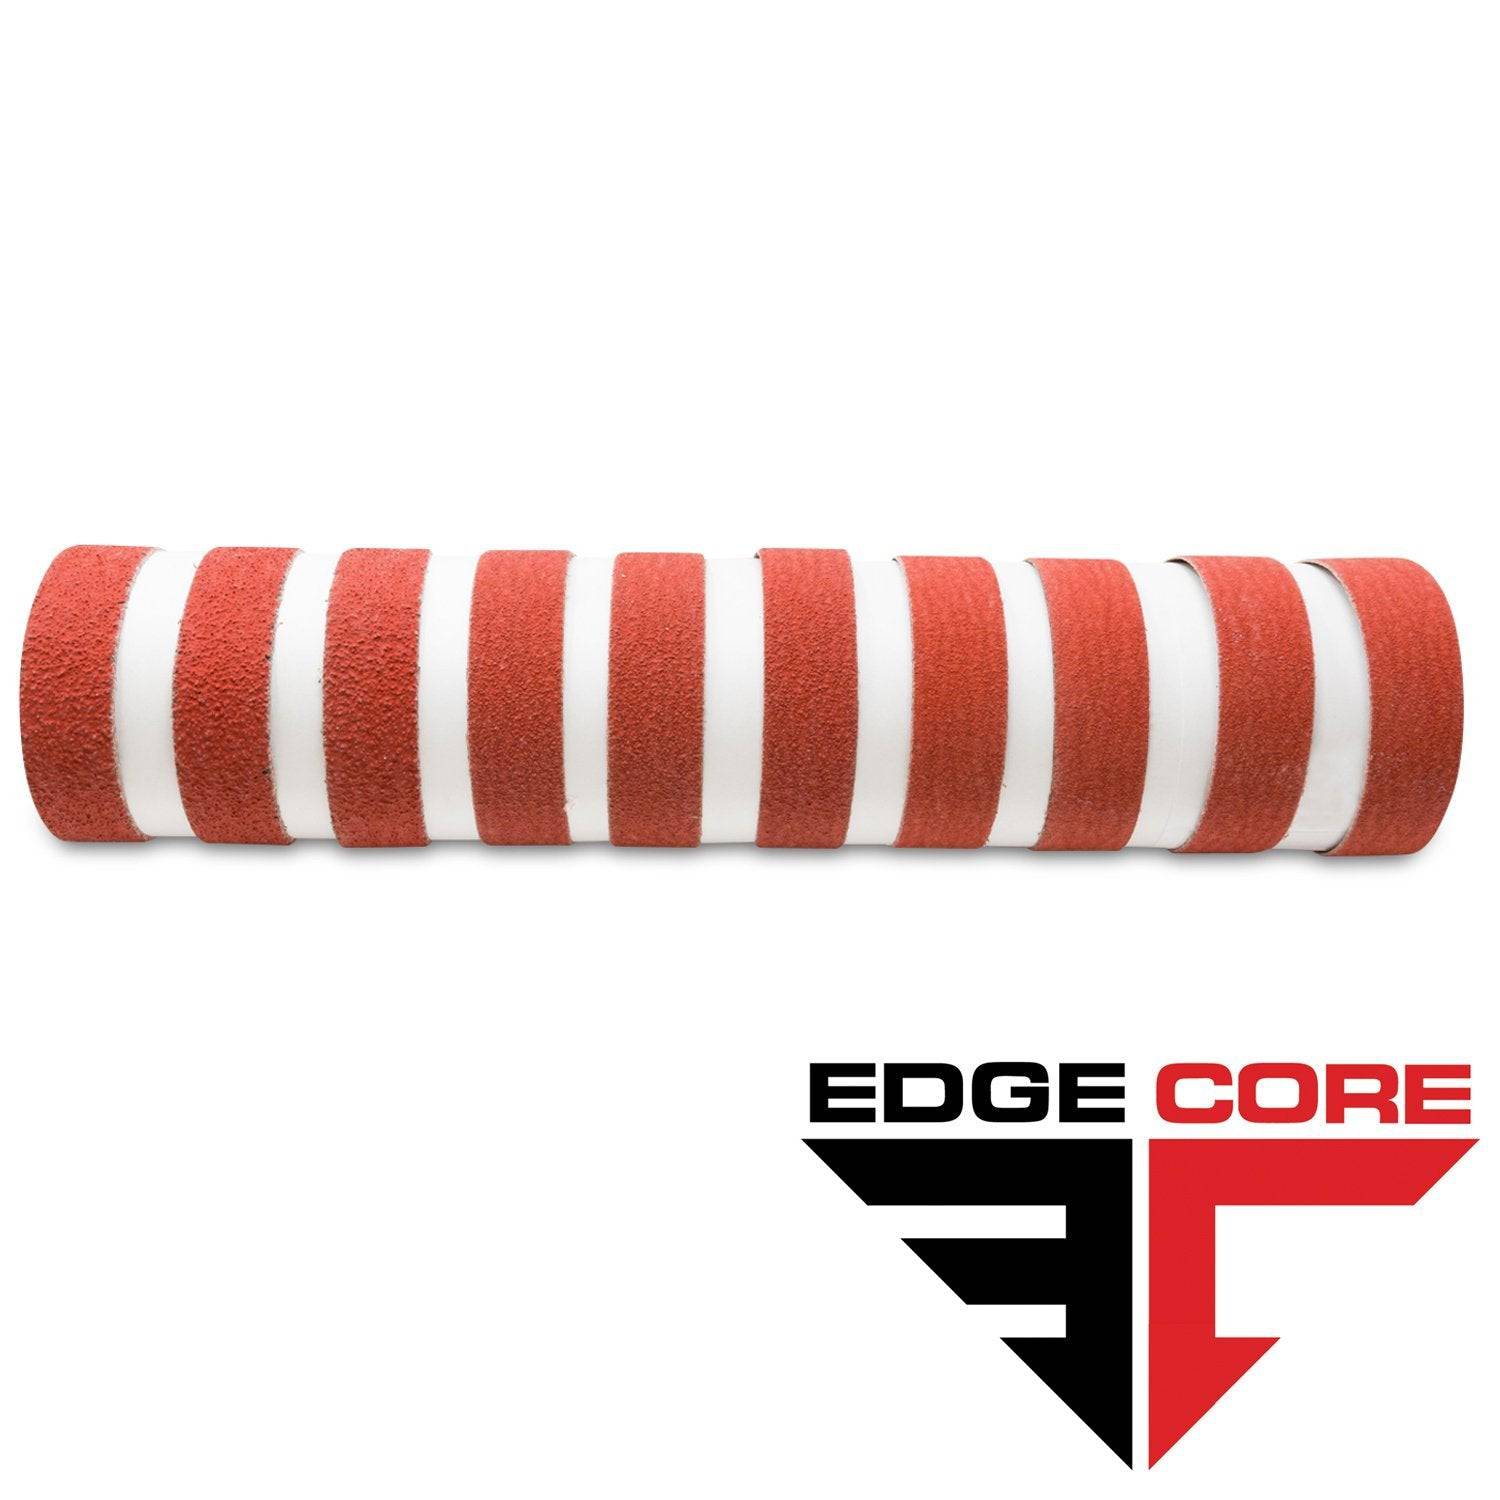
1 x 42 Inch Knife Makers Sanding Belt Assortment
Shop By Product Category


Why Choose Red Label?


