Tu carrito está vacío
Envío gratis a partir de $150 (No incluye productos de gran tamaño)
Envío gratis a partir de $150 (No incluye productos de gran tamaño)
Bandas de lijado
Discos de lijado

How To Make A Knife Without A Forge: Step-By-Step Guide
por David Kranker 12 lectura mínima

Quick Overview
Knife-making is a fulfilling activity that’s accessible even to those without a forge. Essential materials include quality steel, handle materials, epoxy, and rivets, while necessary tools comprise a variety of abrasives, a hacksaw or angle grinder, a drill, files, sandpaper, and safety gear. The process starts with designing the knife on paper, followed by cutting the steel, shaping the blade with abrasives, drilling handle holes, refining the edge, attaching the handle, and final sharpening and polishing. Red Label Abrasives offers complete abrasive kits tailored for knife-making, ensuring crafters have the right tools for every step.
Knife-making is a deeply satisfying endeavor that marries creativity with practical skill. Unfortunately, many crafters without access to a forge assume that there’s no way to make a quality blade, but nothing could be further from the truth. While forging is a time-honored method for creating knives, it's not the only way to craft a blade that's both beautiful and functional.
In this blog, the team at Red Label Abrasives outlines how you can make knives using abrasives. Perfect for enthusiasts who may not have the space, resources, or desire to work with a forge, this method is accessible yet capable of producing exceptional results. Whether you're looking to make your first knife or seeking an alternative to traditional forging methods, this guide is here to show you the way.
Materials and Tools Needed
To start making a knife without a forge, you'll need to gather a specific set of materials and tools. This approach focuses on shaping and refining a knife from a piece of steel using abrasives and other handheld tools. Below is an overview of what you'll need.
Materials
- Steel for the Blade:This is the foundation of your knife. Choose a high-quality steel that can hold an edge well and resist corrosion. Common choices include stainless steel varieties like 440C or high-carbon steels like 1095.
- Handle Material:The handle should be both comfortable to hold and durable. Materials can range from hardwoods, which offer a classic look, to composites and plastics that provide excellent durability and water resistance.
- Epoxy: This is a strong adhesive that securely attaches the handle to the blade.
- Rivets: These are used to reinforce the bond between the blade and handle. Choose a size and material that complements your handle material.
Tools
- Belt Grinder:If you don’t already have a belt grinder, you’ll need to purchase one. The industry standard is 2” x 72”, but these grinders can be expensive. Many knife makers start with a 1” x 30” grinder.
- Sanding Belts: You'll need a variety of grit sizes, starting with coarse grits (around 80-120) for initial shaping, and progressing to finer grits (up to 1000 or more) for finishing and polishing the blade.
- Hacksaw or Angle Grinder:These tools can cut the steel to the basic shape of your knife. A hacksaw offers control for detailed work, while an angle grinder is faster for removing large amounts of material.
- Drill: Use a drill for making holes in the blade (where it will be attached to the handle).
- Files:These tools are essential for refining the shape of the blade and smoothing out any rough cuts made during the initial shaping.
- Sanding Sheets: Sanding sheets are used in conjunction with your sanding belts for final smoothing and polishing of the blade and handle.
- Safety Equipment:Safety gloves and goggles are non-negotiable. Cutting, shaping, and grinding metal can produce sharp edges and flying debris.
Choosing Your Sanding Belts and Sanding Sheets
Choosing the right abrasive grains is key to achieving a well-shaped, sharp, and polished blade. The most commonly used abrasives for knife-making are aluminum oxide, ceramic, and zirconia. Each of these materials has specific properties that make them suitable for different stages of the knife-making process.
Aluminum Oxide
Aluminum oxide is a durable and cost-effective abrasive that works well on a variety of materials, including steel. It's great for initial shaping and sharpening of the knife blade. Its longevity and affordability make it a popular choice among knife makers for both rough grinding and finer sharpening tasks.
Ceramic
Ceramic abrasives are extremely hard and stay sharp longer than both aluminum oxide and silicon carbide, which makes them excellent for heavy material removal, especially on very hard steels. They generate less heat during grinding, reducing the risk of damaging the steel's temper.
Zirconia
Zirconia alumina is particularly effective for heavy grinding and shaping, offering a good balance between durability and cutting ability. It's tougher than aluminum oxide and works well on stainless and alloy steels. Zirconia alumina is especially useful for the initial rough shaping of the knife blade.
When selecting abrasive grains for knife making, consider the type of steel you're working with and the specific task at hand—whether you're removing large amounts of material, shaping the blade, or putting the final polish on your finished knife. Professional knife makers will often use a combination of these abrasives throughout the knife-making process to achieve the desired sharpness, shape, and finish on their blades.
Step 1: Designing Your Knife
Designing your knife is the foundational step in the knife-making process. It’s where your ideas take shape and begin to turn into tangible objects. This step allows you to visualize the end product, make adjustments easily, and ensure that the final product will be functional and aesthetically pleasing.
Importance of Planning Your Design on Paper
Sketching your knife design allows you to experiment with different shapes and sizes without committing resources. It's a low-cost way to refine your concept and identify potential issues. A detailed drawing helps in mapping out the dimensions of the blade and handle, ensuring that they will work together. It also serves as a reference throughout the crafting process, guiding your material selection and shaping.
Considerations for Blade Size, Shape, and Handle Ergonomics
- The blade's size and shape should be suited to its intended use. For example, a chef's knife will have a different profile than a hunting knife. Consider the blade's length, width, and thickness. The shape of the blade affects its cutting ability, strength, and overall balance.
- The handle should fit comfortably in the hand, providing a secure grip without causing fatigue. The size of the handle should complement the blade and be proportionate to the overall knife size. Consider the curvature, thickness, and length of the handle to ensure it matches the intended user's hand size.
Tips for Beginners on Simple but Effective Designs
- Start with Simple Shapes:Simple designs are easier to make and often more functional. A straightforward drop-point or straight-back blade is a good starting point.
- Focus on Functionality:Ensure the design serves its intended purpose well. A well-designed knife performs its function efficiently, whether it's slicing, chopping, or carving.
- Consider the Balance:A well-balanced knife feels better in the hand and is easier to control. The balance point should ideally be where the blade meets the handle or slightly towards the blade.
- Be Mindful of Proportions:Aesthetic appeal often lies in the proportions. A good rule of thumb is to maintain a pleasing ratio between the blade and handle lengths.
By taking the time to plan your knife design carefully on paper, you set the stage for a more successful and satisfying knife-making project. Remember: the goal is to create a knife that is not only good-looking but also comfortable to use and suited to its intended tasks.
Step 2: Cutting Out the Blade Shape
Once you have your knife design ready, the next step is to cut the steel to the rough shape of your blade. The tools most commonly used for this task are a hacksaw and an angle grinder. Each tool has its advantages, and choosing between them depends on the material you're working with and your comfort level with each tool.
Using a Hacksaw
A hacksaw offers precision and is excellent for making more controlled cuts. It's particularly useful if you're working on a smaller knife or need to make intricate cuts.
Select a high-tensile blade designed for cutting metal and clamp your steel firmly to a stable work surface to prevent movement. Then use a non-permanent marker to outline your design on the steel. This serves as your cutting guide. Once done, use steady, controlled strokes, letting the saw do the work. Apply consistent pressure and keep your movements smooth to avoid jagged edges.
Using an Angle Grinder
An angle grinder is more powerful and can remove material quickly, making it ideal for larger knives or when you need to cut through thicker steel.
Use a cutting disc suitable for the type of steel you're working with and always wear protective goggles, gloves, and hearing protection when using an angle grinder. Like with the hacksaw, ensure the steel is firmly clamped down. Keep the tool steady and move through the steel smoothly. Avoid forcing the grinder through the material, as this can cause the disc to bind or break.
Safety Tips and Techniques for Precise Cutting
- Wear Appropriate Safety Gear: Regardless of the tool, wearing safety goggles and gloves is essential to protect against flying sparks and sharp edges.
- Keep Your Work Area Clean:A clutter-free workspace prevents accidents.
- Measure Twice, Cut Once: Double-check your design and measurements before cutting to minimize mistakes.
- Stay Focused: Keep your attention on the cutting process to maintain control over the tool and achieve cleaner cuts.
- Cool the Metal:If the steel becomes too hot to touch, pause and allow it to cool. Overheating can alter the steel's properties.
By following these guidelines, you can safely and accurately cut out the rough shape of your knife blade, preparing it for the next stages of knife making. Whether you choose a hacksaw for precision or an angle grinder for speed, the key is to work with care and attention to detail.
Step 3: Shaping The Blade With A Belt Grinder
After cutting out the basic shape of your knife, the next step involves refining this shape and beginning to create the blade's final form. This is where a belt grinder plays a key role. Proper use of the grinder not only shapes your knife but also starts to introduce the edge and finish that defines a knife's quality.
Refining Blade Shape
Begin with a coarse belt (around 80-120 grit). The goal is to remove the excess material quickly and start shaping the blade toward its final form. At this stage, you're looking to define the bevels of the blade and start forming the edge, not to finish it.
As you work, apply even pressure and move the blade against the abrasive in steady, controlled passes. Focus on removing material uniformly to avoid creating flat spots or divots in the metal and frequently stop to check your progress. This is important to ensure you're not removing too much material and that the shape is consistent with your design.
Progressing To Finer Grits
Once you're satisfied with the shape of the blade, switch to finer grits (starting with around 200-400 grit and moving up to 600-800 grit or higher). This step is about smoothing the blade's surface and refining the edge. Finer belts remove the scratches left by coarser materials and begin to polish the steel.
Remember to apply even pressure and maintain consistent contact with the belt surface. This ensures a uniform finish and helps prevent warping or creating uneven spots on the blade.
Maintaining Symmetry and Sharpness
Use a caliper or a similar measuring tool to regularly check the symmetry of your blade, especially along the edge and the spine. (Consistency is key to a well-balanced and effective knife.) As you work toward finer grits, begin to carefully form the knife's edge. This doesn't mean achieving its final sharpness yet but rather gradually creating a thin profile that will become sharp with further refinement.
Pro Tip:When using very fine grits, a light touch is essential. The goal is to polish and refine, not to remove significant amounts of material. This stage enhances the blade's appearance and prepares it for the final sharpening process.
Step 4: Drilling The Bolster Holes
After shaping the blade, the next step is to drill holes for the rivets that will secure the handle scales to the blade. This process creates a durable and strong handle that feels comfortable in hand and aligns perfectly with the blade.
Determine the placement of your rivets along the tang. Typically, two to three rivets are sufficient, depending on the handle's length and design. Use a fine-point marker or a scribe to mark the spots where you will drill the holes. Ensure the marks are clearly visible and accurately placed for symmetry and balance.
The size of the drill bit should correspond to the size of the rivets you plan to use. It's generally recommended to use a drill bit that is the same diameter as the rivets or slightly larger to facilitate easy insertion. For most knife projects, drill bits ranging from 1/8 inch to 1/4 inch are commonly used. Choose a drill bit material that is suitable for cutting through the type of steel your blade is made from. High-speed steel (HSS) bits are a good choice for most steels used in knife making.
Drilling Techniques
- Secure the blade to a stable work surface using clamps. This prevents the blade from moving and ensures accuracy while drilling. To prevent the drill bit from wandering, use a center punch to create a small indentation at each marked spot. This gives the bit a place to sit as you begin drilling.
- Set your drill to a slow to moderate speed to maintain control and reduce the risk of overheating the bit or the steel. Apply steady pressure, letting the drill do the work without forcing it.
- If the bit or steel starts to get too hot, pause to let it cool down. You can also use a cutting fluid or water to help keep the temperature down and prolong the life of your drill bit.
- After drilling, use a small file or deburring tool to remove any sharp edges or burrs around the holes. This ensures a clean fit for the rivets and a comfortable grip on the finished handle.
Step 5: Refining The Blade Edge
This stage involves careful work with fine abrasives to hone the edge to a sharpness that’s both effective and long-lasting. Here’s how to get the best results:
- Grit Progression:To define the edge bevel, you’ll want to start with a belt or sanding sheet in the 400 to 600 grit range. From there, you can gradually move up to 1,000, 2,000, or even higher. Each step should refine the edge further, removing scratches from the previous grit and bringing the edge closer to a razor-sharp finish.
- Consistent Stroke Pattern: Whether you’re using a whetstone, sandpaper, or a sharpening system, maintain a consistent angle and direction of stroke. This consistency is key to achieving a uniformly sharp edge.
Importance of Maintaining the Correct Angle
The angle at which you sharpen the blade affects its performance. A more acute angle (lower degree) will result in a sharper edge, but it may be more prone to damage. A slightly obtuse angle (higher degree) offers more durability but may not be as sharp. Most knives are sharpened at an angle between 20 to 25 degrees per side.
For beginners, using an angle guide can be helpful. This tool helps maintain a consistent angle throughout the sharpening process. Consistency in angle is important not just for achieving peak sharpness but also for ensuring the edge lasts longer and performs well under use.
Pro Tip:Test the sharpness of your blade regularly as you refine the edge. You can do this by carefully slicing through paper or shaving a small area of hair from your arm. If the blade doesn’t perform as expected, adjust your technique, check your angle, or move through the grits more slowly.
Step 6: Attaching The Scales
After drilling the bolster holes in the blade, prepare the handle scales by cutting them to the rough shape of the handle and drilling corresponding holes for the rivets. Then mix a high-quality epoxy resin according to the manufacturer's instructions and apply a thin, even layer of epoxy on the mating surfaces of the blade tang and the handle pieces. Be precise to avoid excessive overflow while ensuring full coverage for a strong bond.
Carefully align the handle pieces with the blade and insert the rivets through the holes. Clamp the assembly together tightly, wiping away any excess epoxy that squeezes out. Allow the epoxy to cure fully, as per the instructions—usually several hours or overnight. Once the epoxy has cured, trim any excess material from the handle to match the shape of the blade tang and begin shaping the handle to its final form, ensuring a comfortable grip.
Start with a coarse grit to remove excess material quickly and then move to finer grits to smooth the handle to a comfortable finish. A smooth, polished handle not only looks great but also provides a comfortable, slip-resistant grip. After polishing, inspect the handle for any sharp edges or unfinished areas. The transition between the handle and the blade should be seamless, with no gaps or misalignments.
Step 7: Final Sharpening and Polishing
Begin with a fine-grit abrasive (around 1000 grit) and work your way up through increasingly finer grits. The exact grit sequence might progress through 1500, 2000, and up to 2500 or higher, depending on the level of polish desired.
Use a consistent, gentle motion in the same direction to apply the abrasive. Whether you’re using a hand-rubbing technique with sandpaper or a mechanical polisher, the key is consistency and patience. The goal is to remove any and all scratches from the blade surface and achieve a smooth, reflective finish. Frequently inspect the blade under a strong light to ensure you haven’t missed any spots: it might be necessary to go back with the same grit or a slightly coarser one if you find imperfections.
Pro Tip:After sharpening, a honing rod can be used for the final alignment of the edge, removing any micro-burrs and polishing the cutting edge to a razor-sharp finish.
Stock Up On The Abrasives You Need To Make Knives
Creating a high-quality knife without a forge is not only possible but also rewarding. At Red Label Abrasives, we offer complete knife-making kits with a range of high-quality abrasives, ensuring that you have the right grits and materials at hand to achieve the desired results. We also offer premium-quality sanding belts, sanding discs, sanding sheets, and other abrasive products for your project needs. If you have questions or would like to place an order, please contact us by calling 844-824-1956 or filling out our contact form today.Ver artículo completo

Clip Point vs Drop Point Blades: Which Is Better?
por David Kranker 9 lectura mínima
Ver artículo completo ABOUT THE AUTHOR
David Kranker is a writer and creative maker who has been covering the abrasive and knife-making industries on the Red Label Abrasives Blog since 2020. David spends his time continually researching sanding and bladesmithing to provide readers with the latest and greatest information. In his free time, David utilizes abrasives for many different home and auto projects at his home in Delton, MI.
Belt Packs Made For Knife Makers
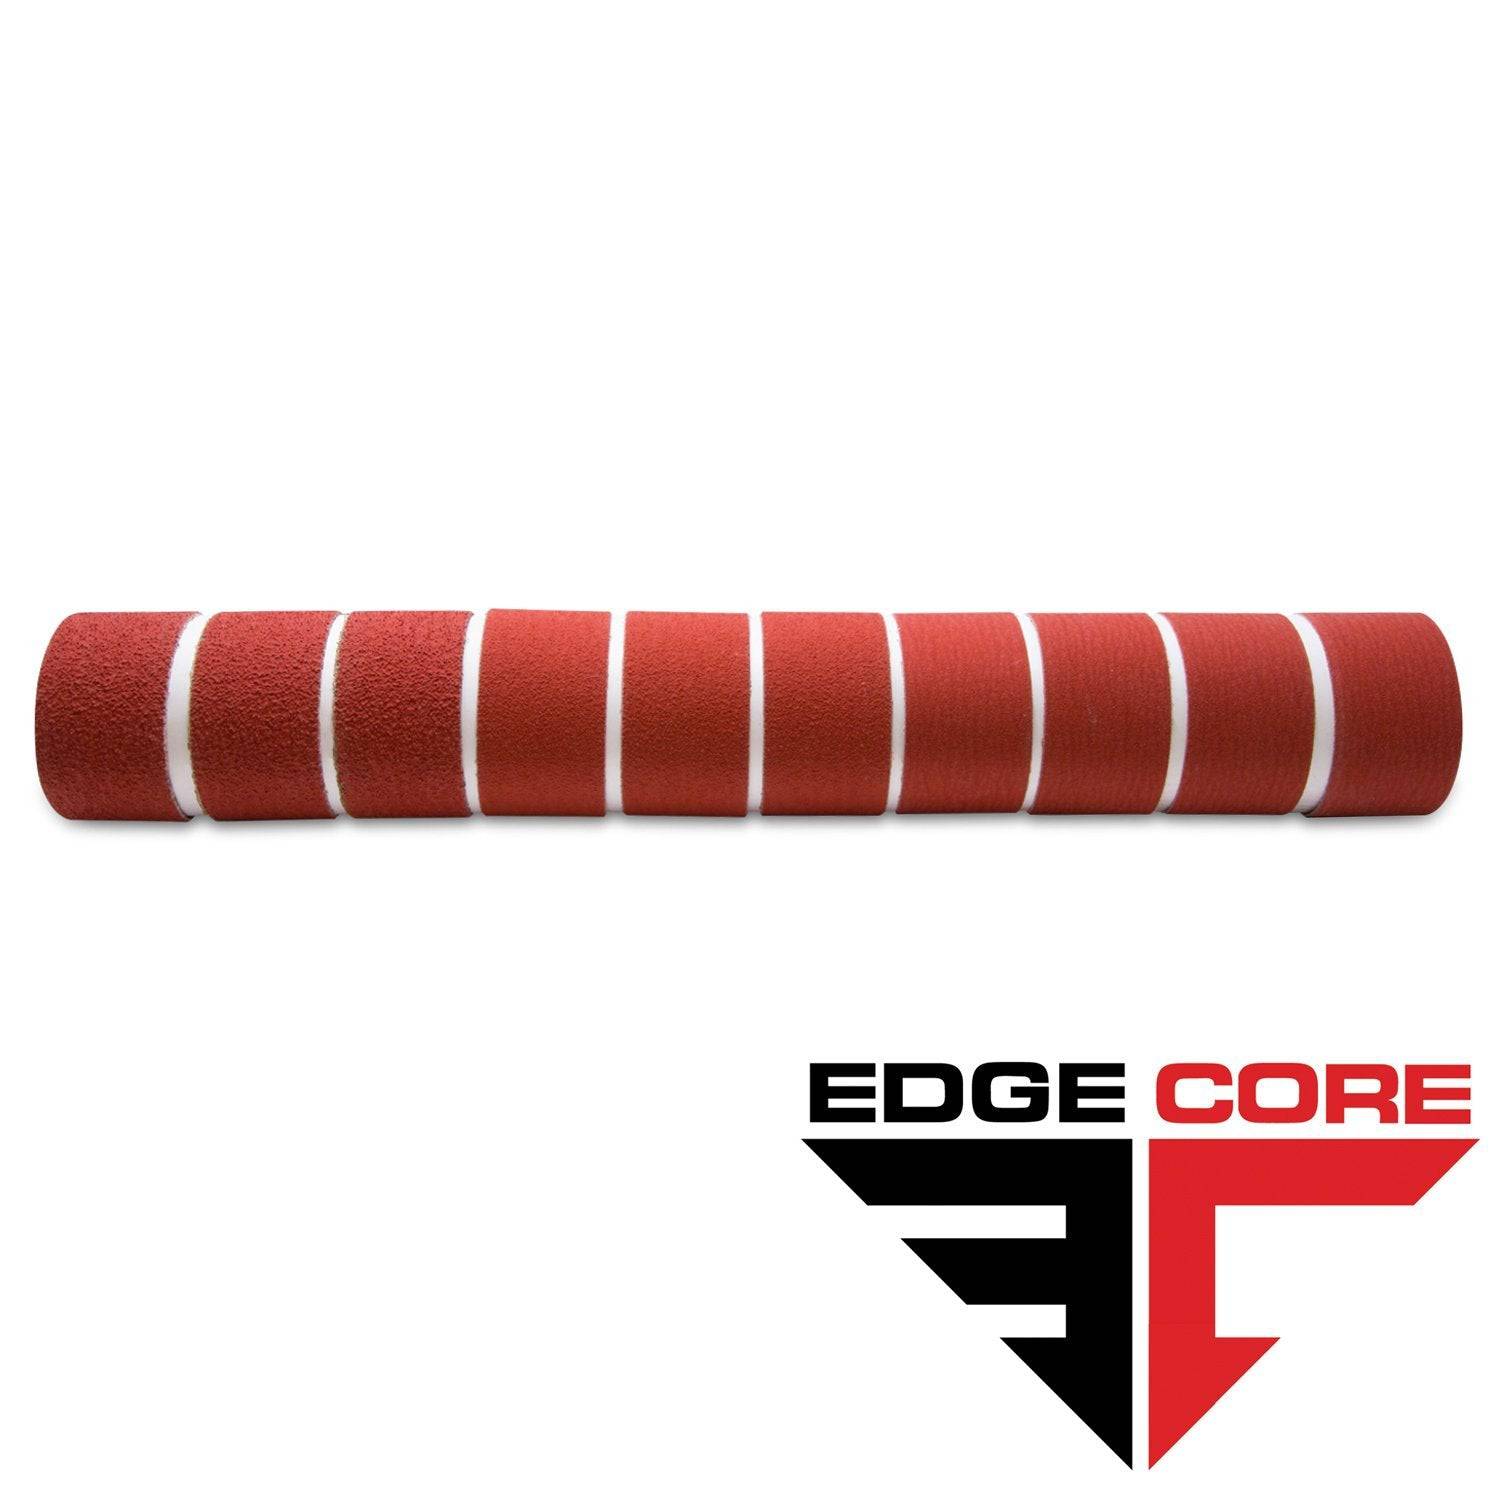
2 X 72 Inch Knife Makers Sanding Belts Assortment
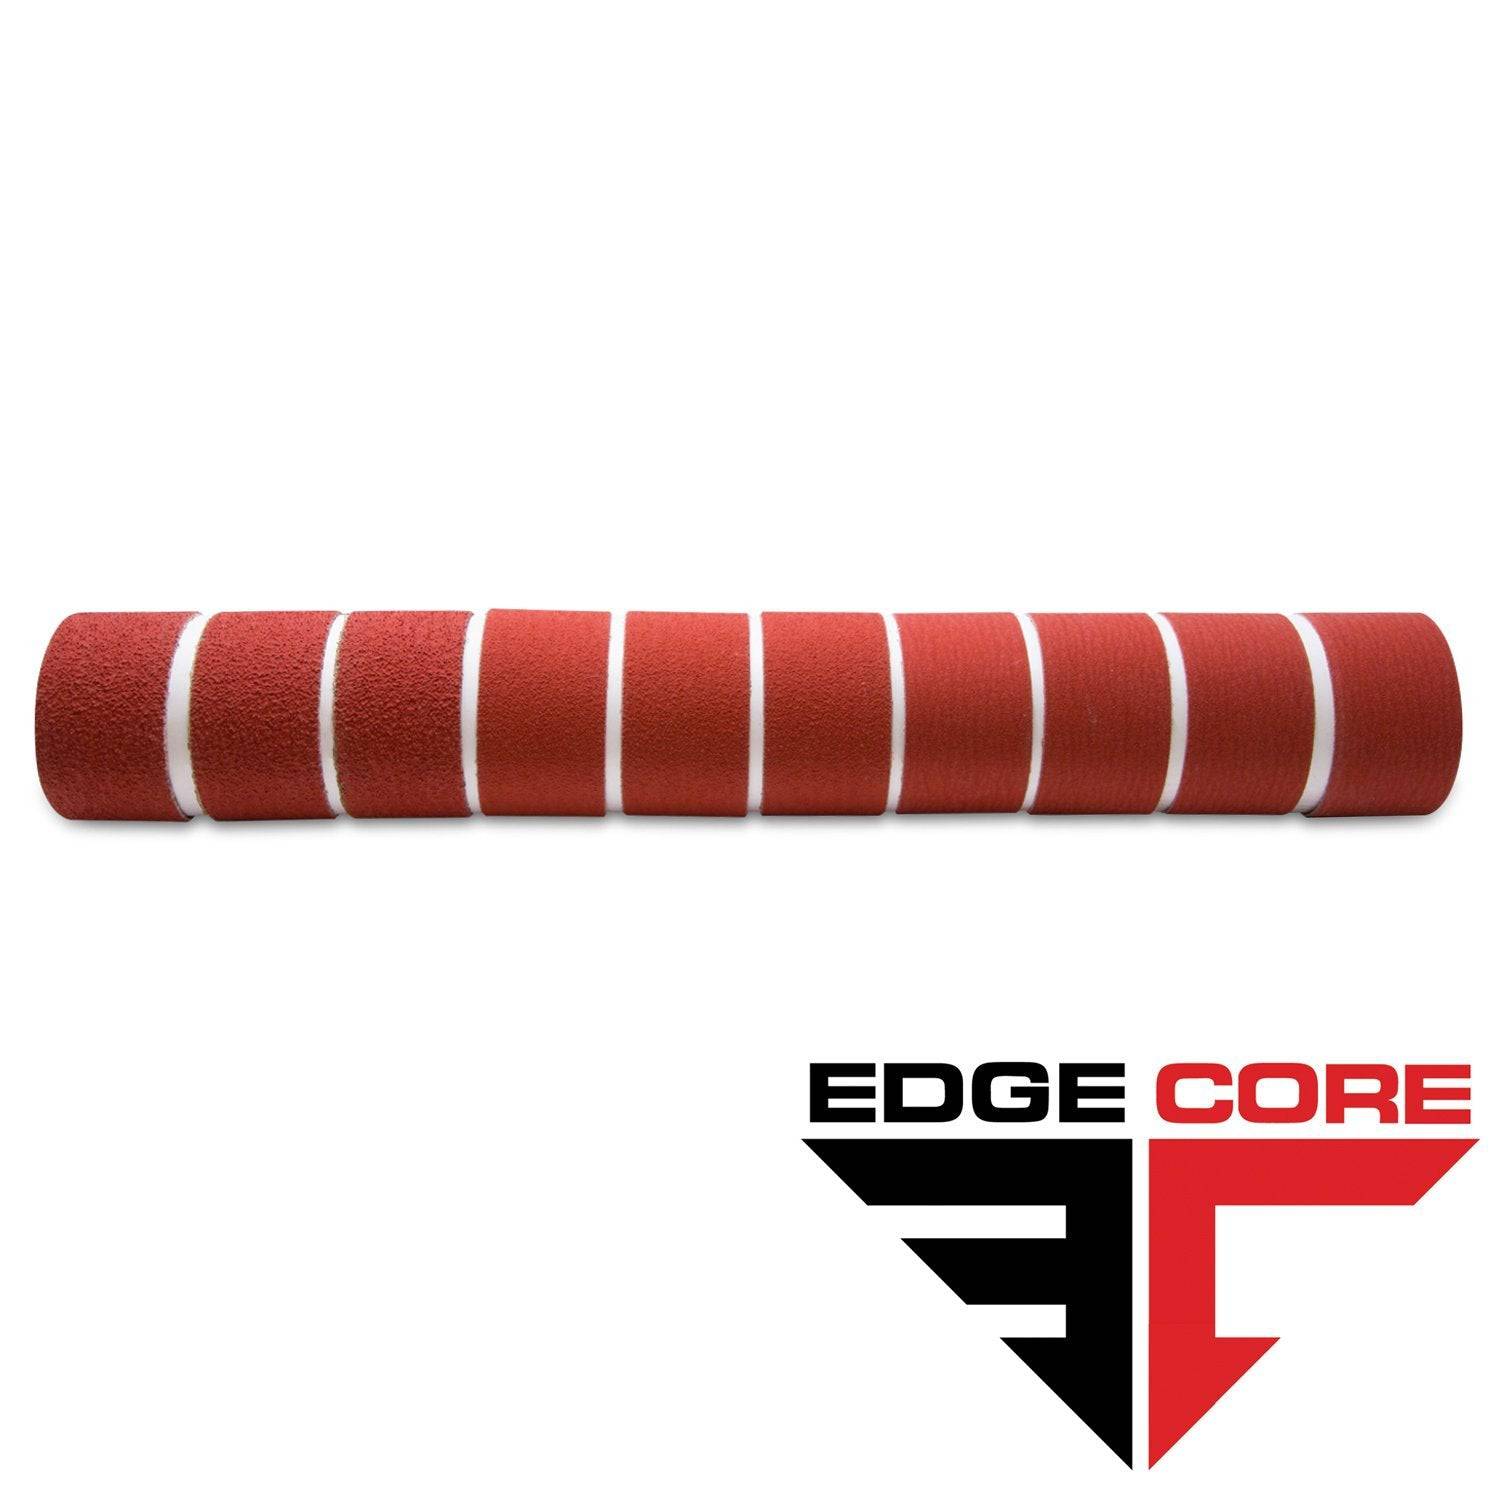
2 X 60 Inch Knife Makers Sanding Belts Assortment
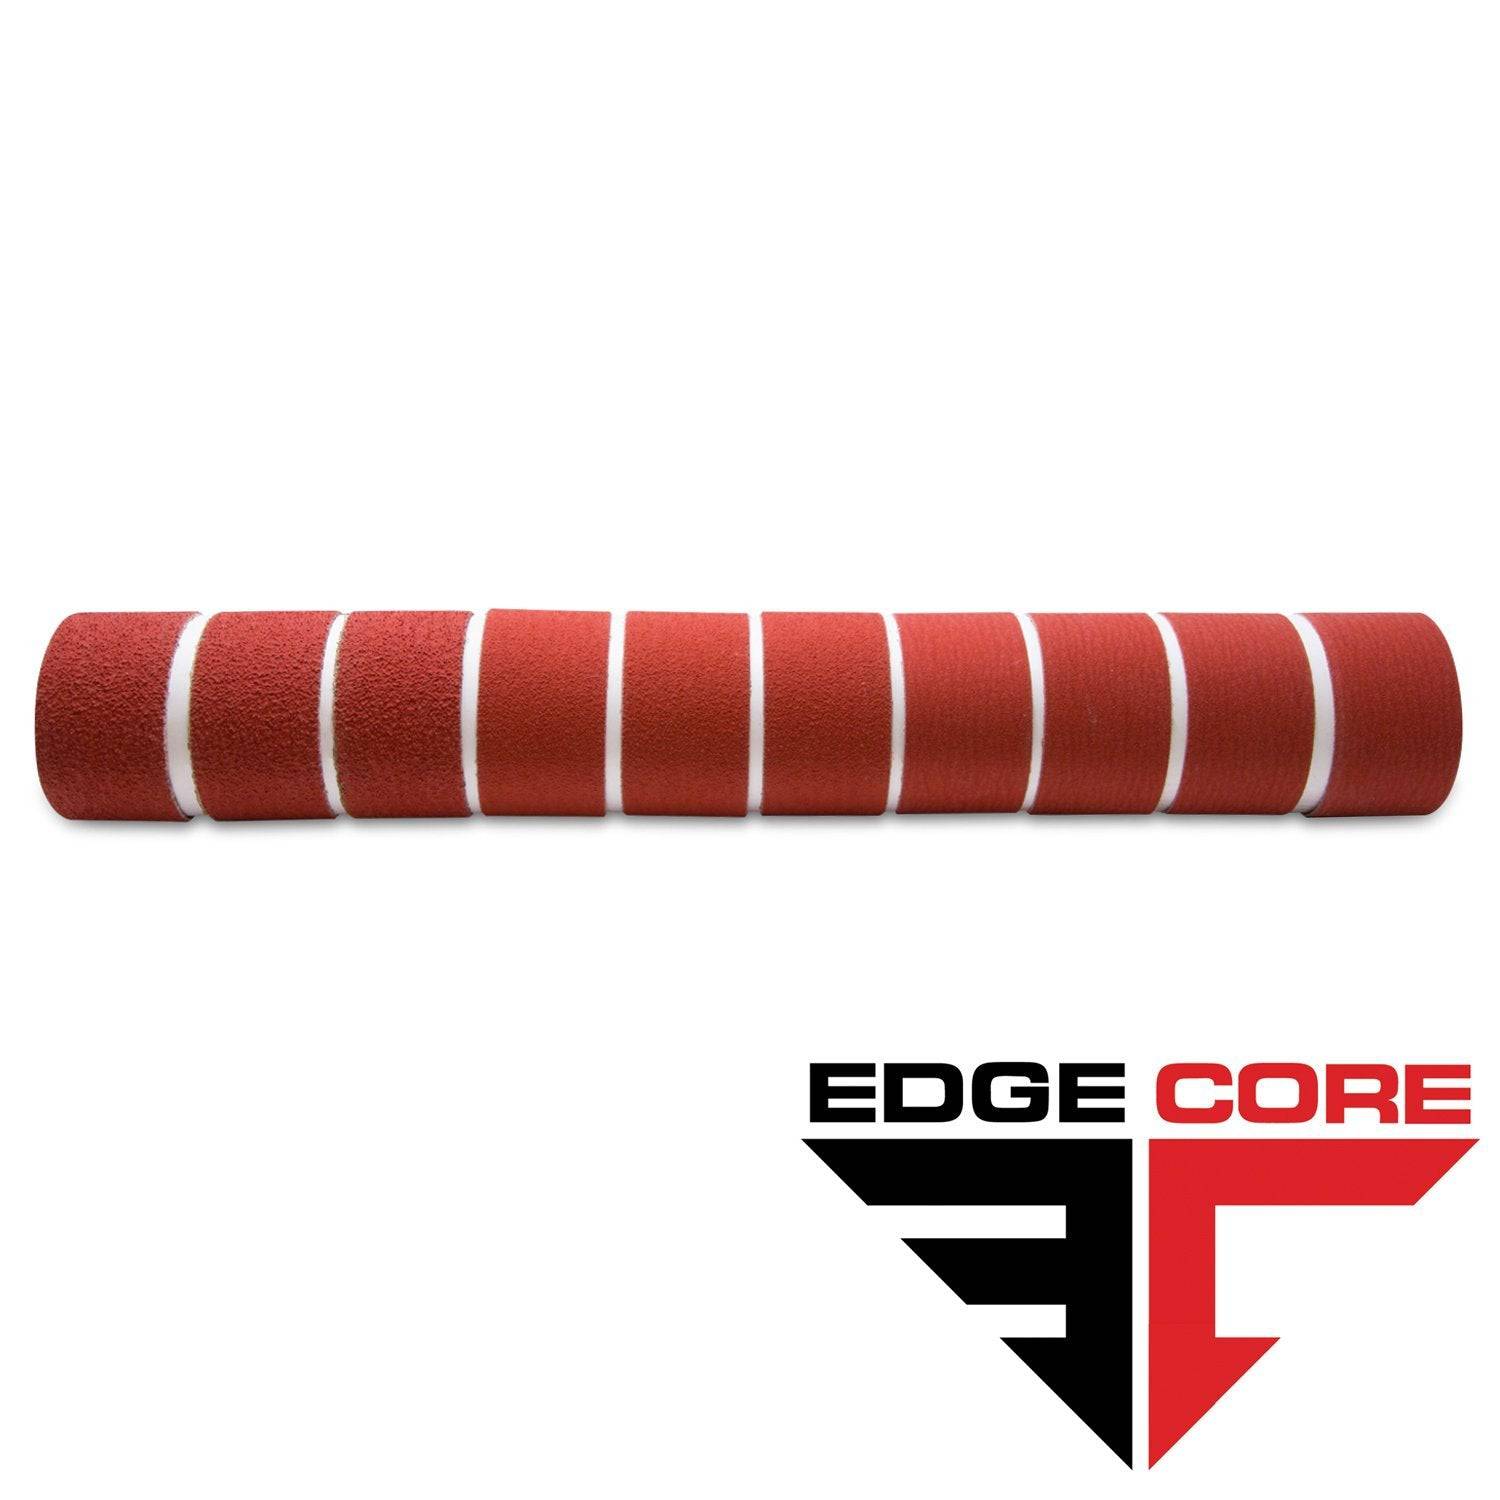
2 X 48 Inch Knife Makers Sanding Belts Assortment
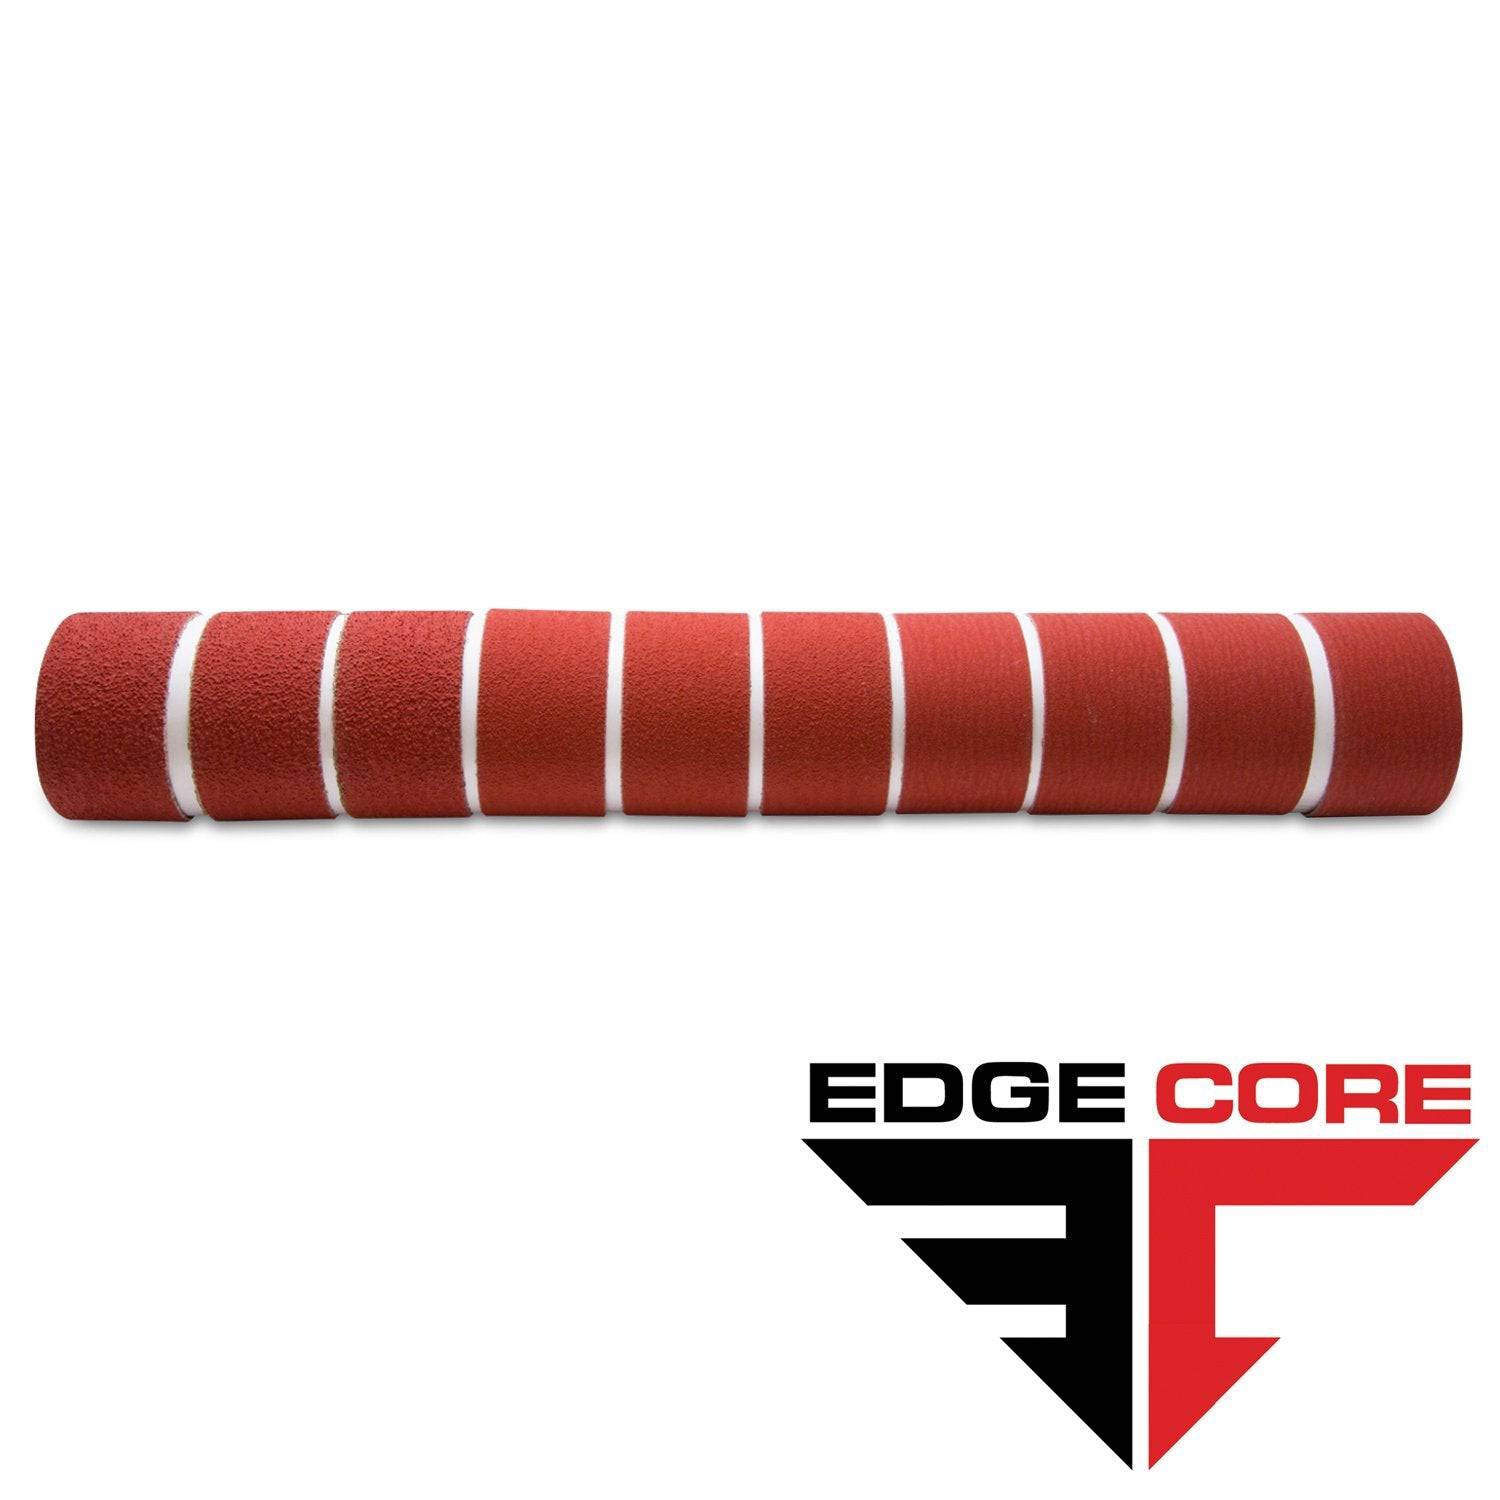
2 X 36 Inch Knife Makers Sanding Belt Assortment
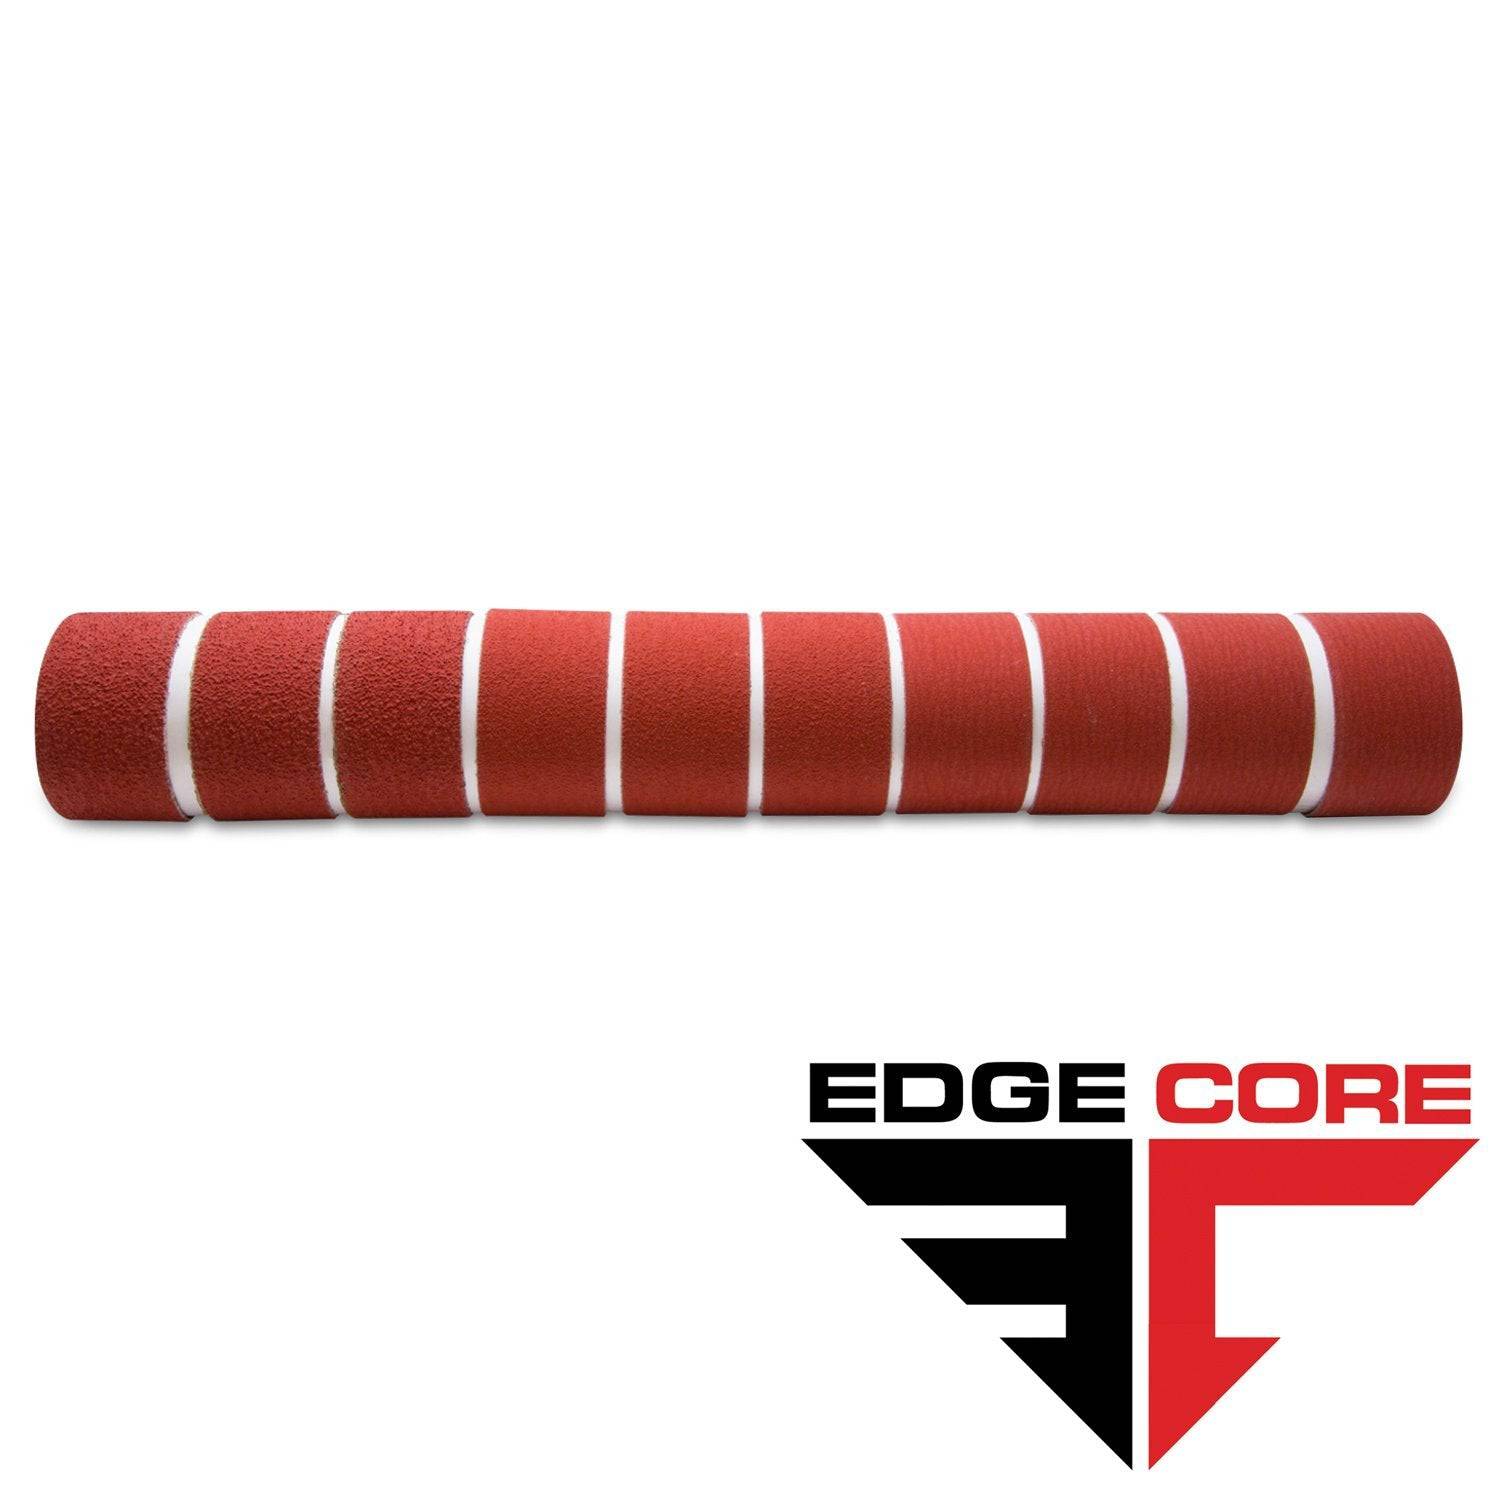
2 X 42 Inch Knife Makers Sanding Belts Assortment
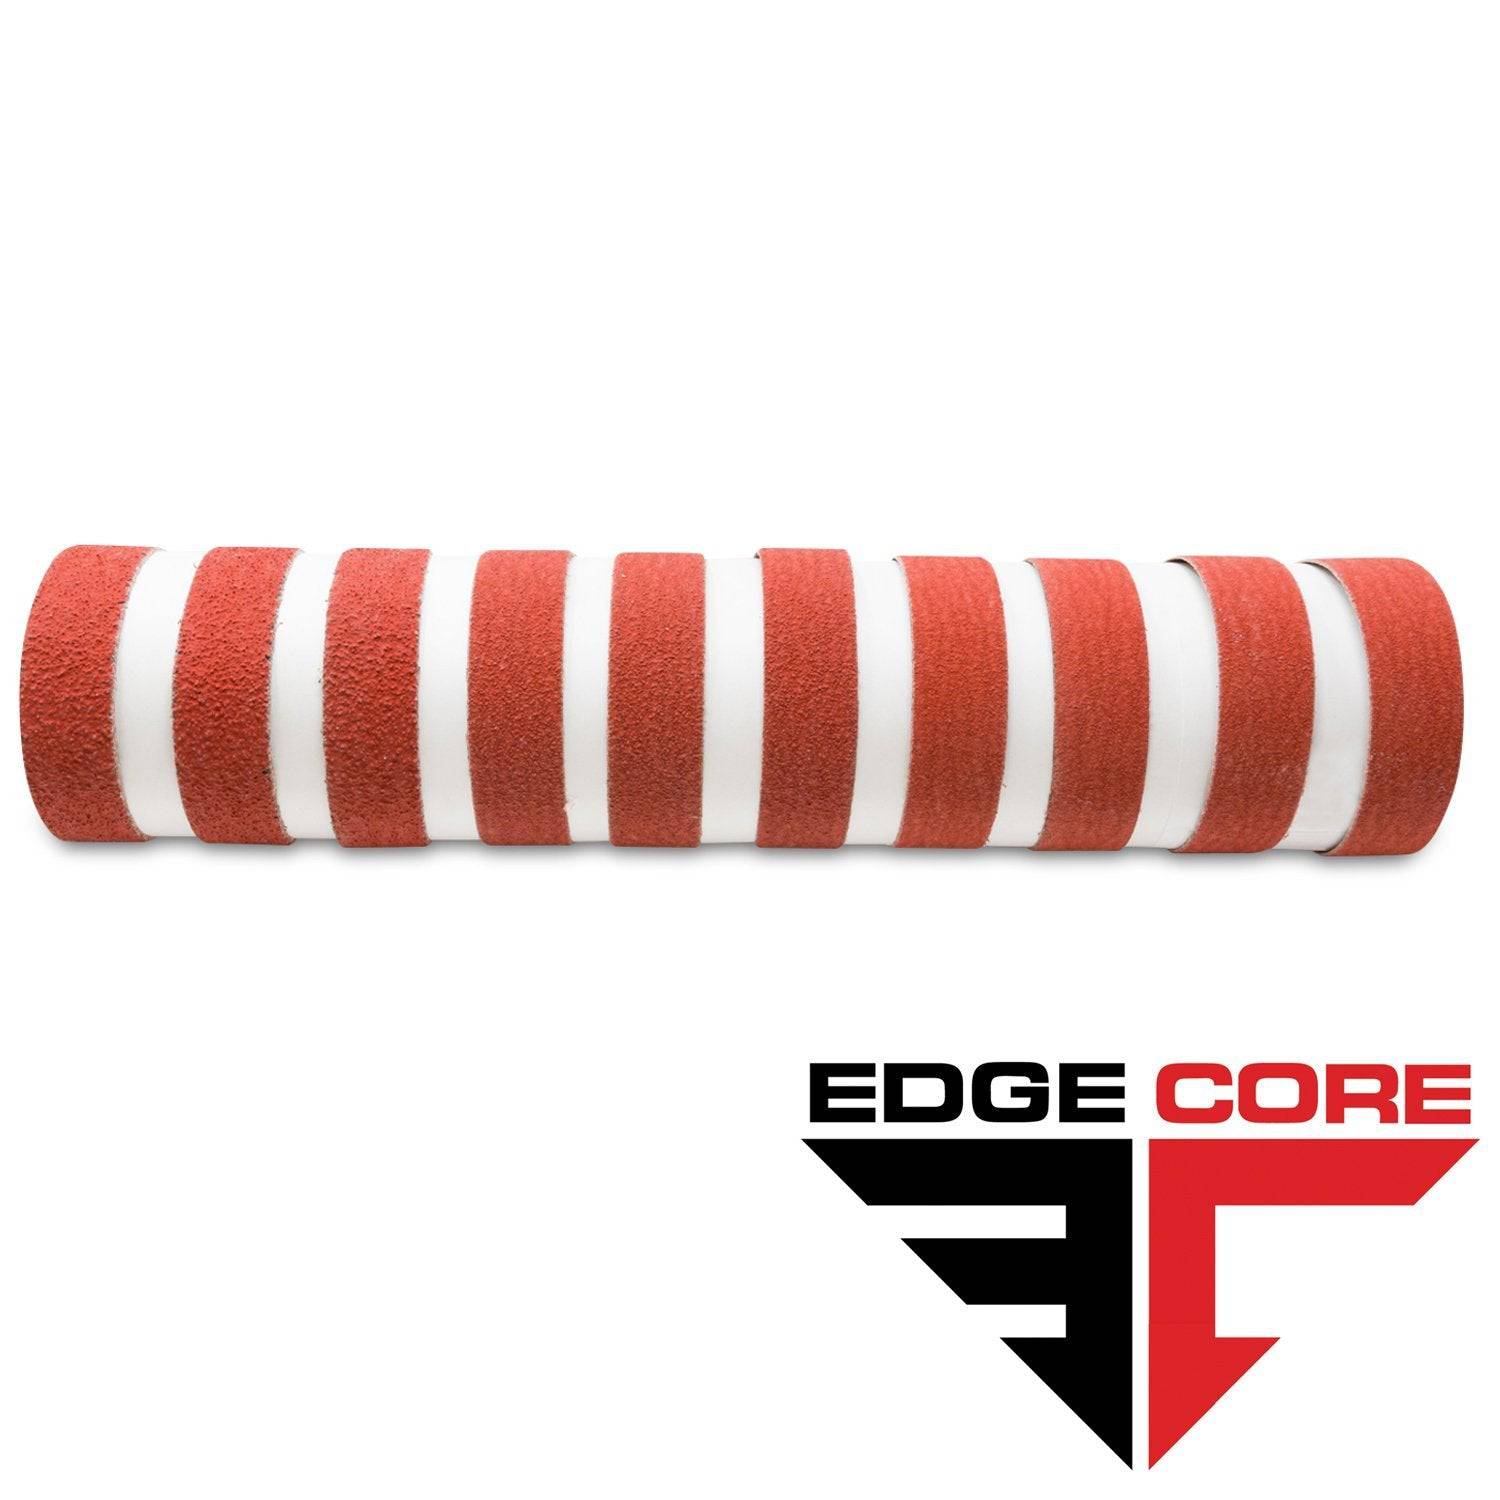
1 X 30 Inch Knife Makers Sanding Belts Assortment
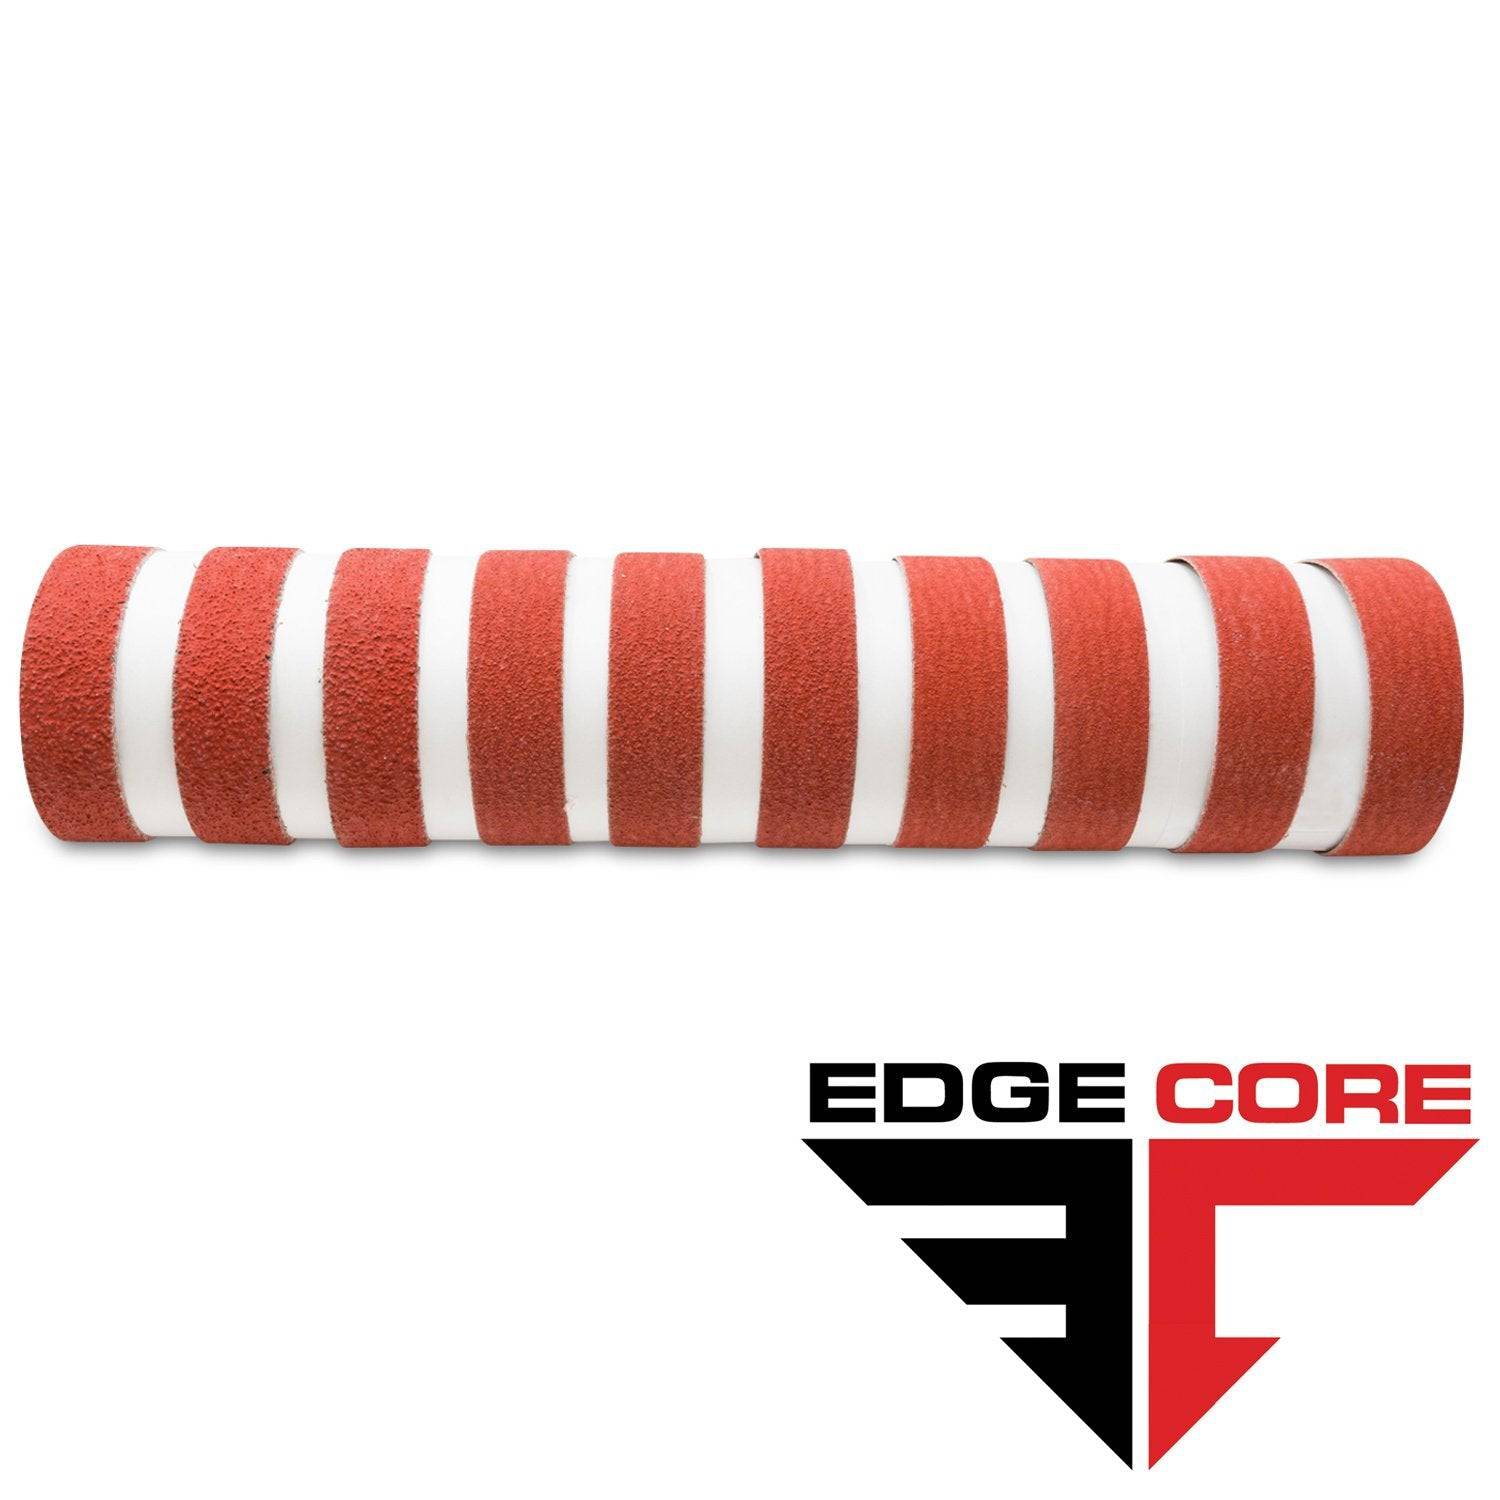
1 x 42 Inch Knife Makers Sanding Belt Assortment
Shop By Product Category


Why Choose Red Label?


