Your Cart is Empty


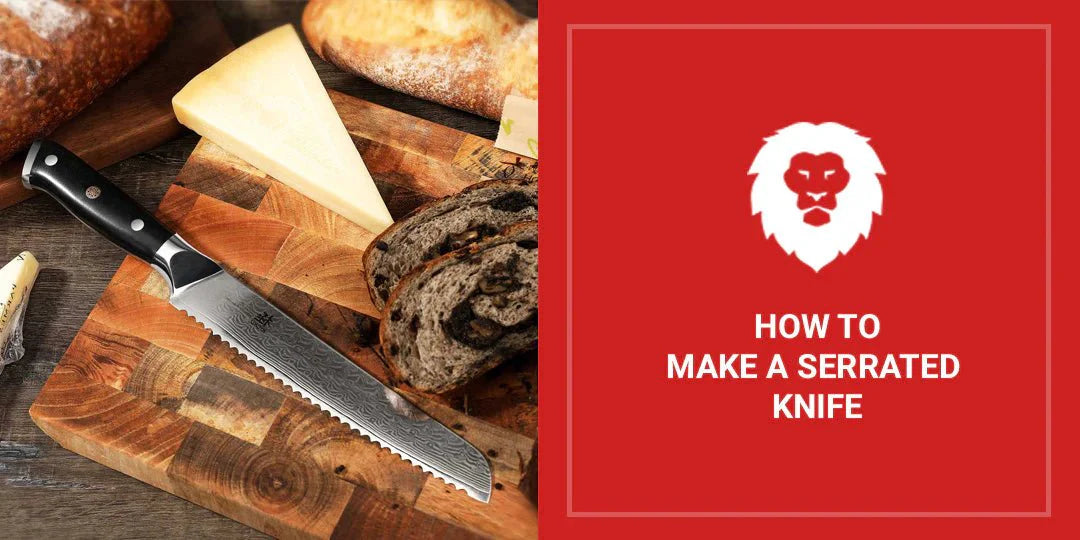
How To Make A Serrated Knife

Quick Summary
Making serrated knife blades requires a few more steps than creating a smooth-edged knife. To make serrations, you’ll need to mark out your pattern, cut in guides, shape the serrations, and clean up the backside of the blade.
Jump to:
- Advantages of Serrated Blades
- Advantages of Handcrafted Serrated Blades
- Steps To Create A Serrated Knife
- Sharpening a Serrated Blade
A lot of modern knives feature serrated blades. These blades, which look like they have small, jagged ‘teeth’ on one or both sides, look impressive and are designed to cut through materials that might be too tough for a regular blade edge.
Making serrated blades can be more complex than creating a smooth-edge knife, so in this blog, the team atRed Label Abrasives shares some tips on how to make serrated blades.
Advantages of Serrated Blades
The main advantage of serrated blades is their greater cutting power. They can rip through plastics, textiles, bone, and other materials that can be problematic for regular blades. Other advantages include:
- Serrations can clear cuts more effectively, especially when you’re ripping hardwoods.
- They have greater piercing power than a smooth blade.
- Serrations can extend the cutting surface of the blade because they have more edges to cut with.
- The multiple sharp edges make it easier to snag and cut fibrous materials like rope or line.
- Even when dull, serrations do an effective cutting job because more pounds per square inch are applied to a smaller area.
Advantages of Handcrafted Serrated Blades
Manufactured serrated blades have their place, but there are many advantages to making or buying a handcrafted serrated blade. For example:
- Handmade serrations are made one at a time with a file before you heat treat the steel blade. After that, each tooth is individually finished, polished, and sharpened, resulting in crisper and cleaner cutting edges.
- Factory serrations are typically ground from one side of the blade while handmade serrations are created from both sides, resulting in a more even alignment and much sharper serration.
- Factory serrations are harder to sharpen because so much material has to be removed from one side of the blade. Since they have less surface area to cut away, well-made double-sided serrations are simple to tune up with a few quick strokes.
- Factory serrations tend to be uneven because they are cut by grinding wheels that don’t always wear evenly during automated grinding. To ensure an even fit, all handmade serrations are meticulously laid out by hand.
- Since the machining technology is limited, factory serrations are never crisp or well defined. With handmade serrations, each cut is individually made to ensure a crisp point.
- Factory serrations do not extend up to the grind's termination because they are made by a machine alone. With fine handmade serrations, the placement can be nearer the termination, or even into the termination with substantial strength and thickness at the first critical teeth.
- There are many convex profiles in factory serrations, as the wheels used to cut them can’t have deep peaks or valleys.
- Factory serrations never have any points. They are also not usually angled, arranged, canted, or slanted to accommodate the knife handle. Serrations on fine handmade knives apply specific cutting forces to the handle and blade design.
- Factory serrations may be softer because they are usually ground after the blade has been heat treated. This can result in overheating and temper loss.
Taking the time to create your own serrated blade can result in a finished product that looks great, delivers a sharp cut, and lasts a lot longer than its mass-produced counterpart. Now let’s get started.
Steps To Create A Serrated Knife
Step 1: Mark Out Your Pattern
Mark out where each serration's center will be. Make sure the mark extends a little beyond the blade's bevel.
Step 2: Cut in Guides
Make some grooves that will serve as guides for the next step. Using a diamond blade, cut into the blade until you reach the edge of the bevel.
Step 3: Shape the Serrations
With a rotary cutting tool like a dremel set at its lowest setting, grind away while holding the knife at a steep angle. Work your way up to the largest bit. Make sure you keep your grinding centred with the guiding groove the entire time. Once the grooves disappear, gently apply pressure toward each tooth in the serration until a uniform pattern results.
When you are cutting serrations into your blade, be careful not to overheat the blade. These blades are already heat treated and tempered for good edge retention, and you don’t want to compromise that. For best results, spritz the metal with cool water after each pass.
As soon as steam appears, it means the water has reached the boiling point, so you have at least hit 212 degrees. You want to keep it under 300 or 400 degrees, so if you see steam, it's a good idea to take a break.
Step 4: Clean Up the Backside
There are less aggressive channels on the backside of the blade. At this stage, burrs begin to form on the backside, so you’ll want to clear them away. Repeat the process, but with just enough grinding to remove them.
Sharpening a Serrated Blade
Sharpening a serrated knife is not as straightforward as sharpening a chef's knife. Although most people prefer to have their serrated knives sharpened by a professional because the best method requires each serration to be sharpened separately, you can still do it yourself.
You should use a ceramic honing rod to manually sharpen your serrated knife. The rod is shaped to fit inside the serrations of the blade and sharpen the knife, tooth by tooth.
Take the following steps:
- Starting at the back end of the blade, place the rod in the serrated groove (the gullet). The rod should be angled in the same direction as the chiseled cut you see in the gullet.
- Slide the rod through the gullet toward the edge of the blade. This should be done for each gullet. A few passes should suffice.
- Once each gullet has been sharpened, turn the knife over and run its flat side across the surface of a fine-grit finishing stone to remove any burrs created during the sharpening process.
Routine sharpening can keep your handmade serrated blades in great condition and preserve the edge needed for them to do their work.
Ready to Make Blades With Extra Bite?
Serrated blades are powerful cutting tools that require the right abrasive materials for both creation and maintenance. Red Label Abrasives is a leading and trusted manufacturer ofsanding belts andsanding sheets for knifemaking. To learn more about our products or place an order, please call 844-824-1956 orfill out our contact form.Shop Our Knife Making Belts


Belt Packs Made For Knife Makers

2 X 72 Inch Knife Makers Sanding Belts Assortment

2 X 60 Inch Knife Makers Sanding Belts Assortment

2 X 48 Inch Knife Makers Sanding Belts Assortment

2 X 36 Inch Knife Makers Sanding Belt Assortment

2 X 42 Inch Knife Makers Sanding Belts Assortment

1 X 30 Inch Knife Makers Sanding Belts Assortment

1 x 42 Inch Knife Makers Sanding Belt Assortment
Shop By Product Category


Why Choose Red Label?

