Your Cart is Empty
Free Shipping over $150 (Excludes Oversized Products) | Office Closed 12/24-26 & 12/31-1/2
Free Shipping over $150 (Excludes Oversized Products) | Office Closed 12/24-26 & 12/31-1/2
Sanding Belts
Sanding Discs

A Complete Guide To Knife Plunge Lines
by David Kranker 4 min read

Quick Summary
A plunge line is the line between the bevel of a blade and the ricasso. To develop nice plunge lines, you’ll want to mark where your plunge line should terminate, make sure your markings are symmetrical on both sides of the blade, adjust the tracking knob on your grinder and choose the right sanding belt to support the look you’re trying to achieve.
Developing Plunge Lines With A Belt Grinder
If you’re using a belt grinder, here are some setup tips that can influence the final result:
- Plunge lines are more subtle when the belt is hung from the edge of the platen.
- With no overhang, you get a straight line.
- Plunge lines with a stiffer belt are harder and more solid.
- With a softer, more flexible belt, the plunge line will be more sweeping.
Results can vary based on the grit and stiffness of the belt as well as how far it hangs over the platen and the angle of the knife itself.
You will get different variations based on the belt grit, stiffness, how much it overhangs the platen and the angle of the knife. The only way to figure it out is to experiment and see which results you prefer.
Tip #1: Identify Where the Grind Line Terminates
Start by determining where the grind line should end. Establish it when you start grinding and stick with it throughout. When professional knifemakers grind their bevels, they usually mark the spot where they want their plunge line to terminate, so they can line it up with the edge of the belt.
It’s a good idea to start grinding right at the plunge line and then work your way back toward the tip. If you make mistakes with your plunge line at the beginning, it can be difficult to fix later, so grind a fairly shallow bevel so you know exactly where your grind is. Then you can come back up the angle and work your way back up the knife.
Once the bevel has been established, feather the belt in from the edge side and lay the bevel flat on the belt.
Tip #2: Keep Plunge Lines Symmetrical
Plunge lines should be symmetrical from one side of the blade to the other. As stated in the previous hint: know where you want your bevels to be. Establish them exactly in the same place on each side and leave them there.
Hang your belt off the edge of the platen, which is the surface that supports your belt when you flat grind your knife. Center the belt so that its edge and the edge of the platen on both sides are the same, then grind away. All things being equal, you get a straight and crisp plunge line by following this step.
Tip #3: Make Tracking Adjustments
By adjusting the tracking knob on your grinder, you can change the shape of the platen.
- If you adjust the tracking so the belt is hanging off the edge about 1/8 of an inch, the plunge line will soften up a little, resulting in a smoother transition from the blade to the ricasso.
- If you hang it off further, (for example, a quarter of an inch,) it will round everything off and change the grind line at the top from a sharp corner to a curve.
Tip #4: Use the Right Belt for Plunge Line Type
You can get different plunge lines with different belts. Ceramic belts tend to produce either very sharp edges or very long sweeping curves (hanging the belt off by at least one quarter inch), but they're not so good for that in-between line where it hangs off by perhaps ⅛ of an inch. In that case, your basic aluminum oxide belt would be better for in-between curves.
There is no functional difference between soft and hard plunge lines. The harder ones are faster and easier to do. This has some advantages in a production environment: you don't have to worry about changing the tracking, so you can just grind away. The soft ones take a little more skill to get right, but if you finish them by hand, they're much simpler.
Premium Abrasives for Your Knife Making Needs
Knife making is like a lot of skills- certain tricks and strategies can make it easier to achieve the desired results. If you want to design sharp edges on your plunge lines, Red Label Abrasives can provide you with the high-performance ceramic belts that grind the right output. We also sell metalworking aluminum oxide belts for careful shaping between curves and even complete knife making kits in an assortment of sizes and grits. To learn more about our products or place an order, please call 844-824-1956 or fill out our contact form. ABOUT THE AUTHOR
David Kranker is a writer and creative maker who has been covering the abrasive and knife-making industries on the Red Label Abrasives Blog since 2020. David spends his time continually researching sanding and bladesmithing to provide readers with the latest and greatest information. In his free time, David utilizes abrasives for many different home and auto projects at his home in Delton, MI.
Belt Packs Made For Knife Makers
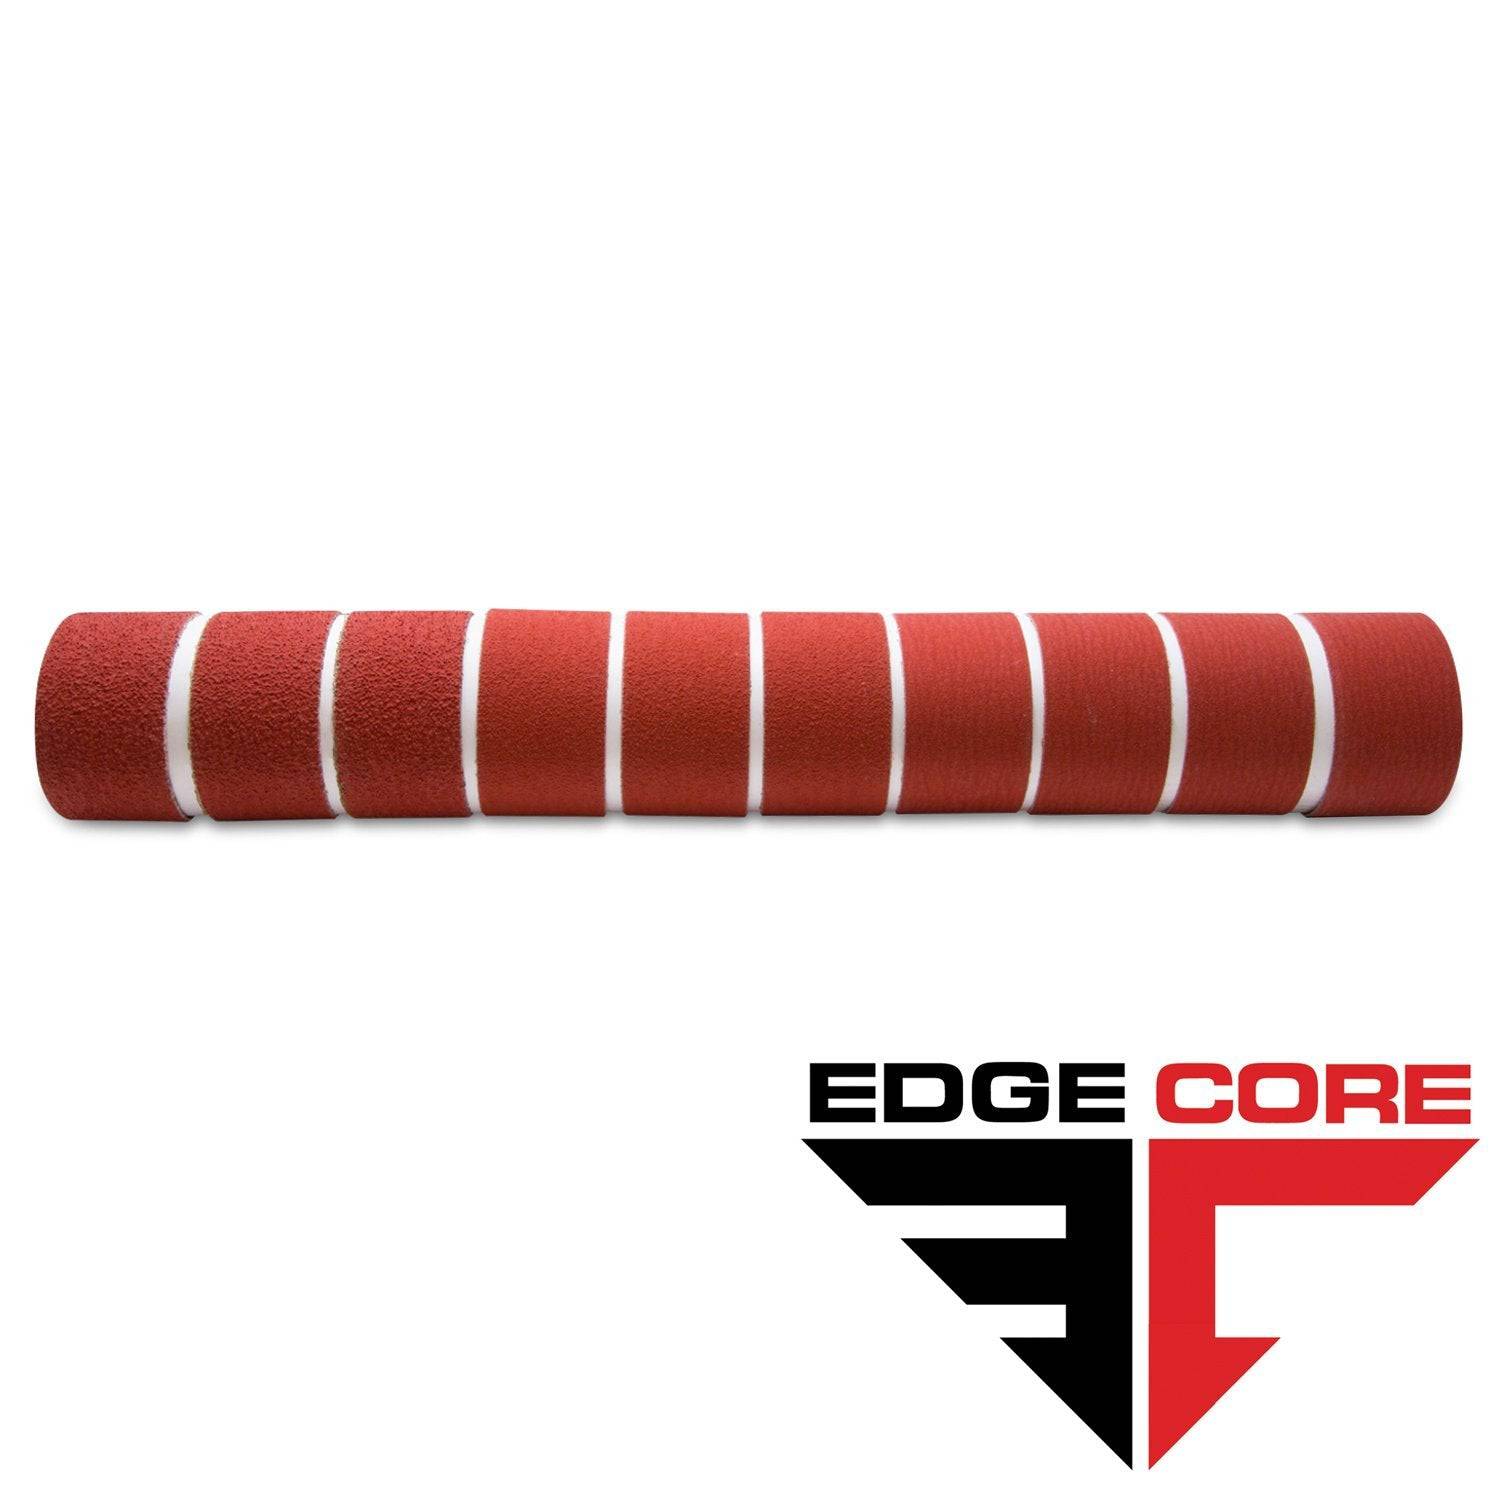
2 X 72 Inch Knife Makers Sanding Belts Assortment
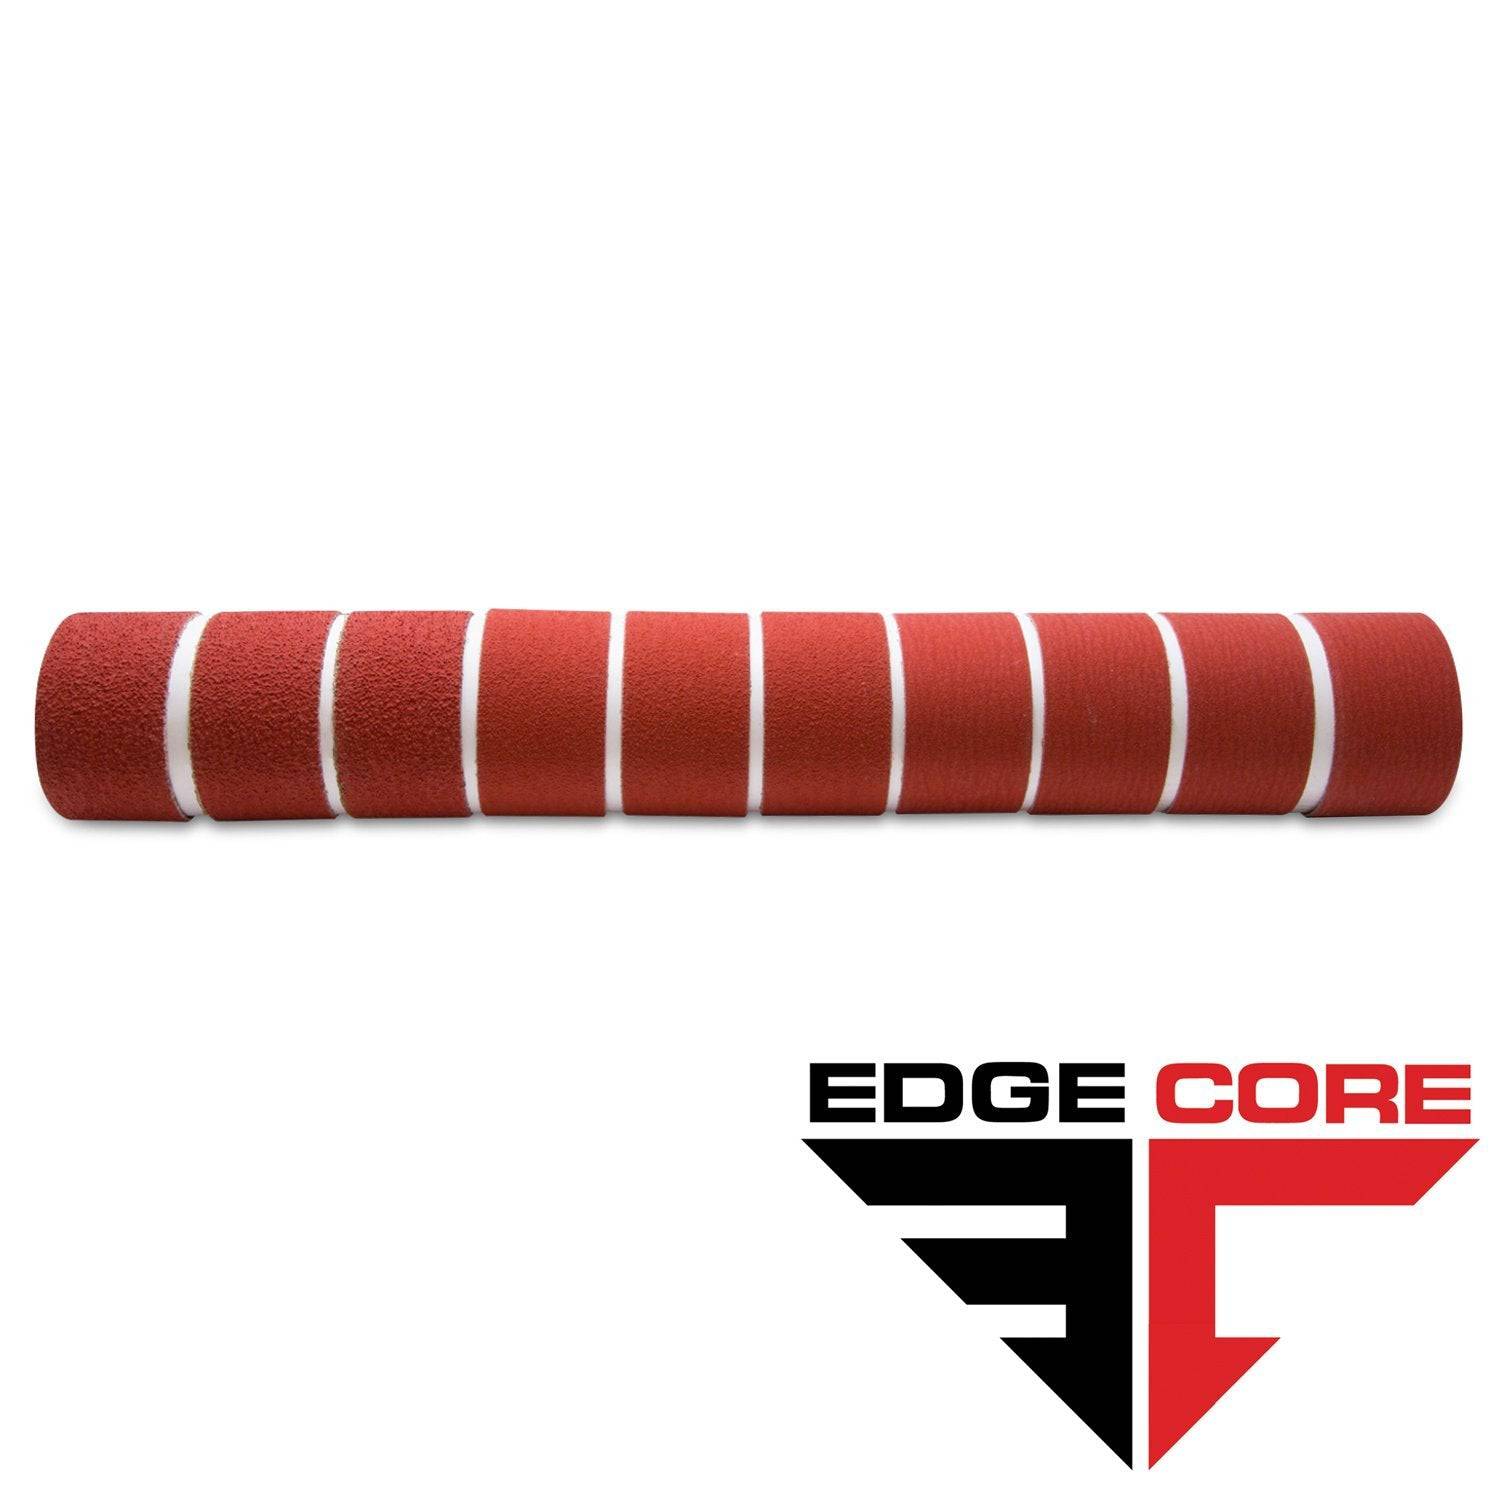
2 X 60 Inch Knife Makers Sanding Belts Assortment
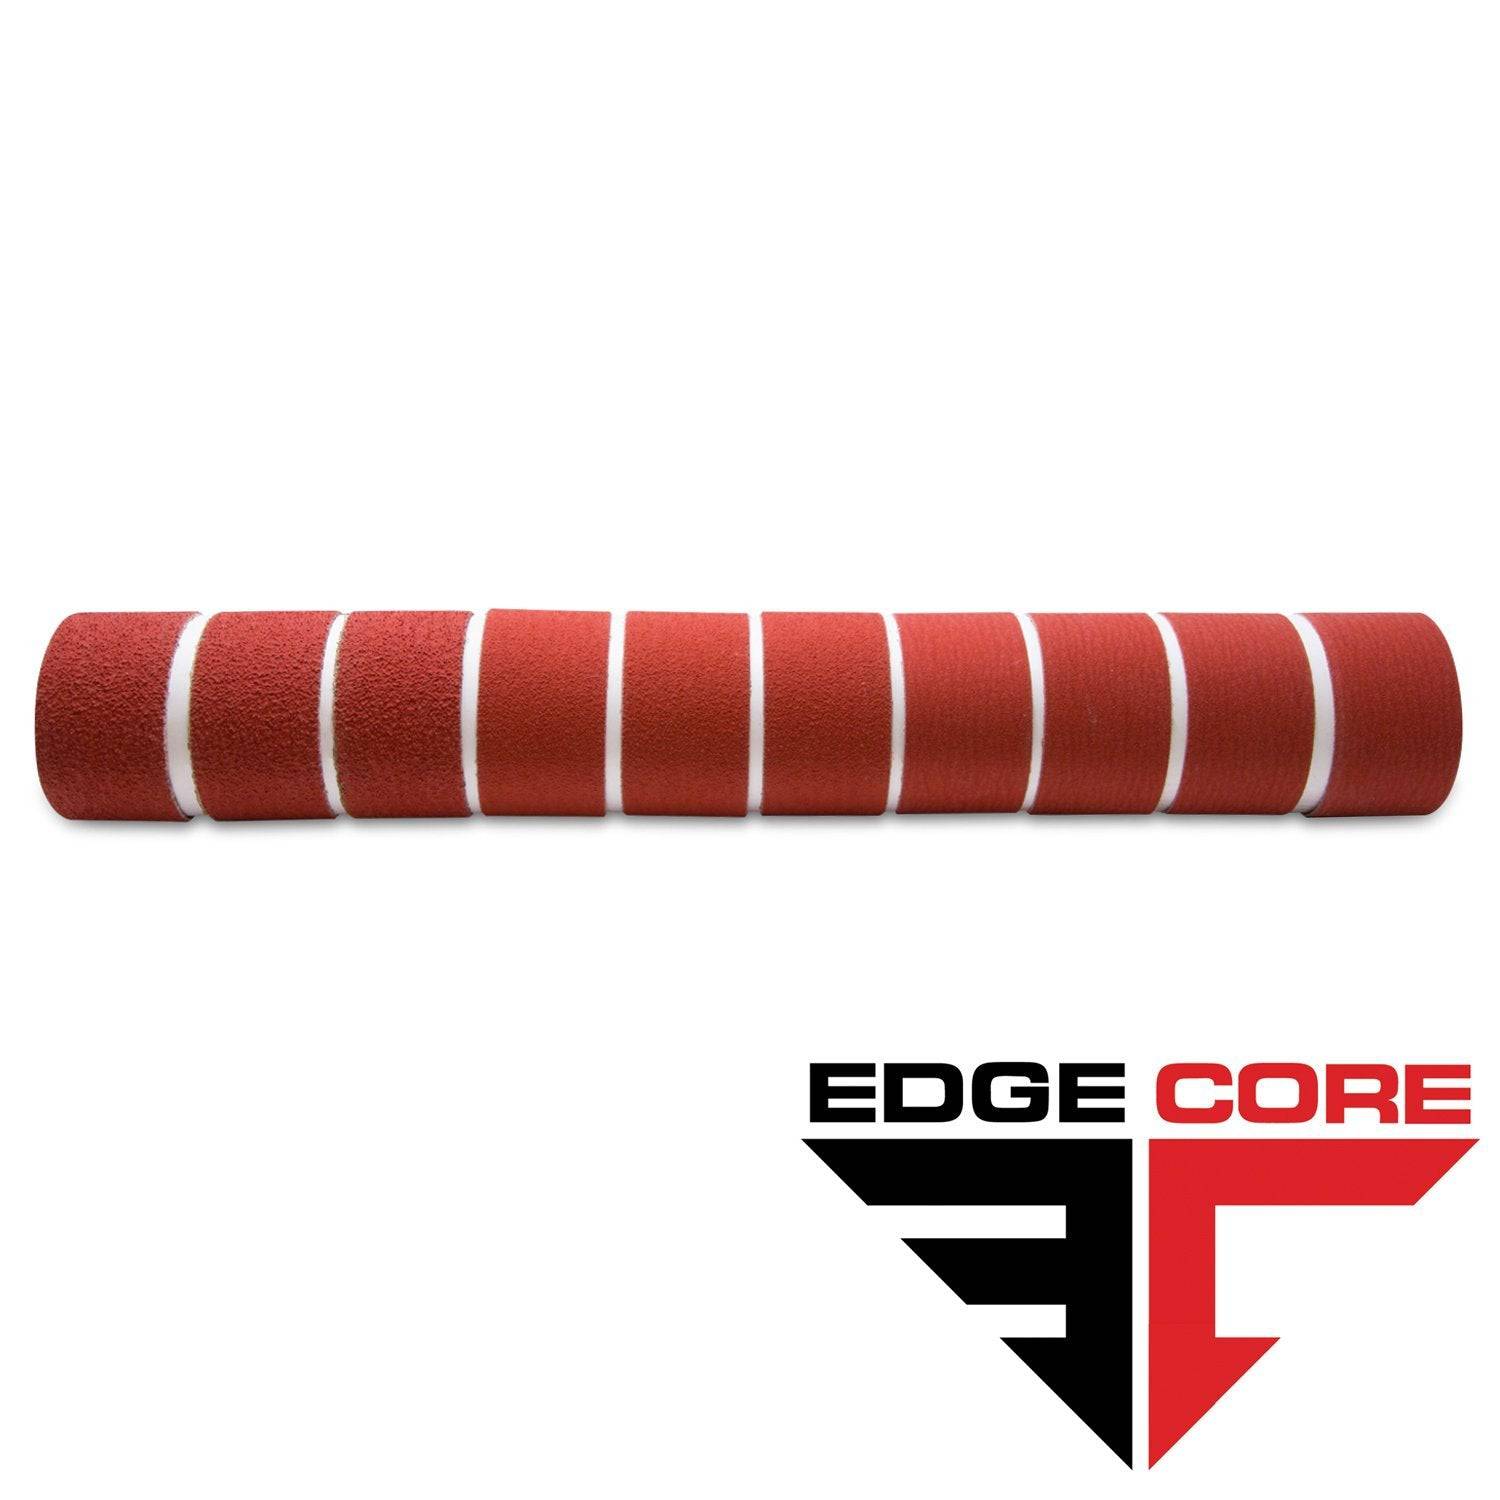
2 X 48 Inch Knife Makers Sanding Belts Assortment
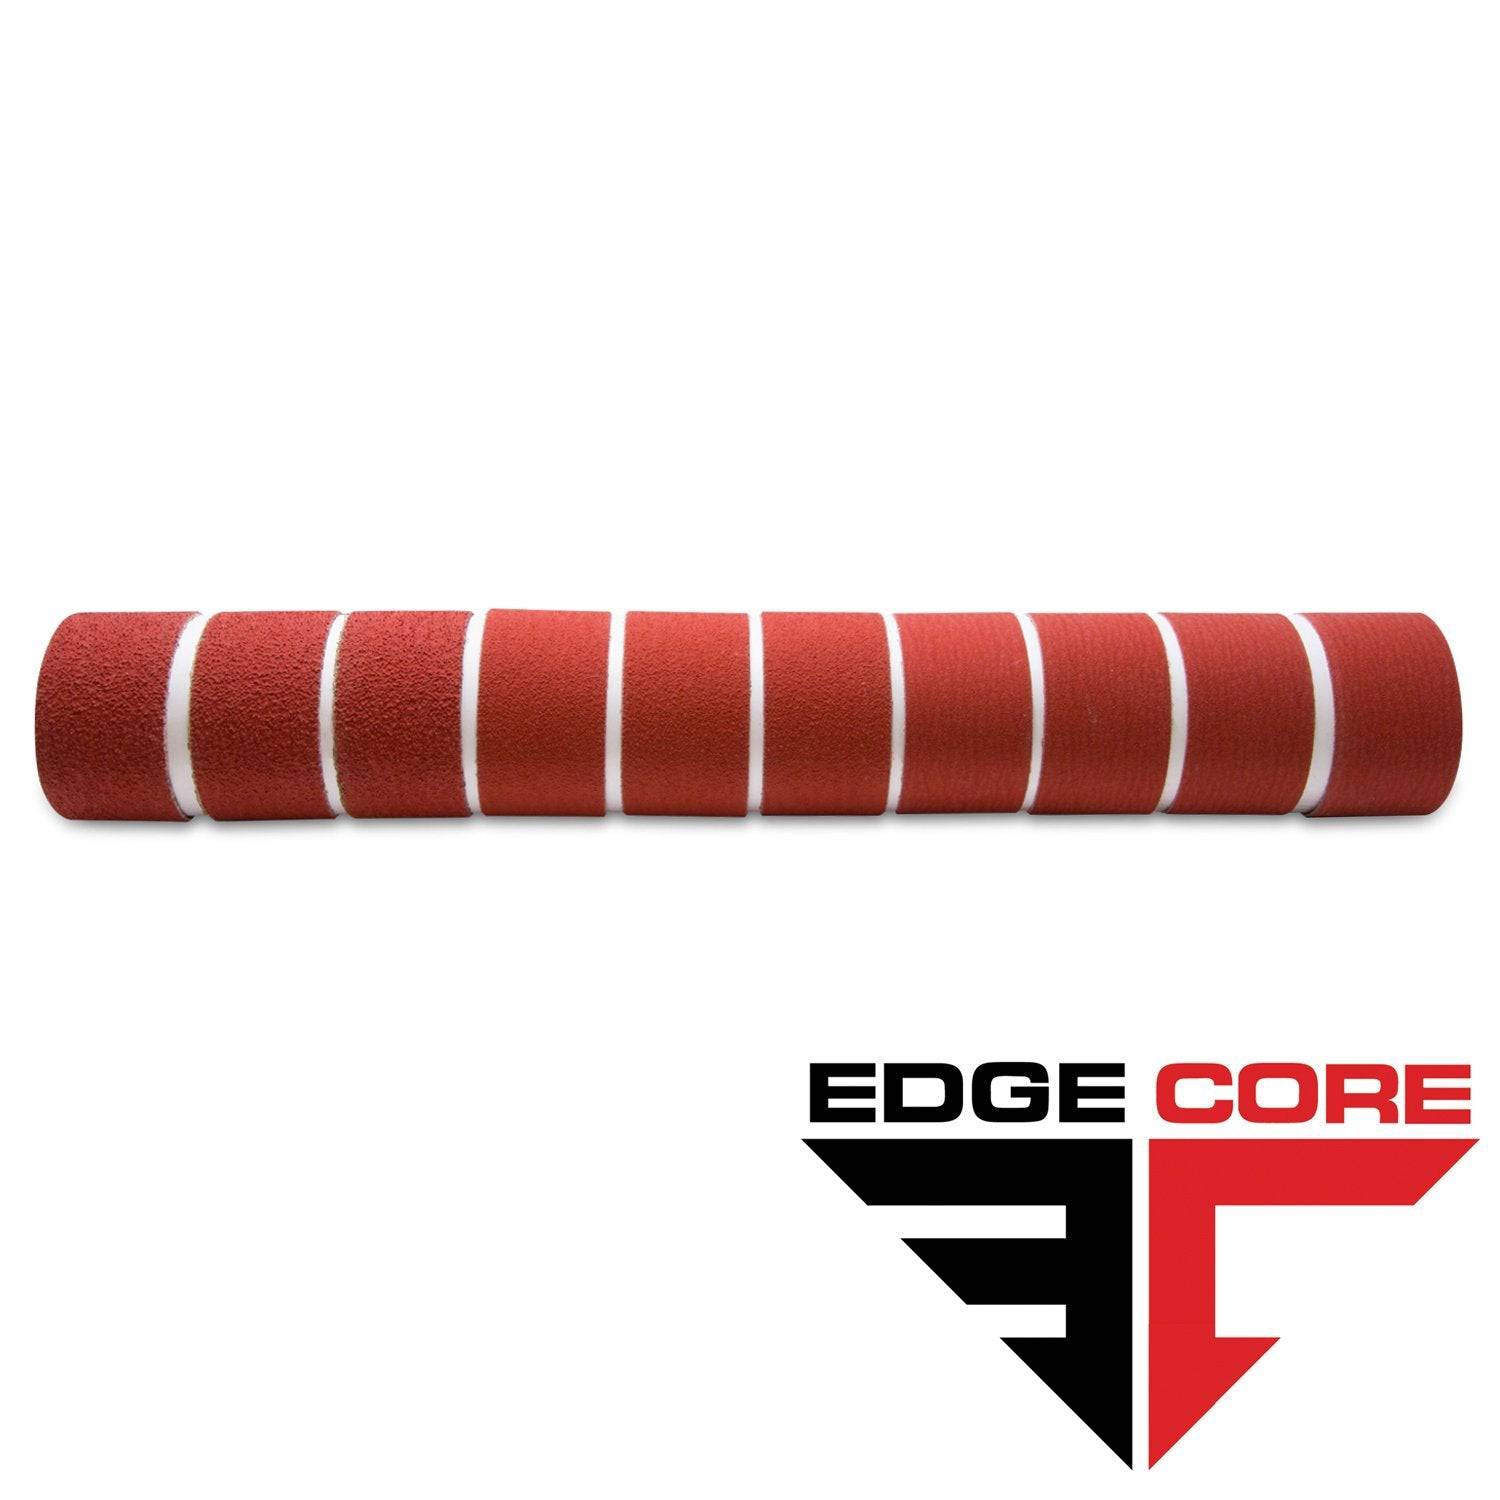
2 X 36 Inch Knife Makers Sanding Belt Assortment
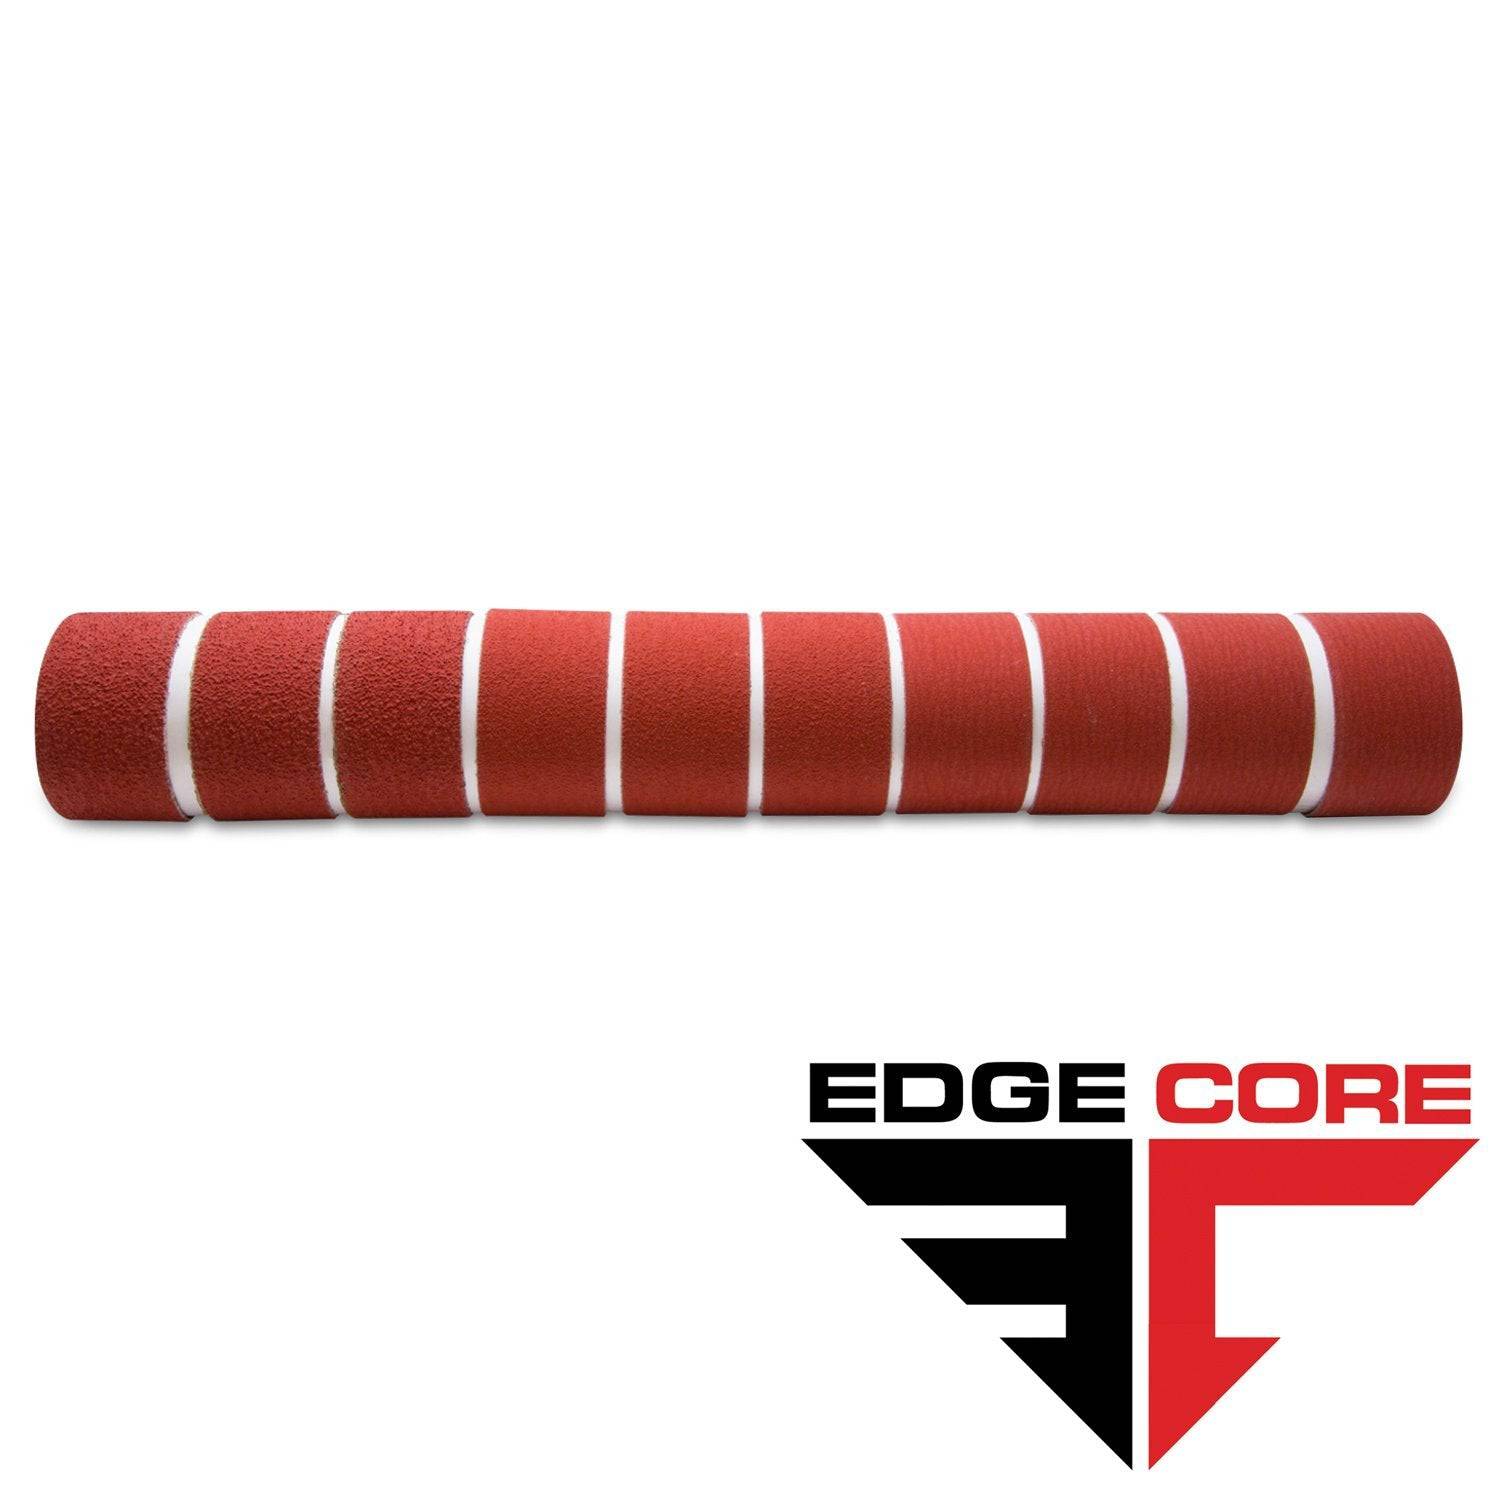
2 X 42 Inch Knife Makers Sanding Belts Assortment
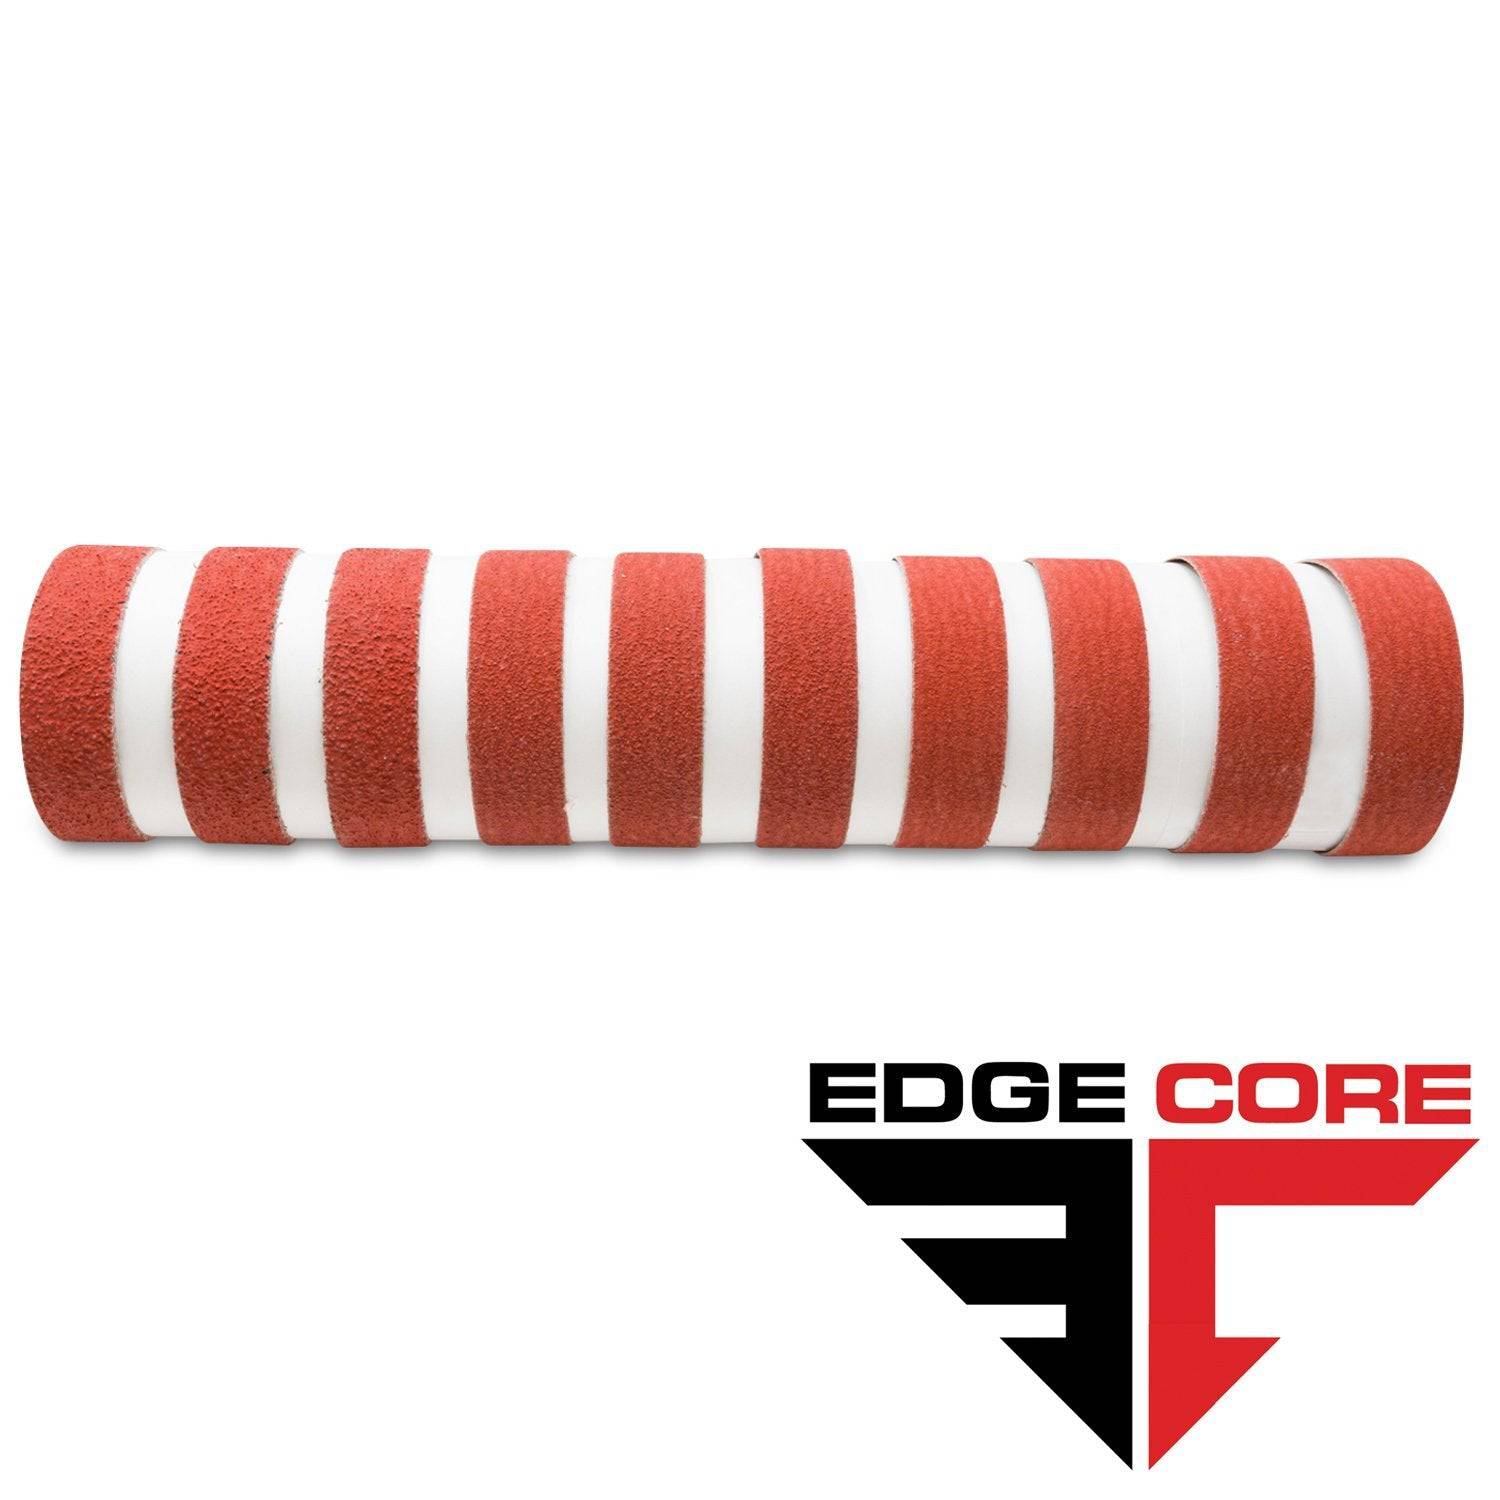
1 X 30 Inch Knife Makers Sanding Belts Assortment
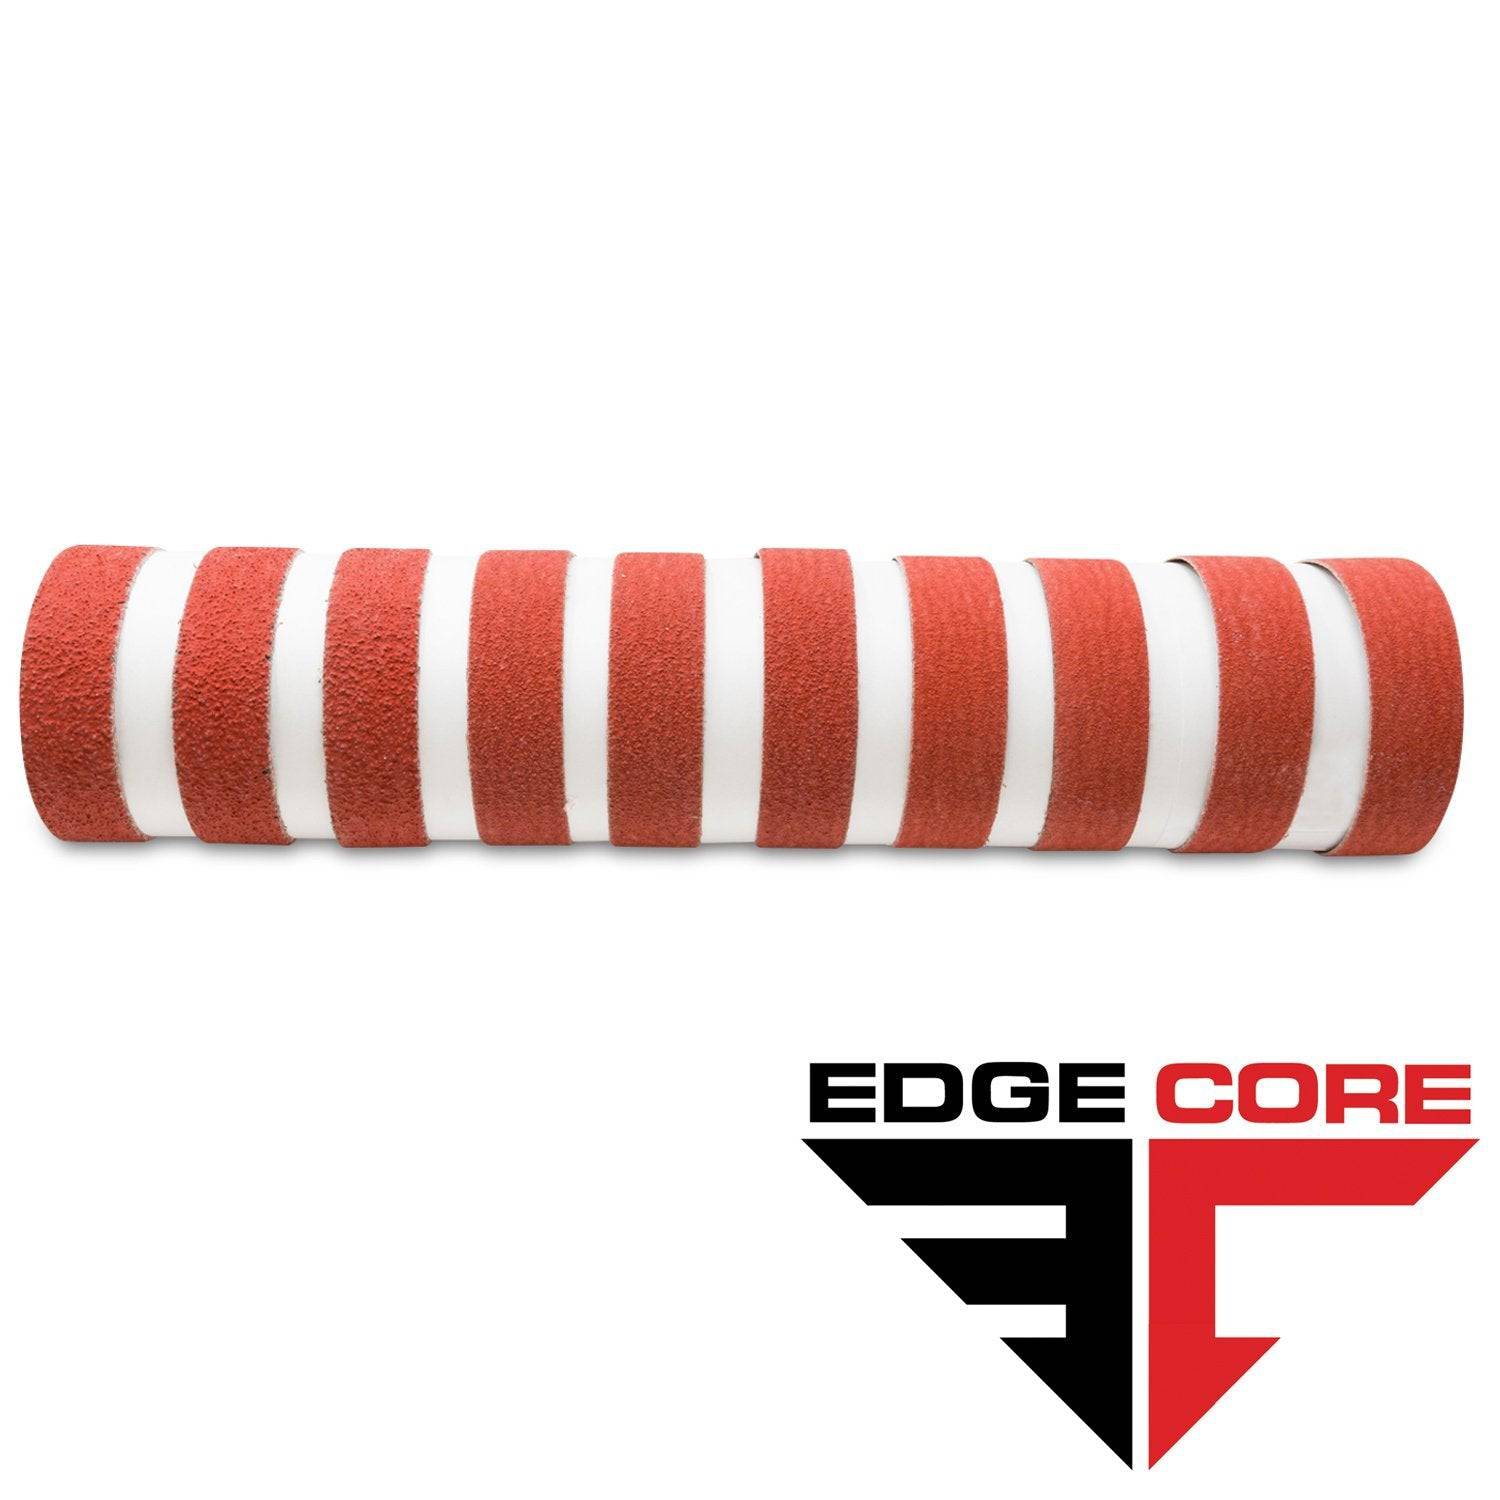
1 x 42 Inch Knife Makers Sanding Belt Assortment
Shop By Product Category


Why Choose Red Label?


