Your Cart is Empty


How To Create A DIY Knife Grinding Jig

Quick Summary
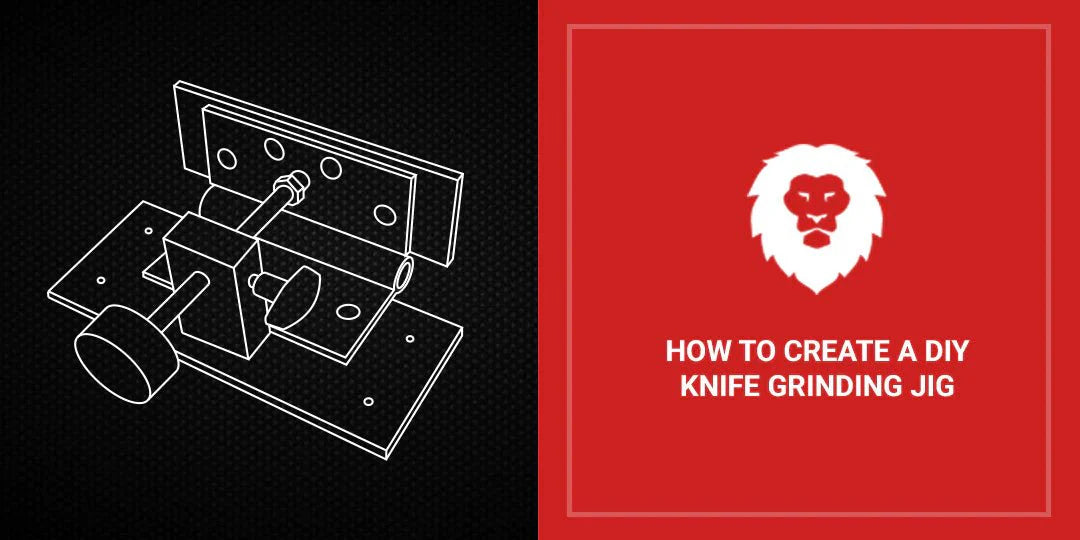
Creating a DIY knife grinding jig isn’t terribly difficult. You can put one together using an adjustable spring door hinge, a fully threaded bolt, a cap nut for the bolt, two steel plates, a steel block, a sheet of plastic, and a selection of bolts.
Knife grinding jigs are used to grind, bevel, and sharpen blades safely and efficiently, without exposing your hands to injury. Grinding jigs can also provide more consistency and accuracy in place of an unsteady hand. If you make knives or maintain a collection, it’s worth having one (or two) in your shop. While you can buy a grinding jig online or at specialty hardware stores, you can also put one together yourself using a few simple and easily accessible components. In this blog, the team at Red Label Abrasives shows you how to create a DIY knife grinding jig that creates highly professional results.
Materials and Tools You’ll Need
Here is a list of materials and tools you can use. You may have some of them in the shop already, while others can be picked up at any hardware store.
Materials:
- An adjustable spring door hinge (many DIYers use the largest 4.5" size because of its stability and strength, although smaller sizes will work as well)
- Bolt (at least 4.5" long and fully threaded)
- Suitable cap nut/acorn nut for your bolt
- Two steel plates (one for the top, the other for the bottom)
- Steel block (around 4” x 1.5” x 0.75”)
- A sheet of plastic to reduce friction on the bottom (must be the size of the bottom plate)
- A selection of bolts
Tools:
- Hacksaw or angle grinder
- Saw (for cutting Plexiglass)
- Drill press and drill bits
- Tab and die set
- A grinder, sander, or file to clean up edges
Step 1: Attach the Hinge
Attach the hinge to both plates. Using the hinge as a template, drill and tap the holes for the bolts that came with it. When the hinge rotates, there should be a small gap between the plates to prevent them from rubbing against the round part of the hinge.
Step 2: Bolt the Post to the Plate
A post pushes against the hinge in order to adjust the angle. Use a small piece of steel, close to 4 x 1.5 x 0.75”. Two bolts should be used to attach the post to the plate. A common solution is to use two 1” bolts with a ¼” head.
Step 3: Add a Plastic Plate to Bottom Plate
Knife grinding jigs typically have a plastic plate on the bottom to reduce friction during use. It also provides some clearance for the bolts that secure the bolt post (see Step Two) in place. Use the bottom plate as a template to create the clearance holes for the hinge bolts and the bolt post. Then drill a hole in each corner and countersink them so that you can attach the plastic to the bottom plate using a small flat head bolt.
Step 4: Make Final Adjustments
Now it’s time to make the final adjustments. To set the hinge properly, use a hex key to twist its side as tightly as possible and then insert the small pin. If the bolts stick out past the front of the plate, adjust the plate to be parallel with the grinder before sanding the bolts down to make them flush with the plate.
Step 5: Do a Test Grind First
These are the basic steps to create a DIY knife grinding jig. Once you’re done, test it out and see how well it sharpens your knives. If it creates a good, even grind, your work is done! However, there are a couple of add-ons that can improve the functionality of your jig.
- Set Screw: If you find that the angle keeps adjusting when you’re grinding, put in a set screw for better stability.
- Bolt Knob: If you’re finding it difficult to adjust the bolt by turning its end and have access to a 3D printer, you can create a small knob and glue it to the bolt. If you don’t have a 3D printer, you can use a socket set or wrench to turn the bolt more easily.
Using Your New Jig
Using The Jig For Angle & Bevel Work
The jig is fairly simple to use. You’ll hold your knife blade up to the front plate of the jig and use a clamp to secure the blade to the plate. You’ll then adjust the jig bolt so that the blade sits at the appropriate angle for your angle grinding or bevel work. Knife bevels typically fall somewhere between 15 to 20 degrees.
Once you have your angle set, you’ll be able to start grinding. You’ll want a coarse grit for your belt sander (somewhere between P36 and P150) for the initial angle and bevel work. You’ll turn on your sander and slide the jig slowly back and forth across the table so that the belt sands along the blade to create a nice, clean bevel. Keep the jig steady as you slide and be extra careful, as sanders shed off metal fast.
Using The Jig For Sharpening
To use your new jig with a belt sander, you’ll need a medium-grit sanding belt (220 is ideal), a honing compound, and a leather strop. After loading the belt onto your sander, insert the knife into the grinding jig and turn the sander on at its maximum speed.
Sharpen the blade by gently moving it across the spinning belt. Push only hard enough for the belt to have a slight bend. A slight tilt of the blade enables the device to hit the knife's bevel. After stroking it for some time, flip it over. Check for burrs after a few strokes, and watch how quickly a sharp edge appears.
When you’ve finished grinding, allow your knife to cool by immersing it in water. Don’t overlook this step: when sharpening with a belt sander, you always run the risk of overheating your knife. If this happens, the blade will be damaged. For this reason, it is essential to cool the blade after every few strokes so that it is ready for another sharpening round. This simple step keeps your knife in good working condition for a lot longer.
You will likely see a significant burr on your knife after it has been sharpened. This burr can be removed by honing the blade. Take out the medium-grit belt, insert the leather strop, and link it to the honing compound. Then follow the same steps you used to sharpen the knife. After a few strokes, the burr should disappear.
Places To Buy Grinding Jigs
If you’d prefer to buy a jig over making your own, there are a number of shops online that sell quality jigs. Below are a few jigs to consider.
- TR Maker Adjustable Knife Grinding Jig: TR Maker produces a high-quality and heavy duty jig primarily manufactured with aluminum. The body is noncorrosive and the angle can be adjusted from 85-125 degrees. It’s a great tool and can save you a lot of time.
- The Bubble Jig: The Bubble Jig was created by Fred Rowe as a way to speed up the learning process for grinding nice blades. It’s different from some of the other jig setups in that you’re still primarily free grinding with your hands. It uses a built in leveler so that you can set the center to the angle you need and monitor the leveler to make sure you’re keeping the blade at the right angle.
- Tilt Table Pro: The tilt table gives makers an experience close to free grinding with the angle support of a jig. The table is very steady and is compatible with a variety of different 2 x 72” belt grinders.
High-Quality Sanding Belts Yield The Best Results
While a grinding jig lets you sharpen your knives without risking your hands or fingers, a superior sanding belt produces the clean, sharp edge that gives each blade its cutting ability. Red Label Abrasives sells sanding belts designed specifically for knife making projects, taking the guesswork out of which product you should use. To get a recommendation from one of our abrasive specialists or place an order, please call 844-824-1956 or fill out our contact form.


Belt Packs Made For Knife Makers

2 X 72 Inch Knife Makers Sanding Belts Assortment

2 X 60 Inch Knife Makers Sanding Belts Assortment

2 X 48 Inch Knife Makers Sanding Belts Assortment

2 X 36 Inch Knife Makers Sanding Belt Assortment

2 X 42 Inch Knife Makers Sanding Belts Assortment

1 X 30 Inch Knife Makers Sanding Belts Assortment

1 x 42 Inch Knife Makers Sanding Belt Assortment
Shop By Product Category


Why Choose Red Label?

