Your Cart is Empty
Free Shipping over $150 (Excludes Oversized Products) | Office Closed 12/24-26 & 12/31-1/2
Free Shipping over $150 (Excludes Oversized Products) | Office Closed 12/24-26 & 12/31-1/2
Sanding Belts
Sanding Discs

How To Add Jimping To A Knife
by David Kranker 5 min read

Quick Summary
Adding jimping to a knife can make it easier and safer to use, especially during applications like carving and skinning. The two most common methods of adding jumping are using a bandsaw/file combination and a Dremel/file combination to achieve professional-quality results.
Jimping is the process of cutting small notches or filings into the back of a knife blade or on the unsharpened area between the blade and the hilt of the knife. In some cases, they are applied to the base of the handle rather than on the back of the blade, and may even be found on the lower part of the handle.
The main purpose of jimping is to prevent the fingers from sliding when using a knife. It gives your thumb or index finger a much better grip, as they might otherwise slip over the blade. Although jimping is a feature that’s often overlooked on knives, mastering the procedure can result in a blade that’s both easier and safer to use. In this blog, the knifemaking experts at Red Label Abrasives explain the benefits of this added feature and how to add jimping to a knife if you’re interested in giving it a try.
The Benefits of Adding Jimping to a Knife
Knives aren’t only used for cutting or slicing. Sometimes they have highly precise applications, such as carving and skinning, which requires you to place your fingers or thumb on the back of the blade for improved control.
This is when slipping can become an issue: once the blade gets fat or blood on it, it can become dangerously slippery. When that happens, it becomes necessary to add friction to the knife, usually toward the back, so that regardless of the conditions, you are less likely to slip and cut yourself.
Other common uses for jimping include:
- Filing or rasping material like wood
- Resting the knife on a pot handle while cooking over a gas stove
Some knives feature jimping on the thumb rise and further forward on the spine for a decorative effect.
Adding Jimping to Your Knife with a File
Ideally, you’ll want to add jimping before you heat treat the knife. Depending on the method you use, you’ll need the following equipment:
- Bandsaw or hacksaw
- Chainsaw or checkering file
Step #1: Make Initial Cuts
Ensure that your knife is secured in the vise by its blade. Wrap the handle of the file in a thick piece of cloth if you're concerned about damaging it. Then mark the notches with a water-soluble marker before making initial cuts with a bandsaw. If you don’t have access to one, you can use a hacksaw.
Pro Tip:If you don’t have a water-soluble marker, you can apply masking tape to the steel and use a regular pen to mark the cutting areas. Once done, simply pull the tape off.
Step #2: Start Filing
Once the cuts are made, start filing with the triangle edge of a file. Lightly press the file forwards and backward while keeping it 90° to the blade. (The file will cut both on the push and draw strokes, so you don't have to pull it off to one side as you would with cross filing.) You’ll need to cut approximately 10 strokes on each hole until the cut marks disappear and you have even depth all the way across.
Pro Tip:Knifemakers who do jimping frequently use a checkering file. There are different sizes available for fine or coarse cuts. If you choose this route, they will definitely add to your equipment budget. Nevertheless, it is the fastest and most efficient way to achieve a very fine, machinery-cut appearance.
Step #3: Relocate the File
You can jimp an area of your knife that is wider than your file by aligning the final groove in your knife with the first groove on your file. By doing this, you will ensure that the jimping is always evenly spaced.
A taper saw file or three square file can be used to jimp a knife by cutting evenly spaced notches. This is not recommended, however, since consistency cannot be guaranteed and one notch can only be cut at a time.
Adding Jimping to Your Knife with a Dremel
If you use a Dremel for jimping projects, you’ll need the following equipment:
- Dremel
- Metal sanding discs
- Safety glasses
- Water soluble marker OR pen and masking tape
- Checkering file
Like jimping with a file, you’ll want to work with a knife that has not been heat-treated yet.
Step #1: Make Initial Cuts
Grip the knife securely in one hand or place it in a vise. Using a water-soluble marker, apply light marks in the steel at places where you intend to cut the jimping. Once you’re done, put on safety glasses, turn on the Dremel, and make your cuts.
Pro Tip:When you’re using the Dremel, be careful to not get it ‘walk’ on the side of your blade. These tools have been known to grab the side and scratch it, ruining your results.
Step #2: Use a File to Clean Up the Cuts
After you’re done cutting with the Dremel, use a checkering file to ‘clean up’ the jimping and make it crisper.
Can You Jimp a Knife That Has Been Heat-Treated?
It’s not easy, as heat-treated steel won’t respond to filing, but the answer is yes. If you’ve forgotten to add jimping before the heat treatment or you buy a knife and want to add it for ease of use, you can use the methods below.
- Apply a Dremel with a stone bit (carbide might be a little too hot). The combination of low heat and fast cut can produce quality jimping even in heat-treated metal.
- Use a 1x30 belt sander with an abrasive intended for metalworking. Go slowly as you use the corner of the belt to make the cut. Aim for a 30° angle. After making each cut, dip the knife in water, flip the blade, and repeat the cut from the other side.
Red Label Abrasives: A Cut Above The Rest
When you use the right tools and methods, adding jimping to a knife is easy and can improve the safety and functionality of your blade. There are also different ways to do it, so you can go with the method that’s easiest for you.
At Red Label Abrasives, we sell complete knife-making kits with sanding belts that you can use to add jimping to knives that have been already heat-treated. Our belt kits range in size from 1" x 30" to 2" x 72". Each kit consists of EdgeCore ceramic and zirconia abrasive belts that can turn any knife-making steel into a beautifully finished blade. If you require custom belts for a specialty knife application, let us know what you need and we can help! For more information or to place an order, please call 844-824-1956 or fill out our contact form today. ABOUT THE AUTHOR
David Kranker is a writer and creative maker who has been covering the abrasive and knife-making industries on the Red Label Abrasives Blog since 2020. David spends his time continually researching sanding and bladesmithing to provide readers with the latest and greatest information. In his free time, David utilizes abrasives for many different home and auto projects at his home in Delton, MI.
Belt Packs Made For Knife Makers
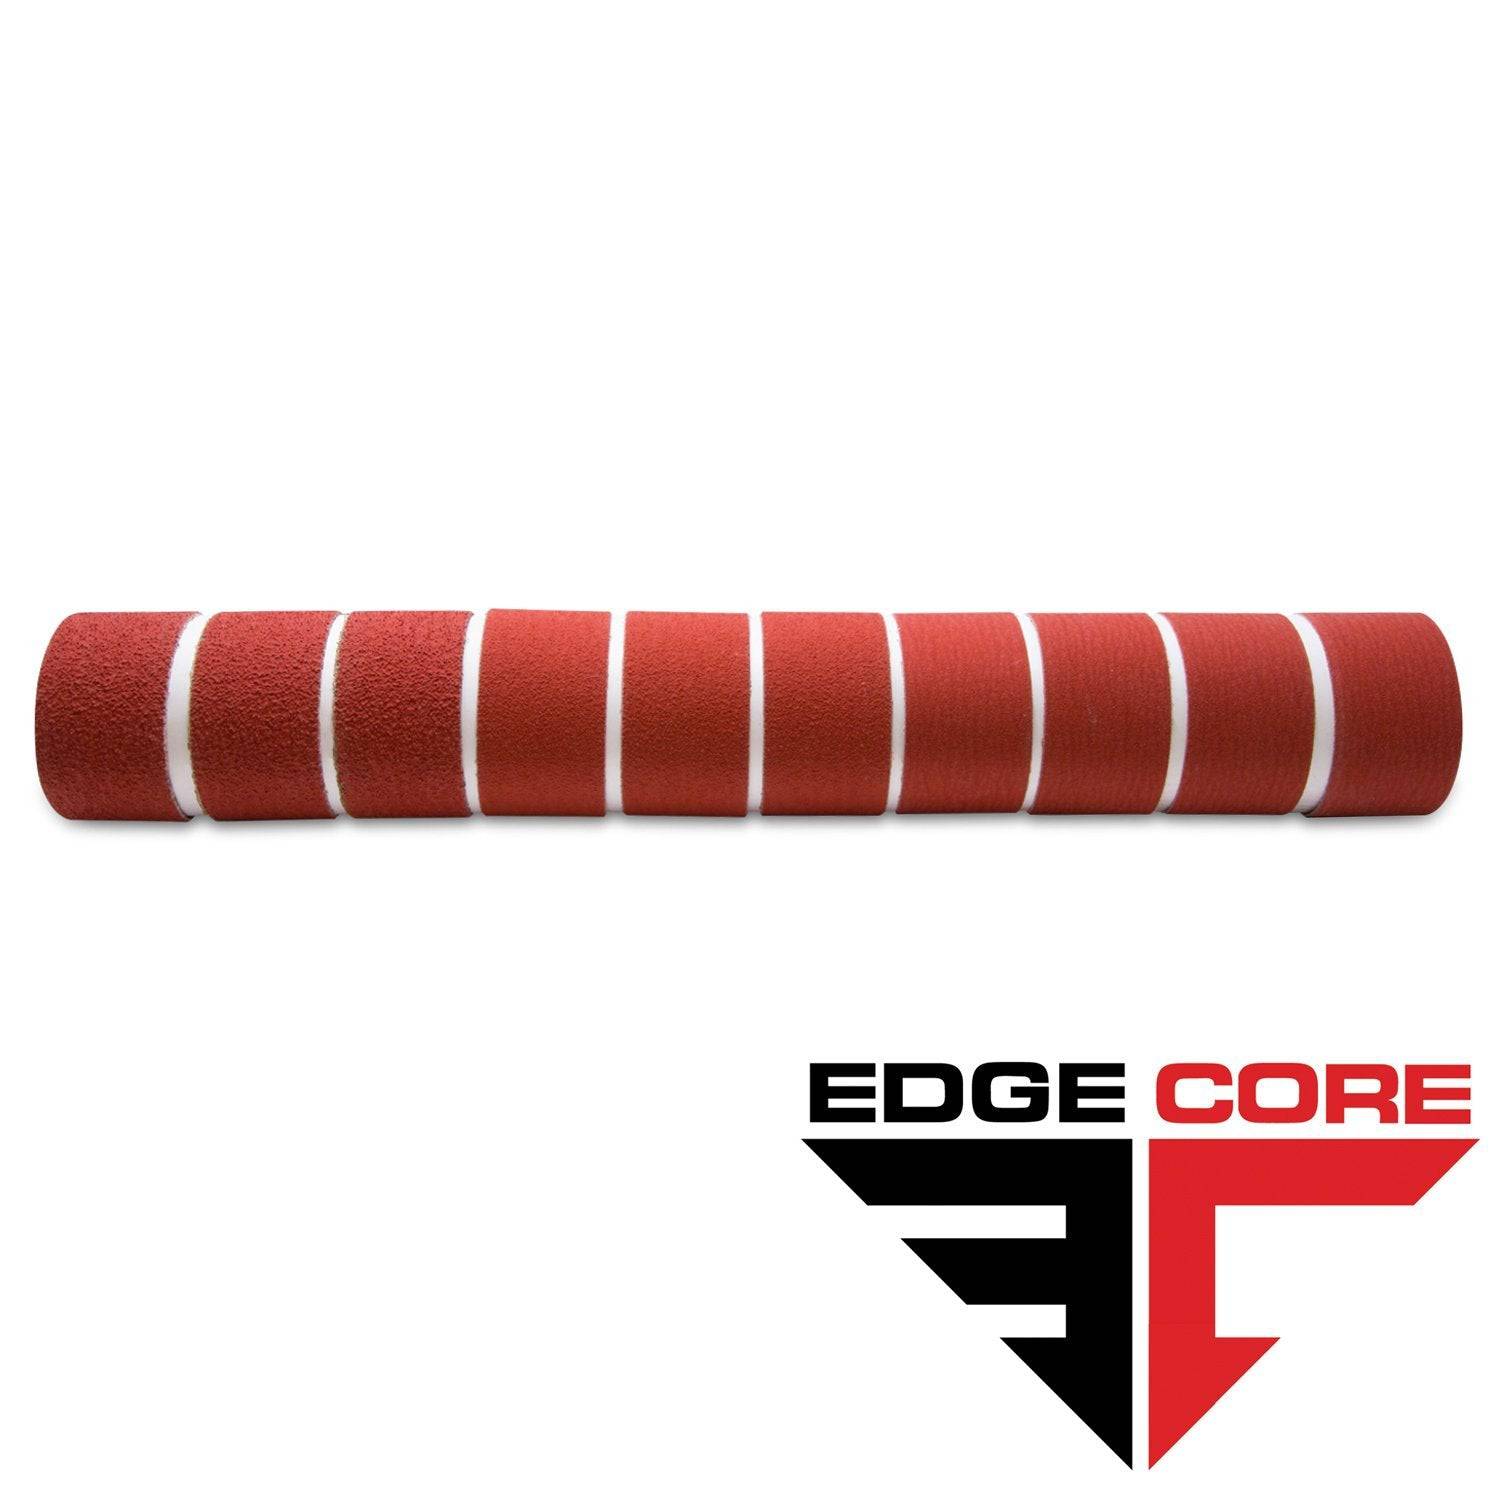
2 X 72 Inch Knife Makers Sanding Belts Assortment
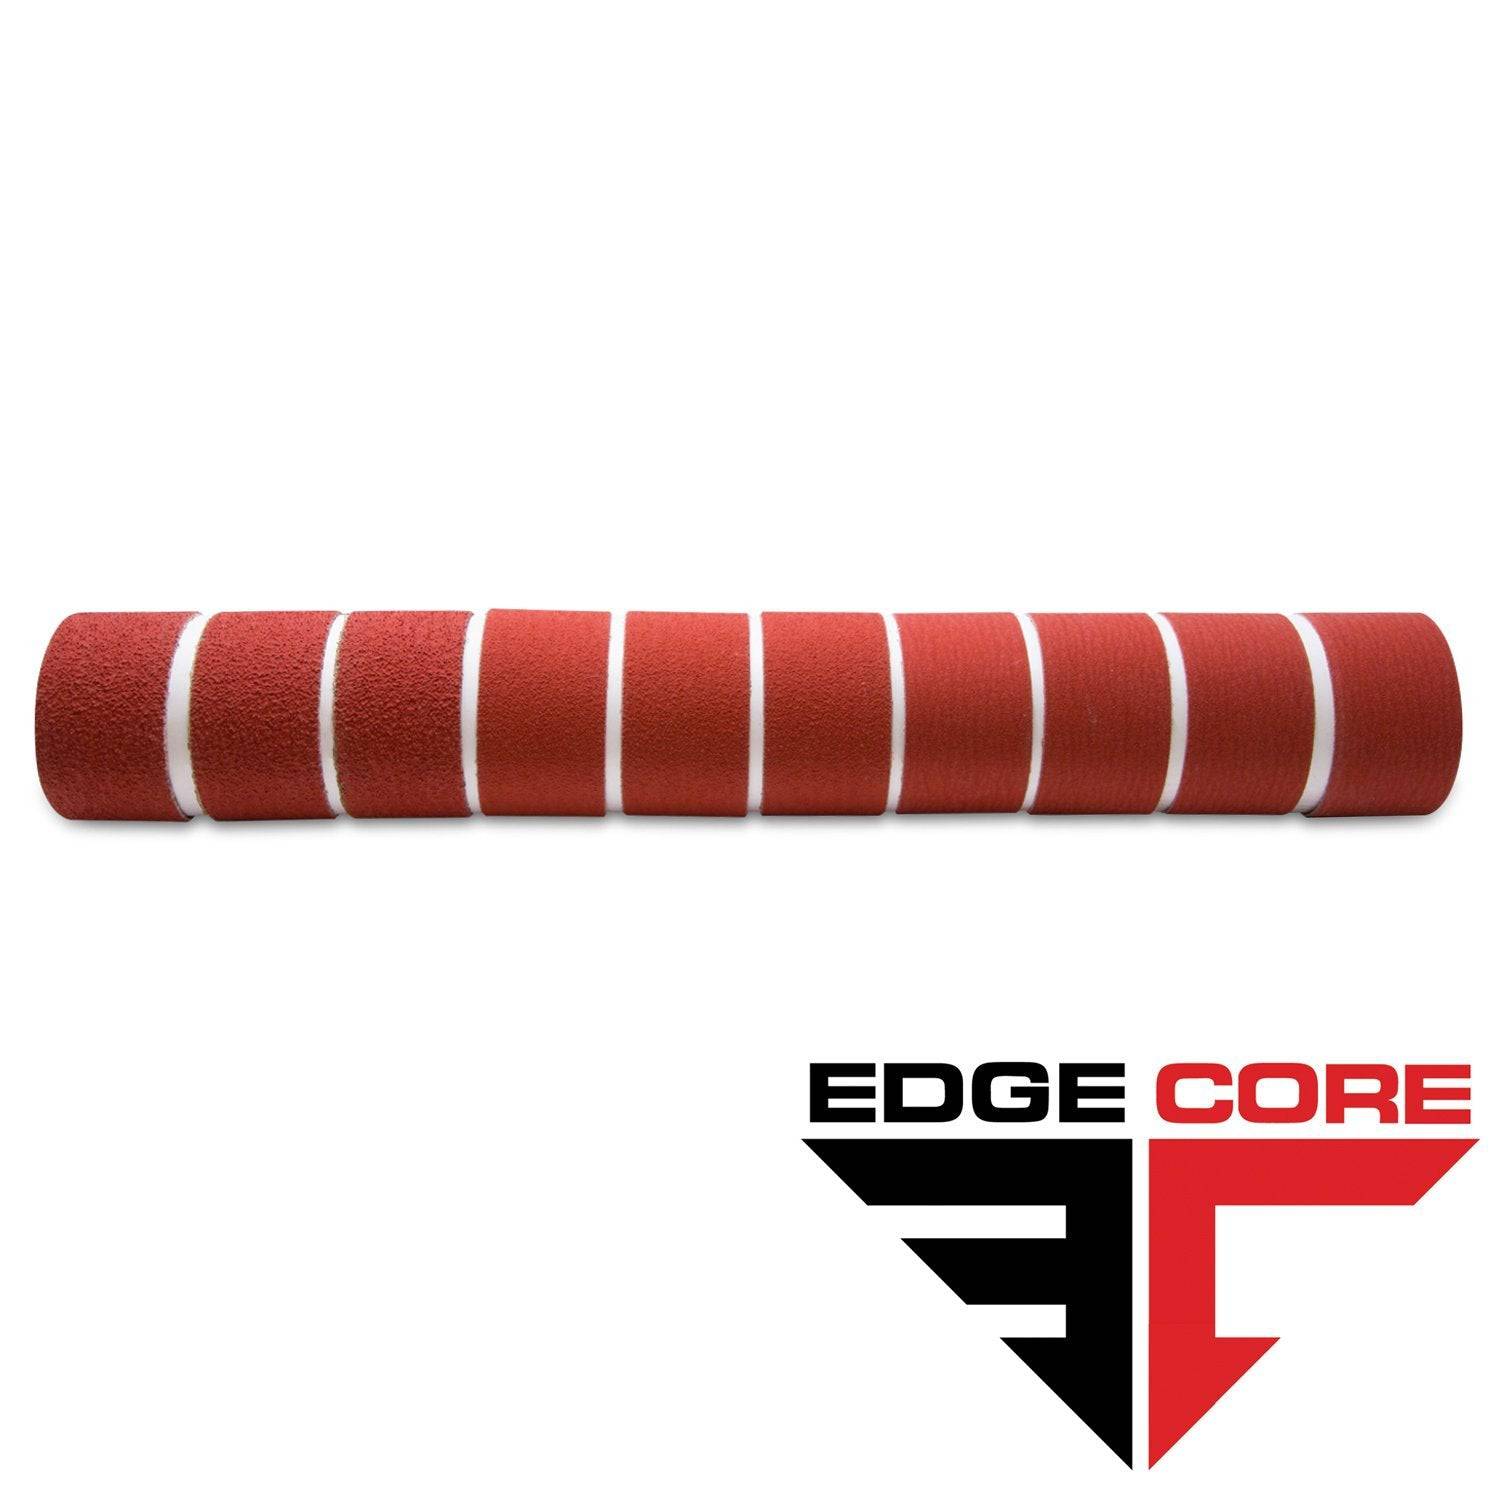
2 X 60 Inch Knife Makers Sanding Belts Assortment
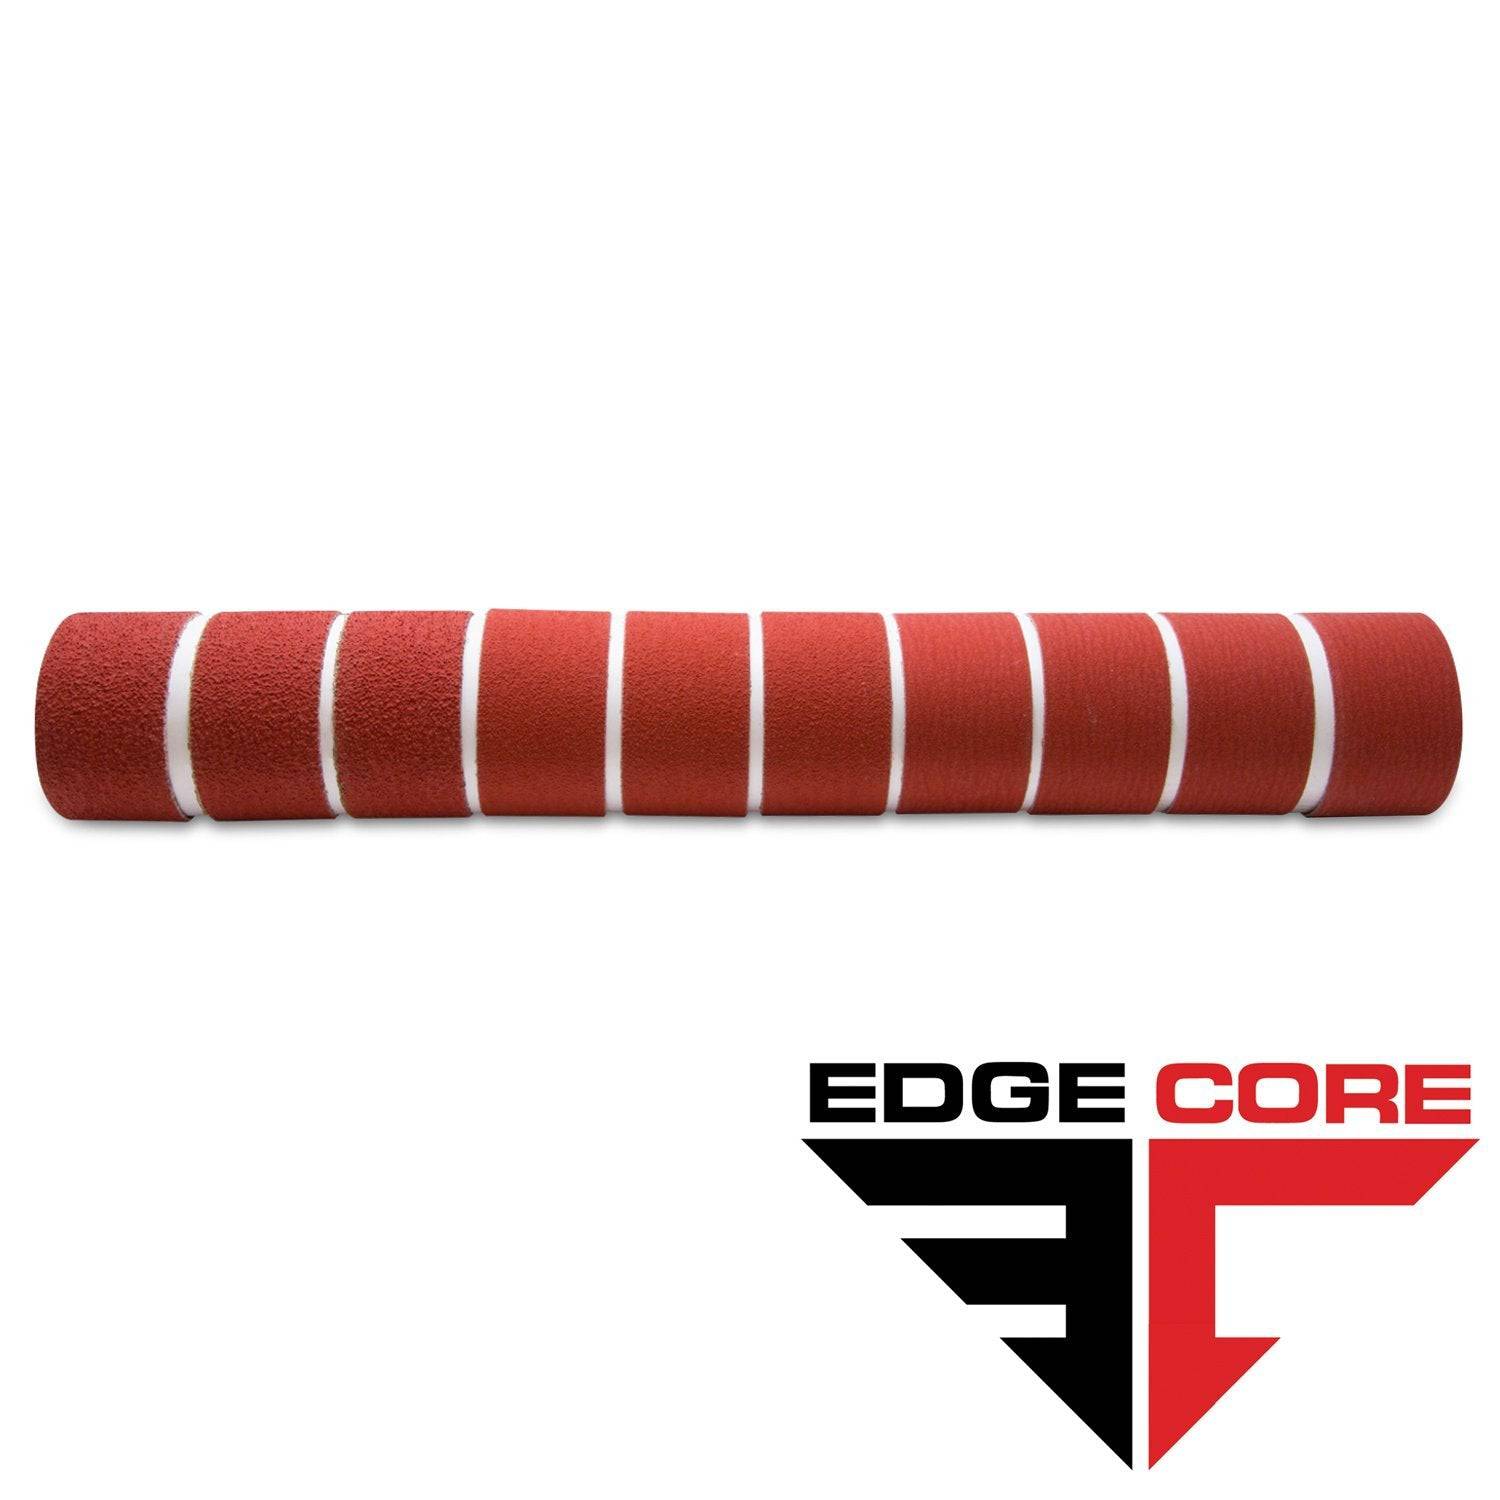
2 X 48 Inch Knife Makers Sanding Belts Assortment
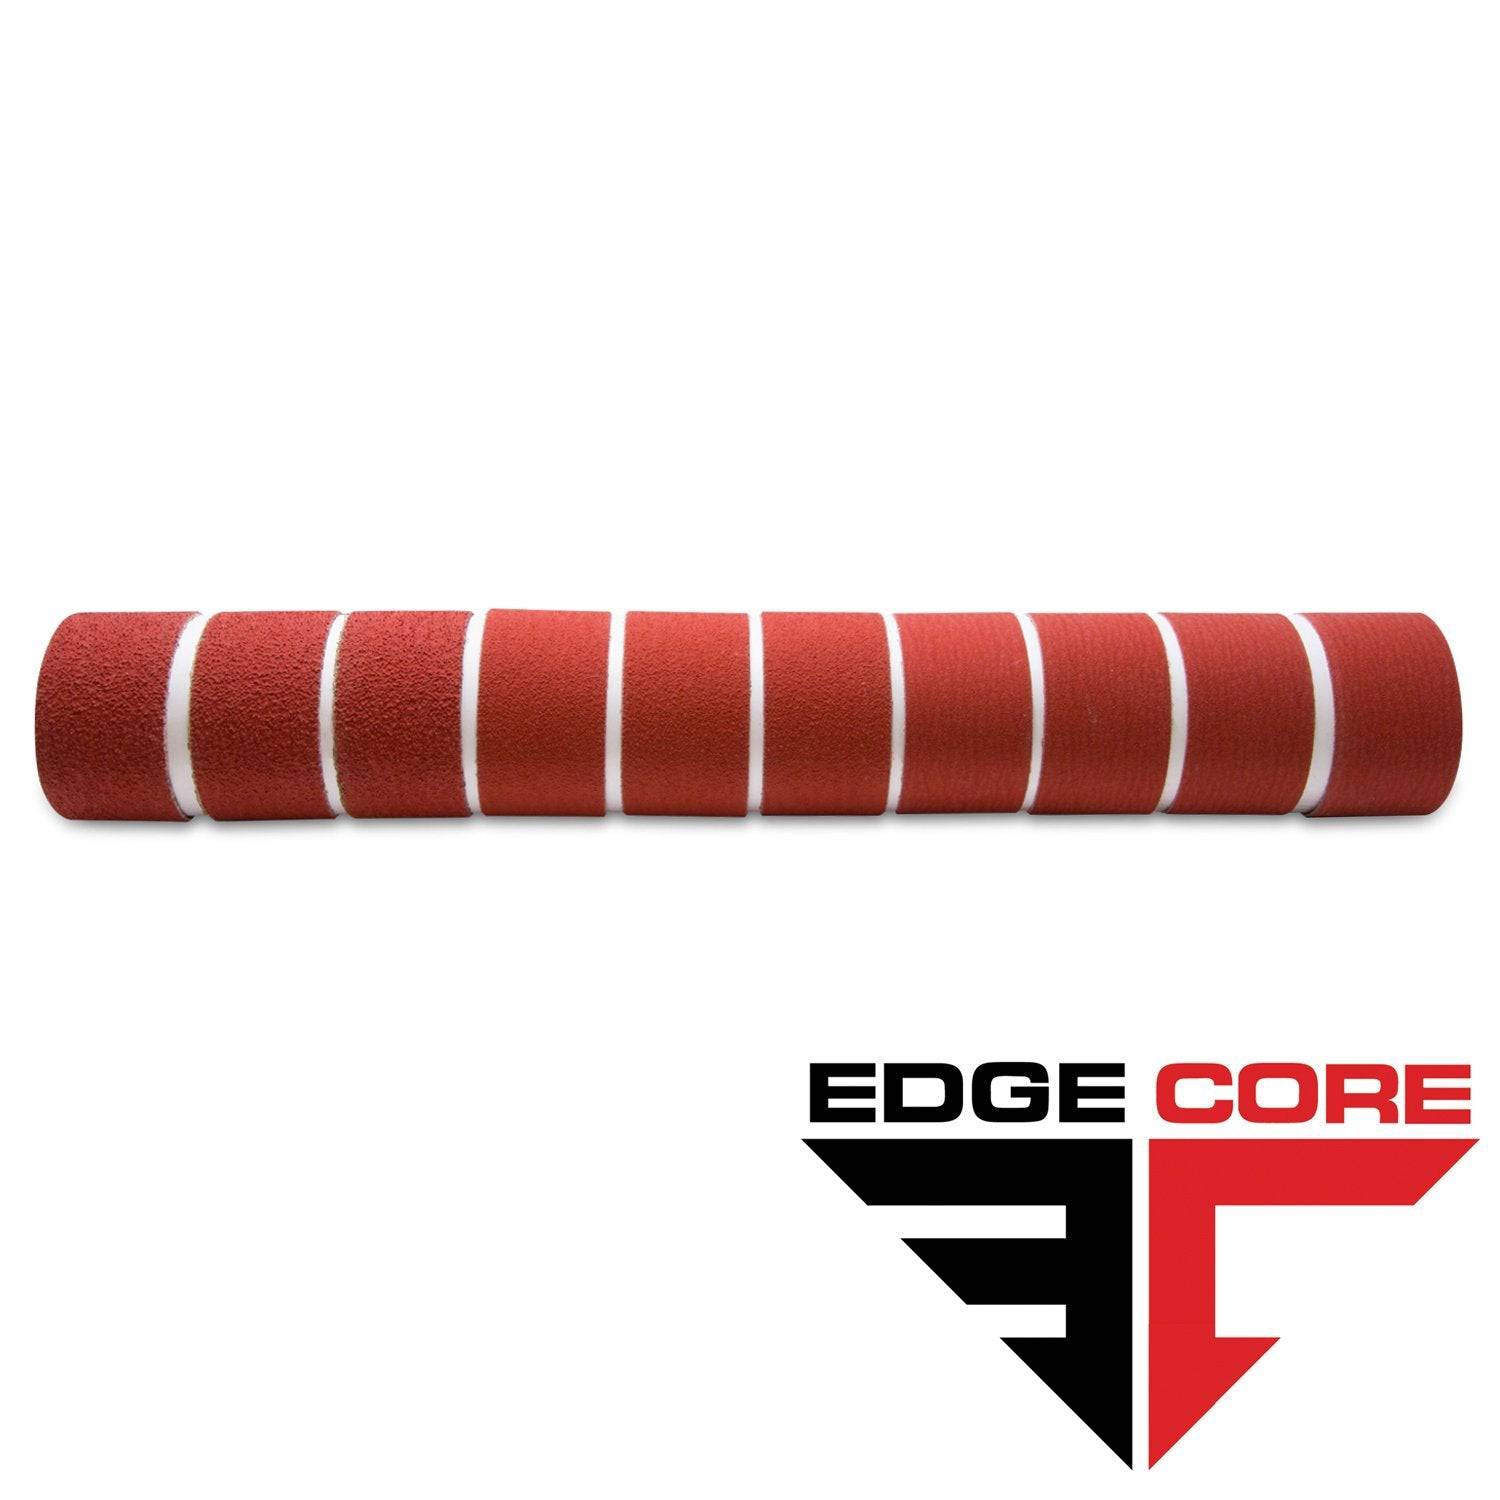
2 X 36 Inch Knife Makers Sanding Belt Assortment
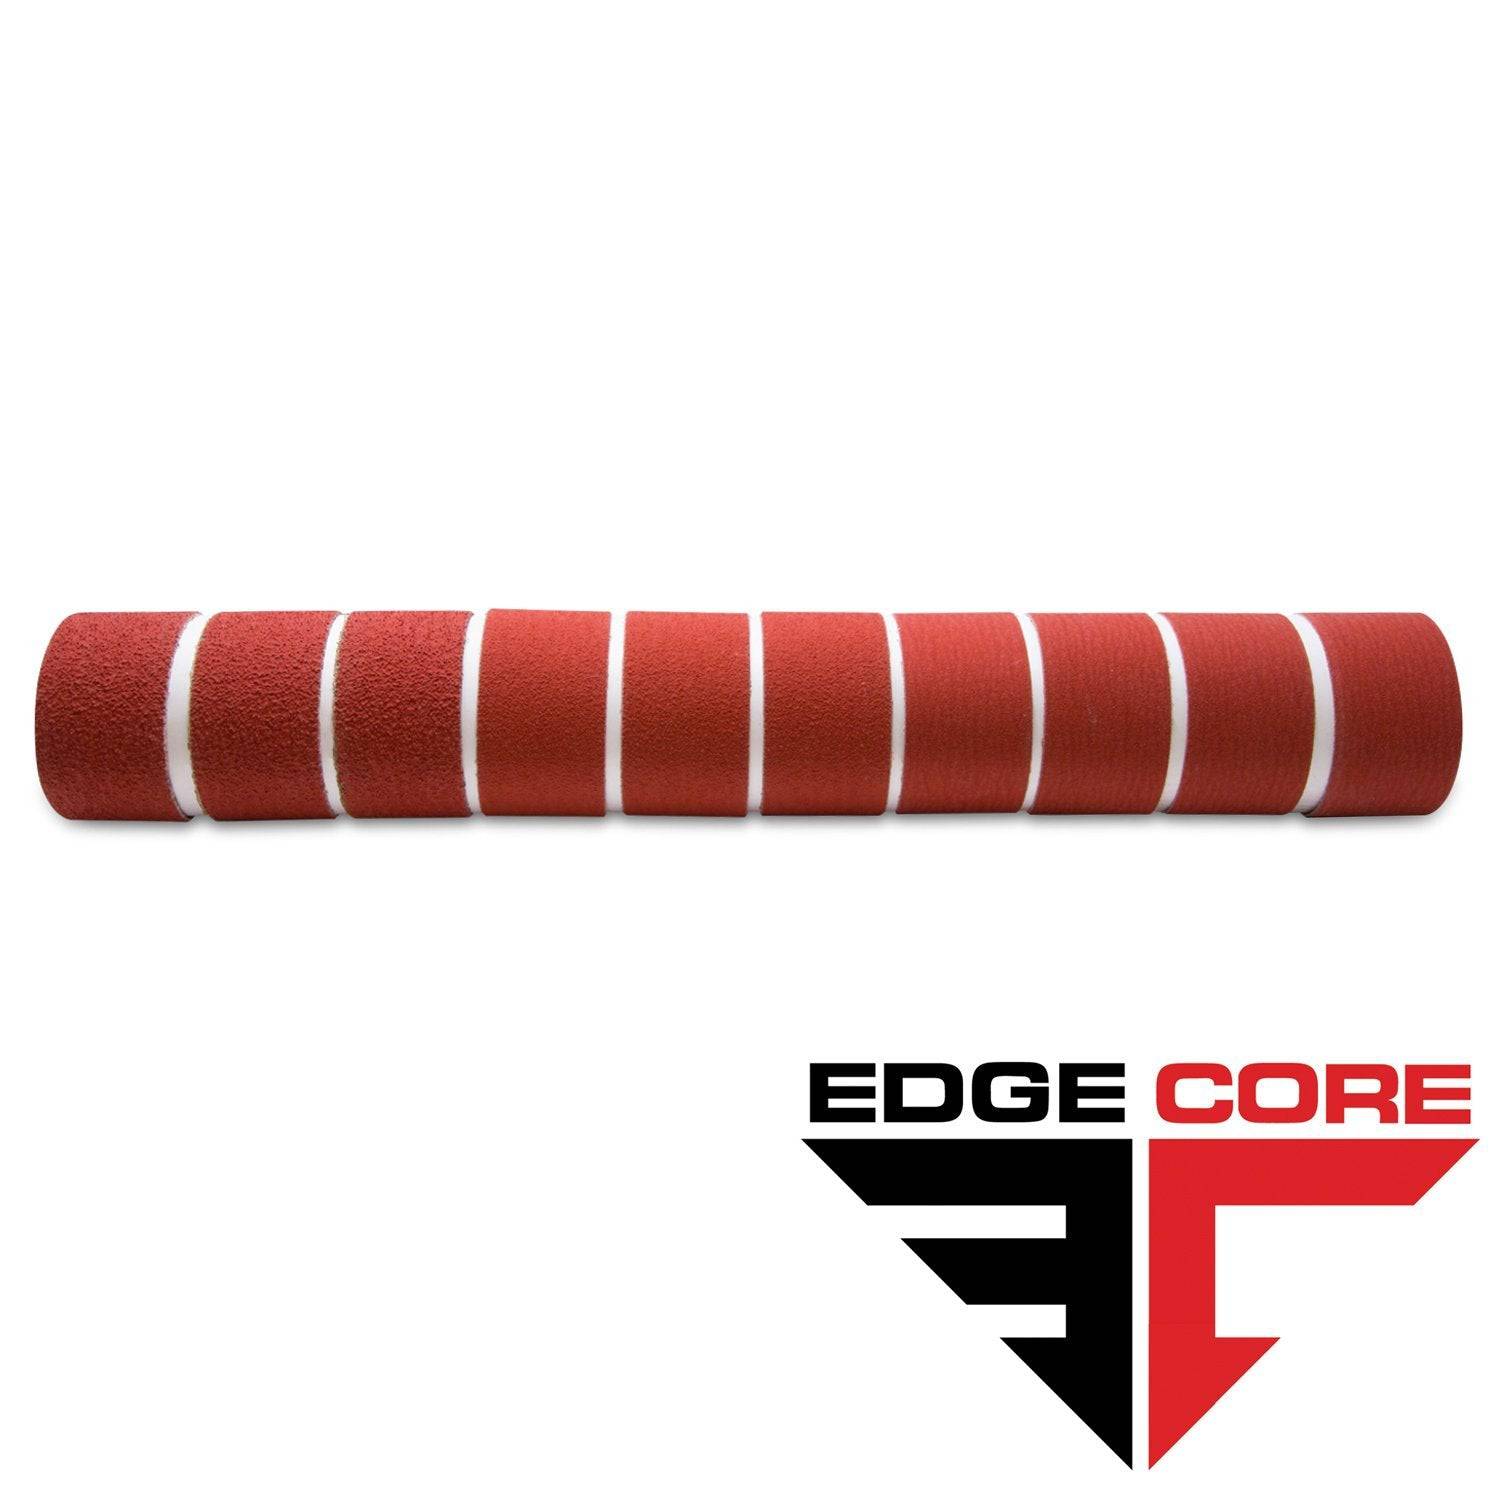
2 X 42 Inch Knife Makers Sanding Belts Assortment
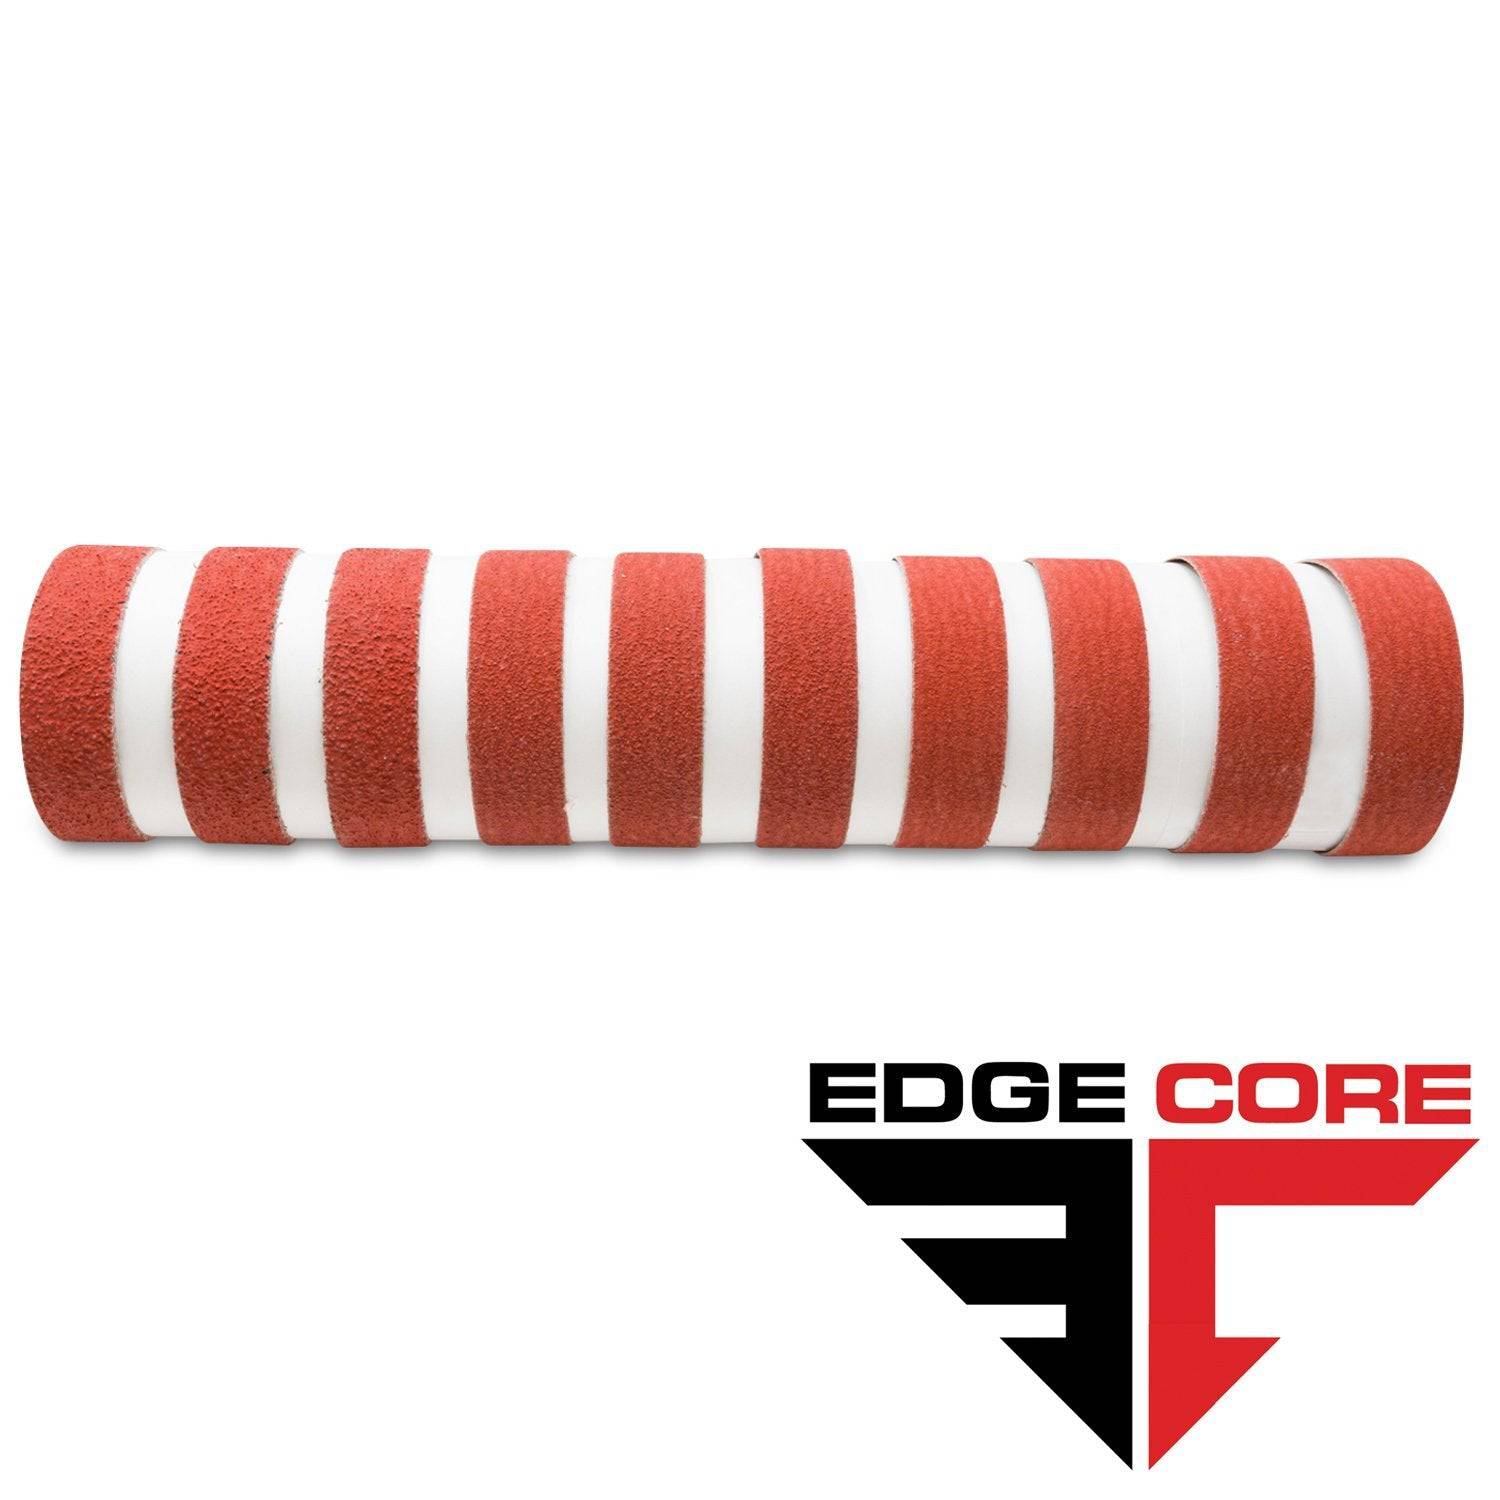
1 X 30 Inch Knife Makers Sanding Belts Assortment
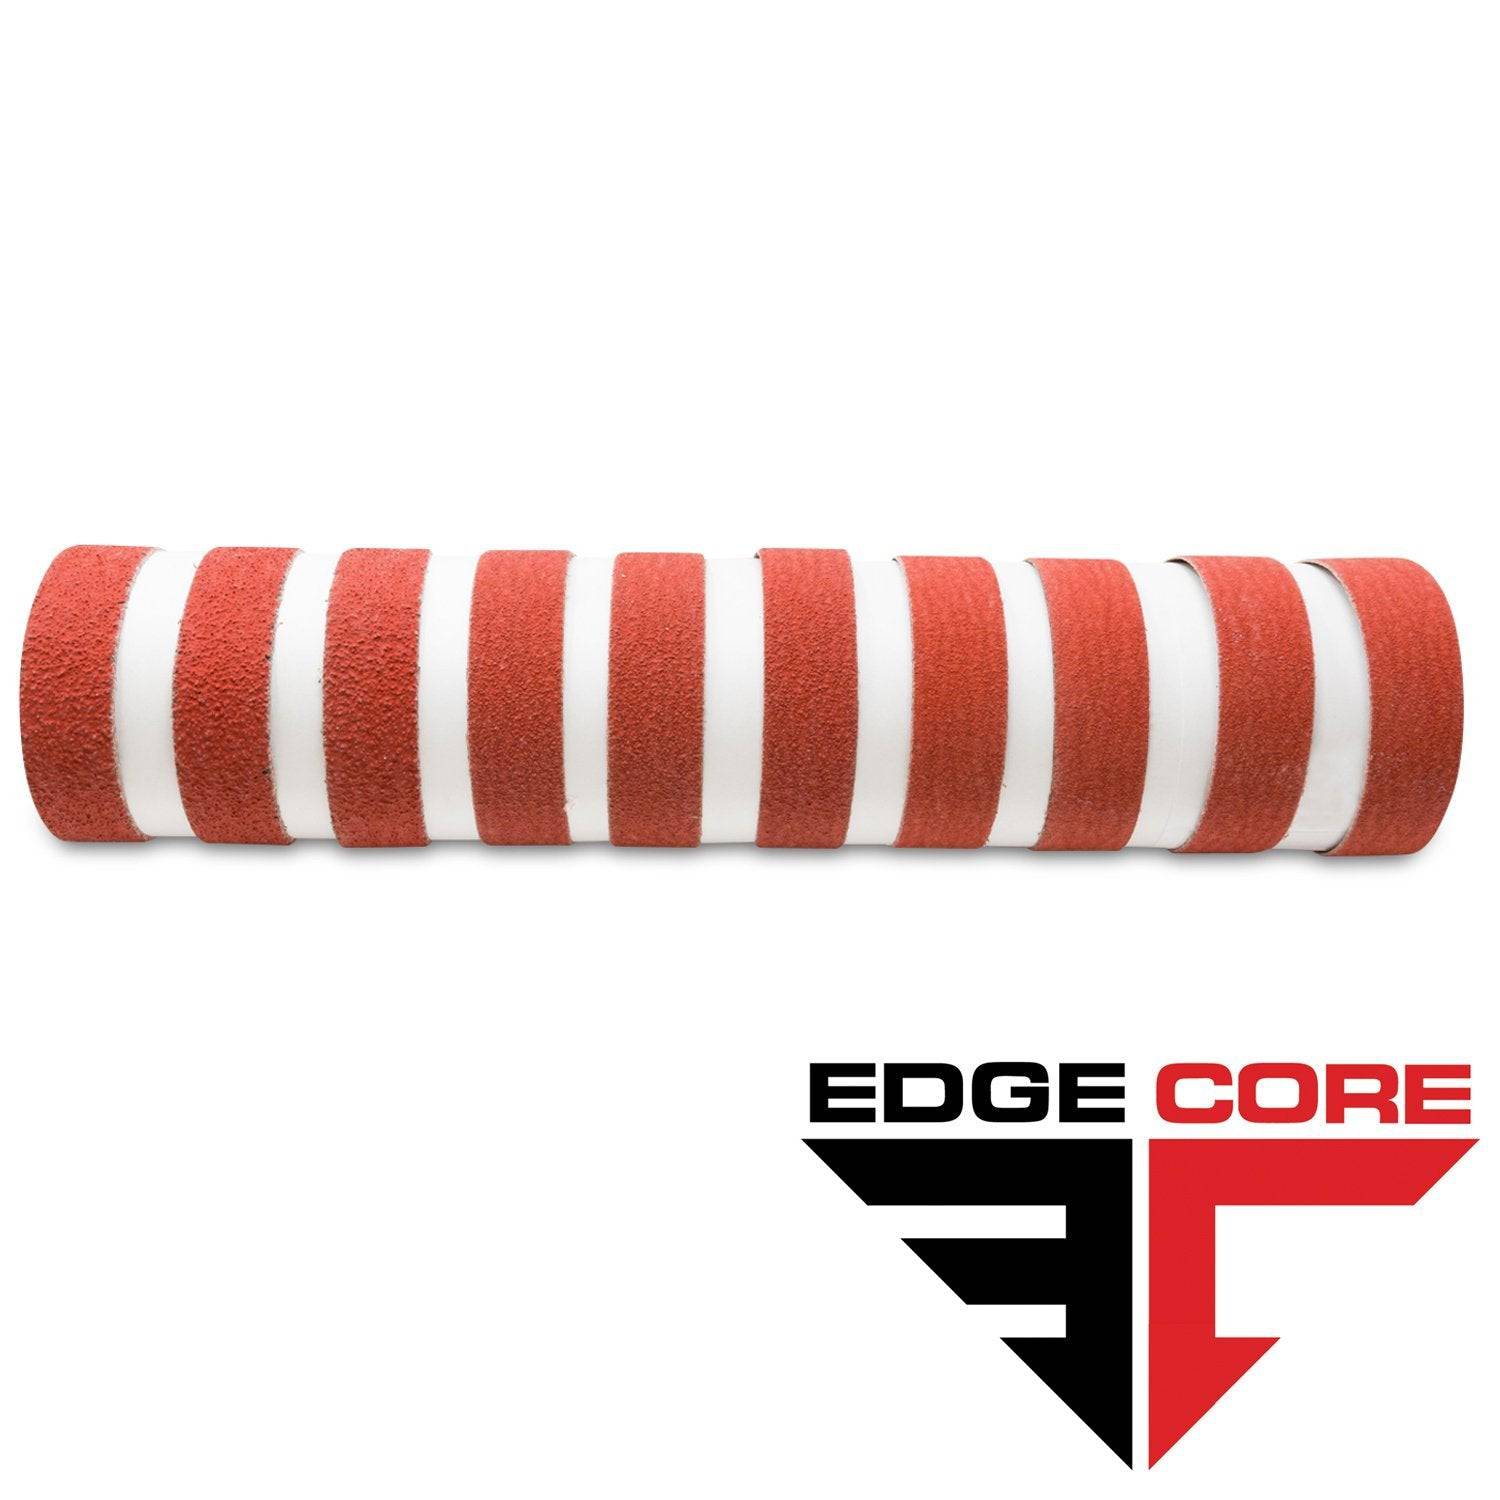
1 x 42 Inch Knife Makers Sanding Belt Assortment
Shop By Product Category


Why Choose Red Label?


