Your Cart is Empty


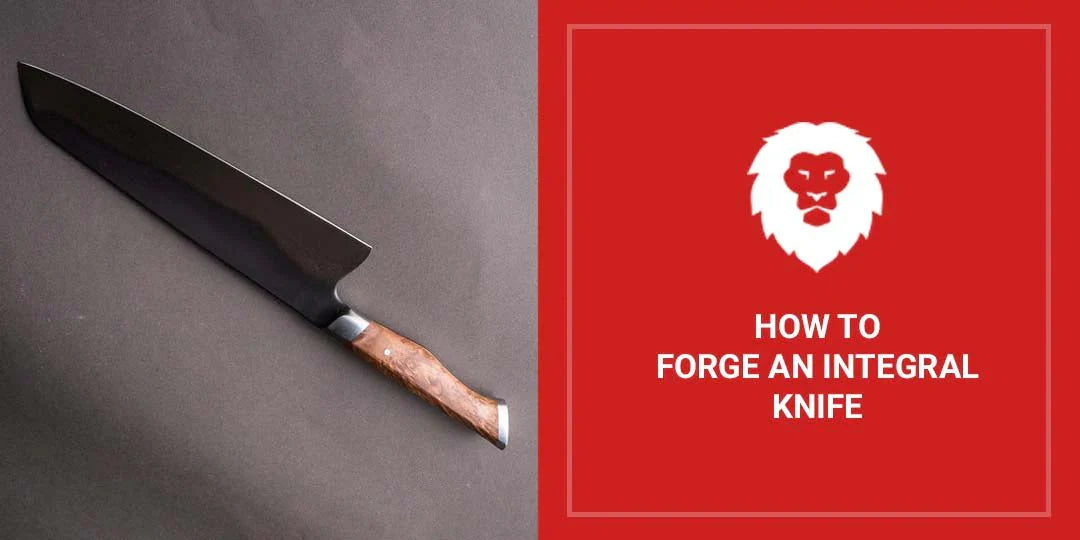
How To Forge An Integral Knife: Step-By-Step

Quick Summary
Integral knives are hand-forged from a single piece of carbon steel, creating a streamlined and minimalist design that is highly coveted by knife enthusiasts. To forge an integral knife, you will need high-quality carbon steel, a forge, an anvil, a hammer, tongs, grinders, and sandpaper, a spring fuller, heat-treating equipment, and safety equipment. The process involves heating the steel, marking and shaping it, grinding it, and heat-treating it to achieve the desired properties.
For those looking to take their skills to the next level, making an integral knife is an exciting and challenging project. In this blog, the team at Red Label Abrasives provides a step-by-step guide to forging an integral knife from start to finish, including choosing the right materials, preparing the forge, shaping the blade, and finishing it for a professional look. Whether you're a seasoned blacksmith or a beginner looking for a new challenge, let us show you how to forge an integral knife you’ll be proud to show off.
What is an Integral Knife?
An integral knife is a unique type of knife that is forged from a single piece of carbon steel, with the bolster integrated into the knife to create a seamless transition between the handle and blade. These knives are exclusively hand-forged and embody the key aspects of traditional blacksmithing techniques.
Integral knives are unique in that their handle is the distinguishing feature, rather than the blade. Unlike folding pocket knives, which typically feature two separate scales held together to create a channel for the blade, integral handles are crafted from a single piece of material. As a result, there is no need for a backspacer or additional hardware, resulting in a streamlined and minimalist knife with fewer parts. This design creates a sleek and uncluttered look that is highly coveted by knife enthusiasts.
Materials Needed
To hand-forge an integral knife, you will need the following materials:
- High-quality carbon steel such as 1095, O1, and W2.
- Forge
- Anvil
- Hammer
- Tongs
- Bench grinder
- Angle grinder
- Spring fuller
- Heat-treating equipment- this includes a quenching oil and an oven or forge
- Safety equipment such as eye and ear protection, gloves, and an apron
Knife Making Belts We Offer
Red Label sells sanding belts specifically designed for knife making that can be used with your bench grinder.


Forging the Knife
While the instructions provided here are primarily meant for making a hidden tang handled knife, some modifications can be made for crafting a full tang handled knife.
Step #1: Heat the Steel
Start by lighting the forge and letting it heat up for a few minutes. While you’re waiting, remove any rust, scale, or dirt on the surface- it’s important to make sure that the steel is clean before heating it. Then place the steel into the forge and heat it until it reaches a bright orange color. Keep in mind that different types of steel require different temperatures for forging, so make sure to consult the steel manufacturer's instructions for the correct temperature range.
Pro Tip:The initial forging temperature for soft, low carbon steels should be between 2280 to 2370°F, while the final forging temperature should be between 1472 to 1544°F. For high carbon and alloy steels that are hard in nature, the starting forging temperature should be between 2012 to 2084°F, with a finishing temperature of 1526 to 1598°F.
Once the steel has reached the correct temperature, use a pair of tongs to remove it from the forge and place it on the anvil.
Step #2: Mark and Shape the Steel
Use a spring fuller tool to create a mark that designates the beginning of the blade. Make sure there is enough material in front of the mark to forge the blade length you’re looking for. Once you’re done, use a hammer to start shaping the steel into the desired knife shape. You may need to return the steel to the forge multiple times throughout this process to maintain the proper temperature.
Begin forging near the bolster and gradually work your way toward the tip of the blade. Take care when forging the choil, which is the curved area where the blade meets the handle. You’ll want to start forging the edge in the choil area and then bring some of the material back towards the bolster. Carefully bring the edge back to shape the choil and ensure its proper positioning. Once that is done, begin working on the rest of the blade using the same steps you would follow for a regular knife.
To shape the tang, you'll need to mark the end of the bolster, which can be done by grinding around it. The angle on the bolster side should be 90 degrees for a good fit. Any kind of grinder will work, but if power tools aren't available, you can carefully file it down. Then cut the shaft and begin working on the tang. For a full tang knife, simply repeat the spring fuller marking steps on the back side of the knife and forge the full tang from there.
Step #3: Shape the Blade
If you’re using an angle grinder, you'll first need to securely clamp the blade in a vise or otherwise make sure it’s stable and won't move during grinding. Then use the angle grinder to remove any excess material and rough edges. Start with a coarse grit grinding wheel and gradually work your way up to finer grits. Use a light touch and avoid overheating the blade, which can damage the temper of the steel.
As you grind, periodically check the blade's shape and progress. Keep the blade cool and lubricated with water to prevent overheating and reduce the amount of dust created. Once you've shaped the blade to your desired shape, use a file or sandpaper to smooth out any rough spots or burrs left by the grinder.
Step #4: Heat Treat the Blade
The heat treatment process involves heating the blade to a specific temperature and then cooling it rapidly to achieve the desired properties. This is a crucial step in forging a knife, as it determines the final hardness, toughness, and other properties of the blade.
Heat the blade to the recommended temperature. Then quench, or rapidly cool, it in a liquid medium such as oil or water. This process causes the steel to harden, but also makes it brittle, so you’ll then need to temper it. This involves reheating the blade to a lower temperature and allowing it to cool slowly. The exact temperature and time of tempering vary depending on the desired properties of the blade.
Step #5: Finish the Blade
Depending on the level of precision and smoothness you want to achieve, you may need to use different types of grinding and sanding tools. A belt grinder, angle grinder, or bench grinder may be required to remove any rough spots or grinding marks.
- Begin with a rough grit, like 80 or 120 grit, to grind away any remaining scale or surface imperfections. Use consistent and even pressure to avoid creating uneven areas on the blade.
- Once you've removed the rough spots and created a uniform surface, move on to finer grits, such as 220, 400, and 600 grit. Work progressively to remove any remaining scratches and achieve a smooth surface.
- For a final touch, hand sand the blade with very fine grit sanding sheets, such as 800 or 1000 grit. This will remove any remaining scratches and provide a smooth finish.
- To achieve a high shine, you may choose to polish the blade with a polishing wheel. Use a buffing compound or polishing paste to bring out the shine of the metal.
After you've finished polishing, clean the blade thoroughly to remove any debris or residue left behind. Use a degreaser or rubbing alcohol to clean the blade, and then dry it with a clean cloth.
Step #6: Attach the Handle
Select the material that best suits your needs and preferences. Some popular options include wood, bone, and synthetic materials like G10 or Micarta. Once you’ve made your selection, use a hand saw or bandsaw to cut the material to the right size and shape. The handle should be slightly larger than the tang so you can shape it to your desired size.
Once the material has been cut, take the following steps:
- Drill holes into the handle material to match the holes in the tang. Make sure the holes are the right size and evenly spaced.
- Shape the handle using a belt sander, hand tools, or a CNC machine. Ensure that the final result is comfortable to hold and fits well in your hand.
- Apply epoxy adhesive to the tang and insert it into the handle. Make sure that the tang is fully seated and that there are no gaps or air pockets. Allow the epoxy to cure as per the manufacturer’s instructions.
- After the adhesive has cured, sand and shape the handle to your desired finish. You may use hand sanding, polishing, or a buffing wheel to achieve your desired look.
Finally, apply a protective finish to the handle. You can use oil, wax, or varnish to protect it and enhance its appearance.
A Premium Abrasive is Integral to the Process
Forging an integral knife can be a challenging yet rewarding experience. It requires patience, skill, and the right tools and materials, but with proper guidance and practice, you can create a beautiful and functional knife.
One crucial aspect of the process is using the right type of abrasives for grinding and polishing the blade and handle. Red Label Abrasives is a leading supplier of high-quality abrasives for knifemaking and other metalworking applications. We offer a wide range of products, including sanding belts, sanding discs, and even complete knife making kits that are specifically designed to meet the needs of knifemakers. Our most popular knife abrasive products are our 2 x 72 inch sanding belts. For more information or to place an order, please call 844-824-1956 or fill out our contact form today.


Belt Packs Made For Knife Makers

2 X 72 Inch Knife Makers Sanding Belts Assortment

2 X 60 Inch Knife Makers Sanding Belts Assortment

2 X 48 Inch Knife Makers Sanding Belts Assortment

2 X 36 Inch Knife Makers Sanding Belt Assortment

2 X 42 Inch Knife Makers Sanding Belts Assortment

1 X 30 Inch Knife Makers Sanding Belts Assortment

1 x 42 Inch Knife Makers Sanding Belt Assortment
Shop By Product Category


Why Choose Red Label?

