Your Cart is Empty


Wet Sanding Vs Dry Sanding: When To Use Each Method

Quick Overview
Sanding is used in various projects like woodworking, metal fabrication, and auto body work. This process can be performed under either wet or dry conditions, each requiring specific abrasives. Wet sanding uses water as a lubricant, ideal for minimizing dust and achieving a smoother finish, but not all abrasives perform well wet. Dry sanding, on the other hand, is quicker and more suitable for initial rough sanding and materials sensitive to water. Experimenting with both methods can help determine the best fit for specific project needs and ensure optimal results
Sanding is an essential step in many projects that involve woodworking, metal fabrication, auto body work, and other applications. Depending on the project, sandpaper is used to eliminate stock, and smooth surfaces, and prepare them for new paint for varnish.
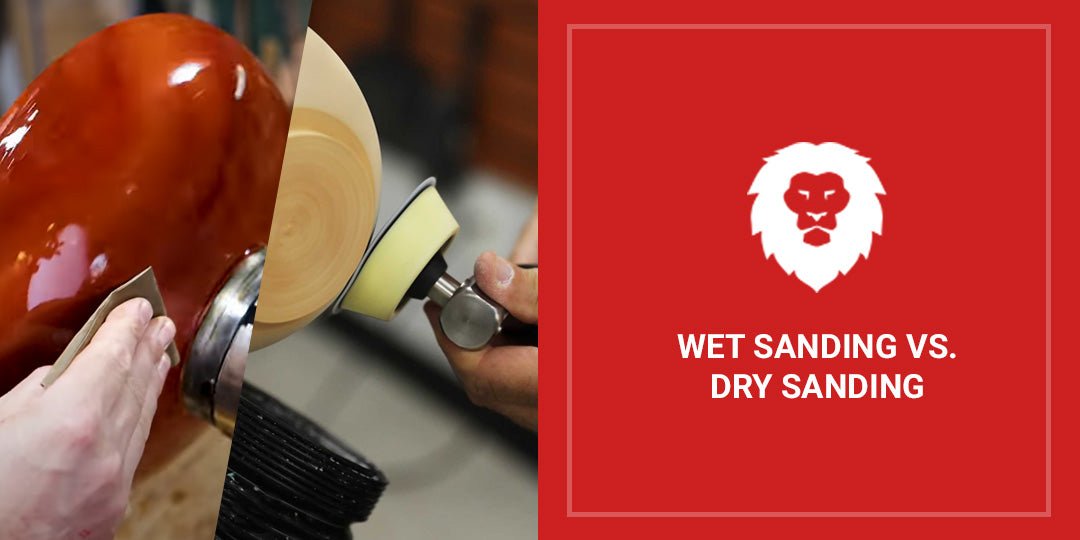
While sanding can be done under wet or dry conditions, you may need a different abrasive for each one. The main difference between wet sanding and dry sanding is that the former usually involves the use of water, and not all abrasives perform well in a wet environment. In this blog, the team at Red Label Abrasives compares each sanding method and outlines how to choose the right approach based on your specific needs.
Understanding Sanding
Sanding is a process that uses abrasives to shape, smooth, refine, and clean surfaces. It's an integral part of preparing surfaces for painting, staining, or finishing in various projects, such as in construction, woodworking, and auto repair. This step is vital for ensuring that coatings stick properly and create a smooth, attractive finish.
Sandpaper comes in various grits, with lower numbers indicating coarser abrasives that remove material quickly and higher numbers referring to finer abrasives for smoother finishes. Tools range from simple manual blocks and sponges to sophisticated electric sanders that speed up the work and reduce physical effort.
Pro Tip:Safety is paramount when sanding. Always wear protective gear, such as safety glasses to shield your eyes from dust and debris. With dry sanding in particular, a dust mask or respirator is also recommended to avoid inhaling fine particulates. You should also ensure your work area is well-ventilated, especially when sanding materials that can release harmful chemicals, like certain types of paint or resin.
What is Dry Sanding?
Dry sanding is a method where abrasive materials such as sandpaper or sanding discs are used to smooth out and refine surfaces without the aid of any water or lubricant. This process is included in a variety of applications across different materials including wood, metal, and plastic. Below is an overview of some of the many uses and benefits of dry sanding.
- Preparing Wooden Surfaces: Dry sanding is effective for preparing wooden surfaces for subsequent treatments like painting or staining. It helps in removing the top layers of old finish, revealing the raw wood beneath, which ensures better adhesion and absorption of new paint or stain.
- Removing Rust and Old Paint from Metals: When dealing with metal surfaces (especially those that have accumulated rust or old, chipping paint), dry sanding can be particularly useful. It aggressively removes these imperfections without the risk of water-induced rusting that might occur with wet sanding.
- Shaping and Smoothing Plastics and Composites: For plastics and composite materials, dry sanding helps in shaping and smoothing the surface before any finishing treatments or painting is done. It is essential for creating a uniform surface that enhances the final appearance of the material.
Advantages of Dry Sanding
There are many reasons why you’re better off using dry sanding in your project. They include speed and efficiency, ease of use, and versatility.
Speed and Efficiency
One of the most significant benefits of dry sanding is its speed. Unlike wet sanding, dry sanding does not require any drying time, which accelerates the workflow. This is particularly valuable in professional settings where time constraints are critical, or in project stages that demand rapid progression. For instance, in a commercial workshop, dry sanding allows for quick preparation of multiple pieces without the delay of waiting for surfaces to dry.
Ease of Use
Dry sanding is straightforward and does not require waterproof equipment or materials. This simplicity extends to the cleanup process, which is typically more manageable than with wet sanding. There is no slurry of water and abrasive material to clean up afterward; instead, dust can be vacuumed or swept away.
Versatility
The versatility of dry sanding is another notable advantage. It can be applied to a wide array of materials including wood, metals, plastics, and composites. Each of these materials can be handled without the risk of water damage, making dry sanding particularly advantageous for materials that are sensitive to moisture or susceptible to rust. For example, dry sanding is often the preferred method for initial rust removal from metal surfaces or for shaping and preparing composite materials for automotive parts.
Moreover, dry sanding is essential in situations where water could compromise the integrity of the material or the final product. For example:
- In woodworking, dry sanding prevents the grain from rising, which is a common issue when water penetrates the wood.
- In metalworking, avoiding water means preventing potential rusting that could occur after exposure to moisture.
Understanding these advantages helps clarify when dry sanding is the most appropriate choice for a project. It offers a practical, efficient, and versatile solution that meets the needs of a wide range of sanding tasks. Whether you're dealing with delicate materials or working under time pressures, dry sanding provides a reliable method to achieve desired results without the complications associated with water use.
Best Abrasives for Dry Sanding
Abrasives such as open and closed-coat aluminum oxide are popular for wood and metal because of their durability and cutting efficiency. Silicon carbide is another abrasive that works well on harder materials and provides a finer finish. For projects requiring heavy-duty sanding, zirconia, and EdgeCore Ceramic are good choices because they are tough on surfaces and have a long lifespan. Unlike wet sanding, virtually any backing material can be used for dry sanding.
What is Wet Sanding?
Wet sanding involves the use of water or oil as a lubricant to reduce dust and minimize surface scratching. The water aids in washing away the dust and debris, which helps achieve a finer finish with fewer visible scratch marks compared to dry sanding.
Wet sanding differs from dry sanding primarily because it uses water or another form of lubricant. This distinction is important because it affects the kind of abrasives that can be used as well as the finishing process. Wet sanding also creates less airborne dust, which makes it safer for indoor use and provides a smoother finish, making it ideal for high-quality surfaces like auto bodies and fine furniture.
Advantages of Wet Sanding
Wet sanding is not only effective in achieving superior finishes but also addresses several issues associated with traditional dry sanding.
Reduces Dust Production
One of the most significant benefits of wet sanding is its ability to drastically reduce the amount of dust produced during the sanding process. By incorporating water, the dust particles are trapped and prevented from becoming airborne.
Achieves Smoother Finish
Wet sanding is renowned for its ability to deliver a smoother finish on surfaces. The water acts as a lubricant that helps the abrasive material glide more smoothly over the surface, reducing the risk of leaving scratch marks that are often more apparent with dry sanding. This makes wet sanding ideal for projects where a highly polished or mirror-like finish is desired, such as in automotive painting or high-end furniture finishing.
Prevents Overheating
Another advantage of wet sanding is its ability to keep the sanding surface cool. Dry sanding can generate considerable heat through friction, which can lead to overheating of the material being sanded. This heat can damage the surface, causing it to warp, melt, or burn, especially in the case of plastics and some metals. Wet sanding mitigates this risk, as the water dissipates heat effectively and keeps the temperature down during the sanding process.
Whether you are working on auto body repair, refinishing a piece of furniture, or preparing a surface for high-quality paintwork, wet sanding offers a range of benefits that can significantly improve the outcome of your project.
Choosing the Right Abrasives for Wet Sanding
Not all abrasives are suitable for wet sanding; they must be designed to handle wet environments. Abrasives with paper backings will get soggy and fall apart when exposed to water. You need abrasives with a waterproof backing like cloth or film for wet sanding.
For instance, many of our orange hook and loop sanding discs are crafted from a premium waterproof polyester film with aluminum oxide abrasive grains. These features make them perfect for both wet and dry sanding, particularly in auto body work. Additionally, our pressure-sensitive adhesive (PSA) discs include waterproof polyester film with aluminum oxide, closed-coat silicon carbide, and closed-coat zirconia abrasives, all tailored for excellent performance in wet sanding scenarios.
When Should You Use Wet Sanding Instead of Dry Sanding (and Vice-Versa)?
Choosing between wet sanding and dry sanding depends on several factors, including the type of material you're working with, the desired finish, and the working environment. Here’s a practical guide on when to use each method to achieve the best results.
When to Use Wet Sanding
- High-Quality Finish Requirements:Wet sanding is often used when you need a very smooth finish, such as in auto body work or on high-end furniture. The water used in wet sanding helps to minimize scratch marks, providing a finer finish than dry sanding.
- Dust Control: If you're working in an environment where dust control is important—for example, in finished homes or indoor settings—wet sanding is advantageous, provided the material is suitable for it. The water traps the dust particles, preventing them from becoming airborne and creating a cleaner work area.
- Heat-Sensitive Materials: Some materials can be damaged or distorted by the heat generated through friction during dry sanding. Wet sanding keeps the material cool, which is particularly important for plastics and metals that might warp or melt.
When to Use Dry Sanding
- Rapid Material Removal: Dry sanding is generally faster at removing material. This makes it ideal for the initial stages of a project where you need to quickly level or shape a surface, such as when stripping old paint or varnish from wood.
- Water-Sensitive Materials:If the material cannot tolerate water—like certain types of hardwoods, metals that may rust, or any other moisture-sensitive surfaces—dry sanding is the preferred method.
- Convenience and Speed:Dry sanding doesn't require the setup and cleanup involved with wet sanding, making it a more convenient choice for quick jobs or for those needing immediate progress without delay for drying.
By understanding these considerations, you can choose the most appropriate sanding technique for your project. Both wet sanding and dry sanding have their place in different scenarios, and selecting the right one can make a significant difference in the quality and efficiency of your work.
Best Practices and Tips for Effective Sanding
Once you confirm which sanding method is better for your application, it's important to follow certain best practices and tips.
Right Abrasive Selection
Abrasives come in various grit sizes, and selecting the right one is key. Start with a coarser grit to remove material and imperfections quickly. Once the major flaws have been addressed, switch to a finer grit to refine the surface and achieve a smooth finish. This step-by-step approach helps prevent damage to the material and ensures a high-quality final texture.
Consistent Technique
It's important to apply consistent pressure throughout the process and move the sander in steady, overlapping passes. This consistency helps achieve an even finish across the entire surface. For manual sanding, using a sanding block can help distribute pressure evenly, reducing the risk of indenting the material.
We Have Products for Wet and Dry Sanding at Red Label Abrasives
Selecting between wet and dry sanding should be based on the specific needs of your project. Consider factors such as the type of material you are working with, the desired quality of the finish, the working environment, and health and safety considerations. By keeping these guidelines in mind and applying them to your work, you'll be well-equipped to choose the most effective sanding method for your project.
At Red Label Abrasives, we understand the importance of having the right tools for the job, especially when it comes to sanding. Whether you are looking for the perfect finish with wet sanding or need the speed and efficiency of dry sanding, we have a comprehensive selection of abrasives to meet your needs. This includes sanding belts, sanding discs, sanding sheets, and specialty products like knife-making kits. If you would like to place an order, please contact us by calling 844-824-1956 or filling out our contact form today.


Our Most Popular Abrasives

EdgeCore Ceramic Sanding Belts

EdgeCore Ceramic Flap Discs

Buffing Kit
Shop By Product Category


Why Choose Red Label?

