Your Cart is Empty
Free Shipping over $150 (Excludes Oversized Products) | Office Closed 12/24-26 & 12/31-1/2
Free Shipping over $150 (Excludes Oversized Products) | Office Closed 12/24-26 & 12/31-1/2
Sanding Belts
Sanding Discs

How To Design Knife Handles
by David Kranker 6 min read

Quick Summary
Knife handle design is as important to the success of the finished knife as the design of the blade. When you use quality materials and get the shape and dimensions right, the result is a knife that will stand the test of time. Factors to consider when designing knives include handle shape, hand size, handle materials, knife uses, and handle dimensions.
Jump To:
When you design a knife, your initial focus will probably be on the blade. (If you need some tips, we’ve written a detailed guide to developing a blade shape.) However, handle design is equally important to the finished product.
A good handle is made from quality materials, feels good in your hand, and lets you use the knife safely and efficiently. In this guide, we’ll go over some best practices for achieving excellent results.
Knife Handle Design Factors
Handle design calls for a lot of forethought. Who is the knife for? Will it be used to cut steaks or stakes? The factors below all play an important part in developing a handle that lets you use the knife as intended.
Hand Size
How large are your hands? If they’re longer and your fingers are slender, the handle diameter needs to be bigger to ensure a comfortable grip. Thicker palms and fingers require a smaller diameter. If you’ll be using the knife outside and plan to wear gloves, go for a longer, more slender handle that your fingers can close around more easily.
Handle Dimension
Most knife handles are between 0.75” and 1” at the shortest point and 1.25” to 1.5” at the tallest. If you’re opting for a relatively unique knife design like a Wharncliffe or Tanto, your knife may end up outside those dimensions, but they’re a good starting point.
Handle Shapes
A poorly shaped handle can tire the hand and increase the risk of accidents. Avoid designs with square, sharp-angled grips that don’t feel comfortable in the contours of your palm or round handles that lack natural indexing for the edge of the blade. (Natural indexing means that you can tell where the blade edge is by how the handle feels in your hand.)
Oval handles are a better choice because they index the edge to the handle properly. You’ll also want to add a swell in the middle to ensure better contact with your palm as well as provide a natural rotation point for the blade.
Knife Handle Materials
You’ve got a lot of good choices for handle materials. The right one will depend on what kind of knife you’re making as well as how you plan on using it.
Wood
Wood handles are classic and add a natural beauty to the knife. Popular choices include rosewood, ebony, cocobolo, and oak. Although cost will vary depending on what wood you use, it’s an affordable material compared to other options. If you plan to use it in wet applications, you might want to consider a stabilized wood if the one you’re working with is not naturally self-sealing.
Stainless Steel
Stainless steel is durable and corrosion-resistant, but it’s heavy and can be slippery, which is why pro knifemakers add ridges or edging to get the friction needed for a secure hold. The added weight makes it unsuitable for heavy-duty knives, but stainless steel can add a beautiful touch to decorative knives.
Bone
Many pocket knives have a bone handle. As a material, it looks great and is easy to hold, but if you plan on using the knife for more rugged applications, consider another option, as bone is porous and can crack over time.
Stag Antlers
These knife handles are made from stag antlers discarded by the animal. The texture supports a solid, comfortable grip and the look is very ‘outdoorsy.’ Antlers are more difficult to work with if you’ve never used them to make a knife handle before, but you can get tips from the pros.
Micarta
Micarta is a composite of paper, canvas, linen, fiberglass, or other material set in plastic. You can get it in a wide range of colors, so it’s ideal for decorative knives. Micarta is more expensive than other materials, but if you’re looking to make a showpiece, it’s worth it.
G-10
G-10 is a composite material made from resin-treated fiberglass laminate. As a knife handle, it’s strong and water-resistant, making it perfect for tactical and outdoor use.
Carbon Fiber
Carbon fiber creates a beautiful knife handle due to the unique way it reflects light, but it tends to be brittle despite its strength. Sharp impact can cause carbon fiber to break apart, which you’ll want to bear in mind for an outdoors knife in particular.
Aluminum
Aluminum is durable, low-density and has the right amount of texture for a firm handle grip, so it’s ideal for a knife you plan on using a lot. On the downside, aluminum gets extra-chilly during the cold months, so it’s not the best option for winter use.
Titanium
Like aluminum, titanium is lightweight and creates a comfortable, attractive knife handle. It also resists rust more effectively than other materials and doesn’t become too chilly to handle during winter. Its attractive color makes it appealing for showpiece knives.
Creating the Knife Handle
Once you’ve selected the handle material, your next step is to craft the scales themselves and apply them to the knife.
Step 1: Cutting Out the ScalesAfter applying thick tape to the blade for safety, place the tang (the back section where the handle will be attached) along the outside edge of one scale, clamp both pieces together, and drill pin holes. Then trace the tang shape onto the other scale and drill its pin holes. Once you’re done, use a hacksaw or bandsaw to cut the rough shape of the handle out of the scales.
Step 2: Cut and Insert the PinsSand the ends of each pin with 80-grit sandpaper to help them enter the scale material more smoothly. After inserting them through the knife and scales, cut off any excess length and sand down the edge.
Step 3: Sand the HandleTake the pins out, remove the knife, re-insert the pins in the scales, and put the handle in a clamp or vise. Sand it roughly until the two scales are the same size and uniform. Then release them, lay them down on a large piece of sandpaper, and give the inside of each one a thorough sanding to make sure they’re flat and level.
Step 4: Glue the Scales to the TangRemove the pins, separate the scales, and clean the tang to remove any oil or grease. After rinsing and wiping dry, insert the pins into the tang ONLY and use a popsicle stick to apply epoxy glue to the pins and tang. Then apply the glue to the inside of each scale before attaching them to the pins, leaving around ⅛” of pin length sticking out at each end. Clamp the entire assembly together and let it set overnight.
Step 5: Peen the Pins
Place the assembled knife on a solid surface, pick up a ball peen hammer, and gently tap the ends of the pins, moving in a circular motion. Take a couple minutes for each side, flipping the handle more often as you get closer to the material, and continue until the pins are recessed.
Step 6: Shape the Handle to the Tang
Place your taped-up knife blade-first in a vise and sand the material where it meets the tang. Use a file to get the handle flush to the metal. Apply a wood block wrapped in sandpaper to flat areas of the handle and sandpaper with flexible backing to the contours.
Step 7: Sand the Handle
Using 80-grit sandpaper, start smoothing the handle and pins. Keep moving up the grit scale until you achieve the fine finish you’re looking for. Once you’re done, clean the handle and polish it to add shine and depth to the color.
Contact an Abrasive Specialist
Knife-making is called an art for a reason. A gleaming blade combined with a beautifully finished handle is a true masterpiece. Red Label is here to serve all artists and makers. To help you achieve the best possible finish and results,Red Label Abrasives sells knife-making kits with a range of abrasives for shaping, smoothing, and polishing. For more information, please call 844-824-1956 orfill out our contact form. ABOUT THE AUTHOR
David Kranker is a writer and creative maker who has been covering the abrasive and knife-making industries on the Red Label Abrasives Blog since 2020. David spends his time continually researching sanding and bladesmithing to provide readers with the latest and greatest information. In his free time, David utilizes abrasives for many different home and auto projects at his home in Delton, MI.
Belt Packs Made For Knife Makers
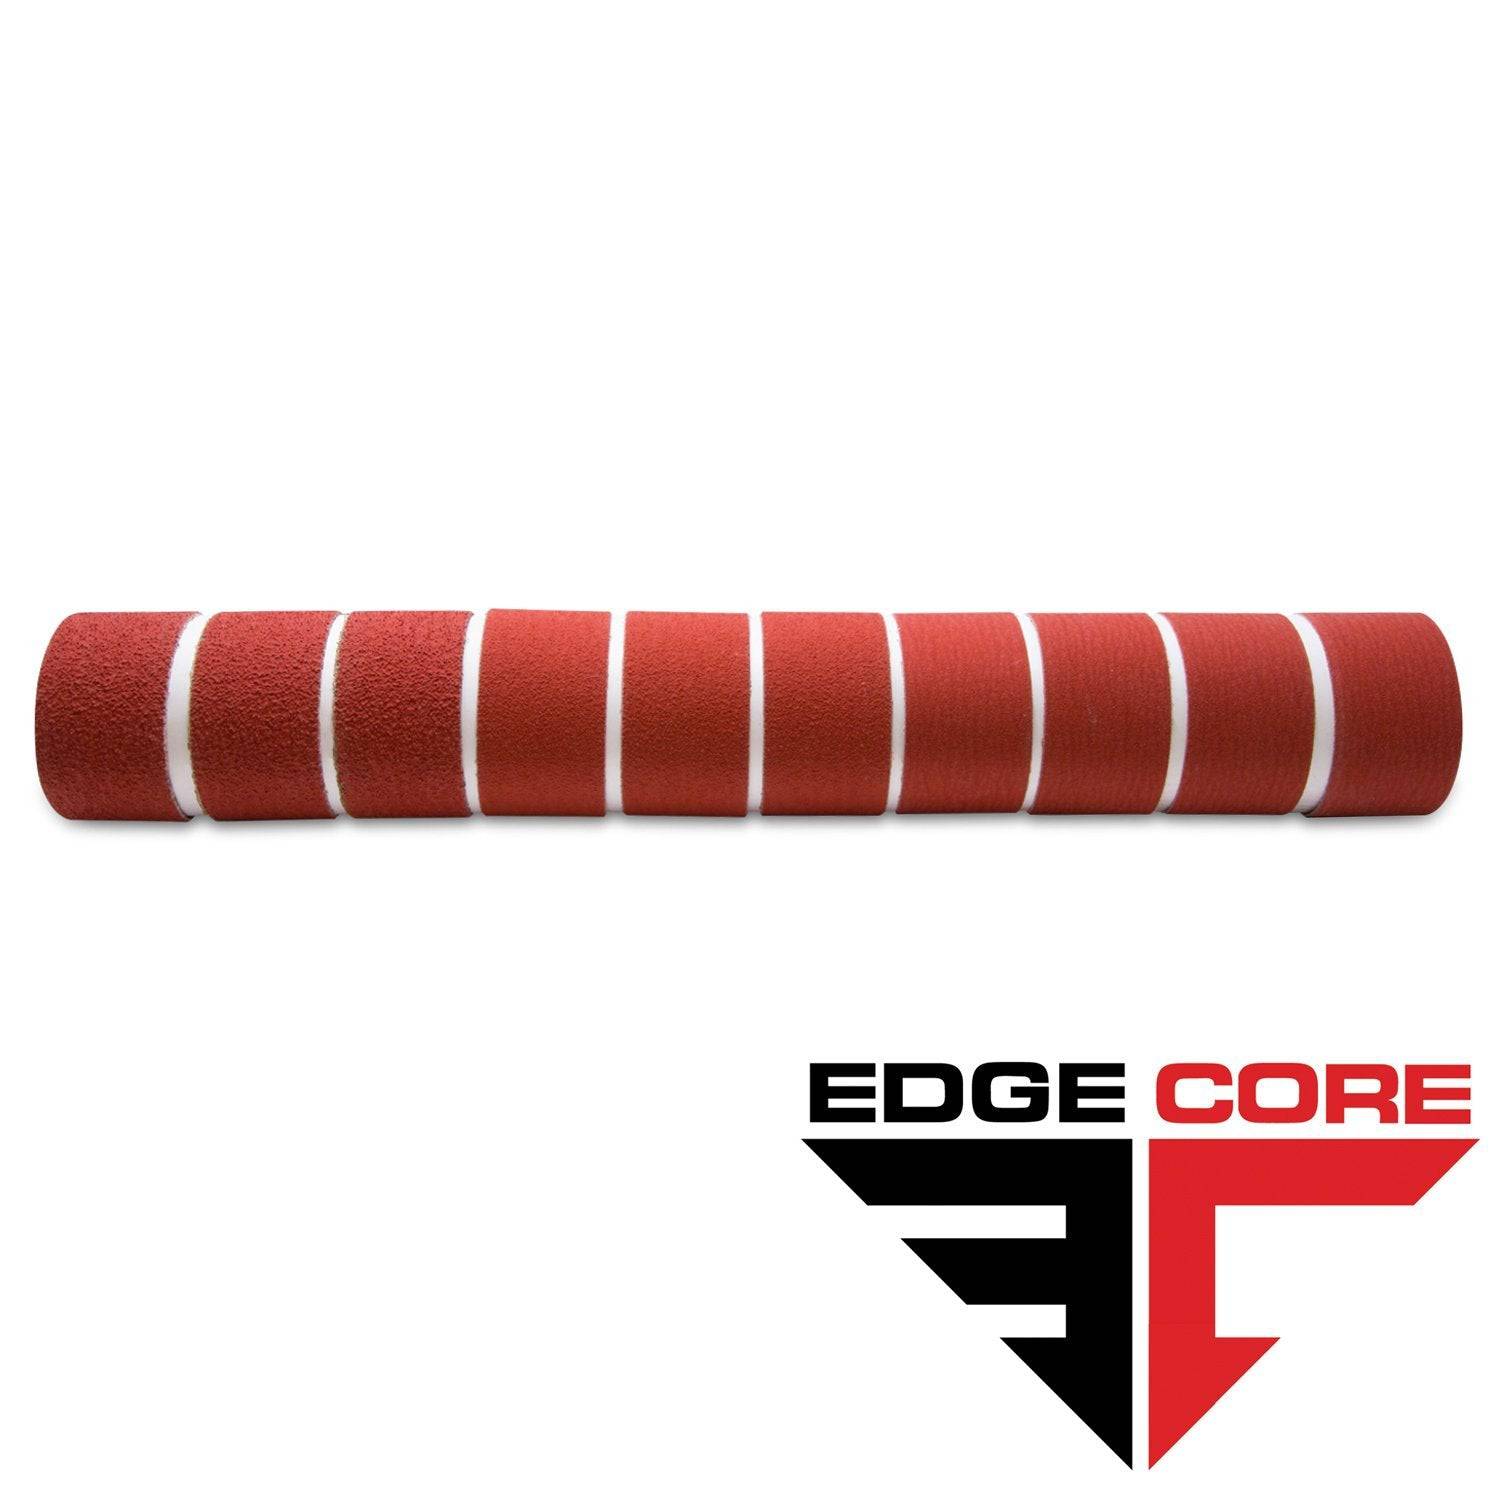
2 X 72 Inch Knife Makers Sanding Belts Assortment
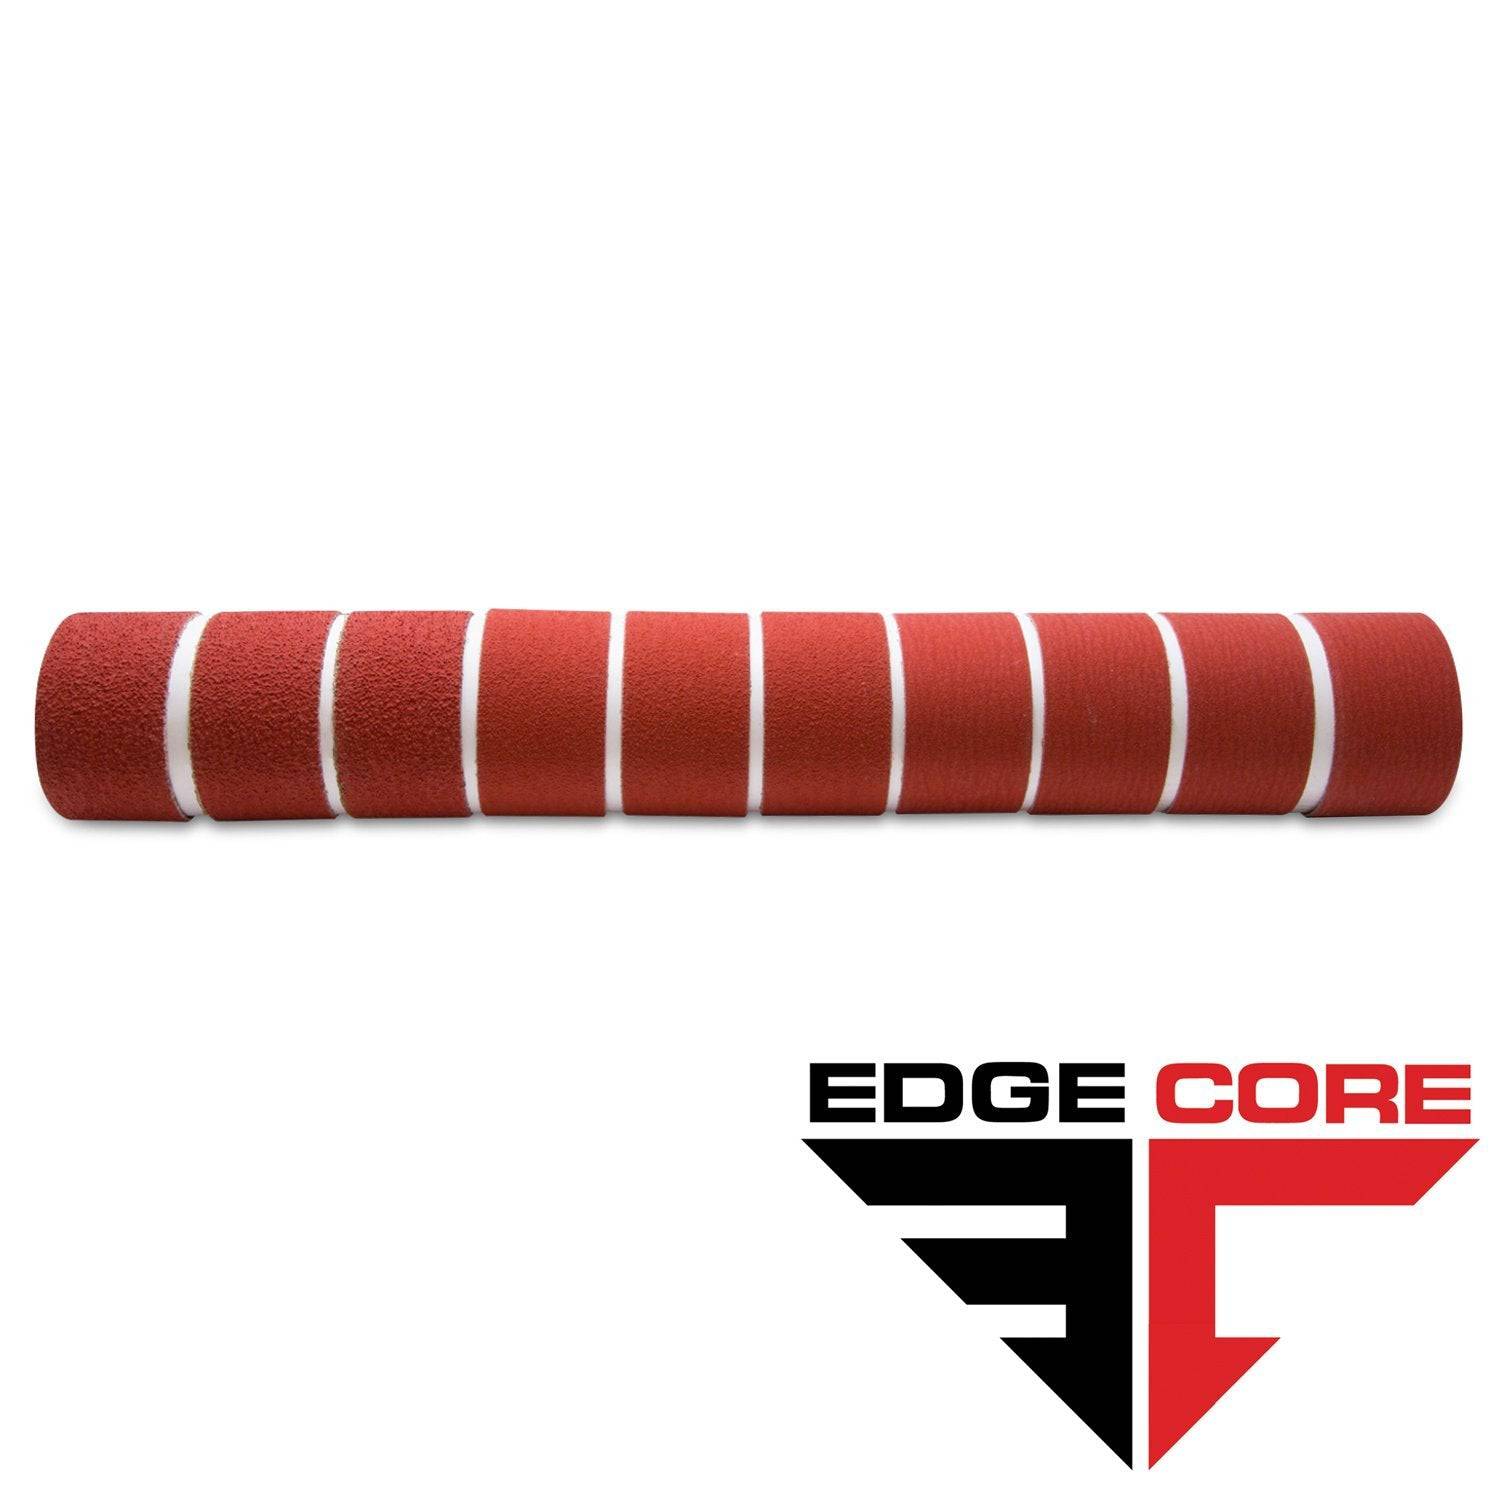
2 X 60 Inch Knife Makers Sanding Belts Assortment
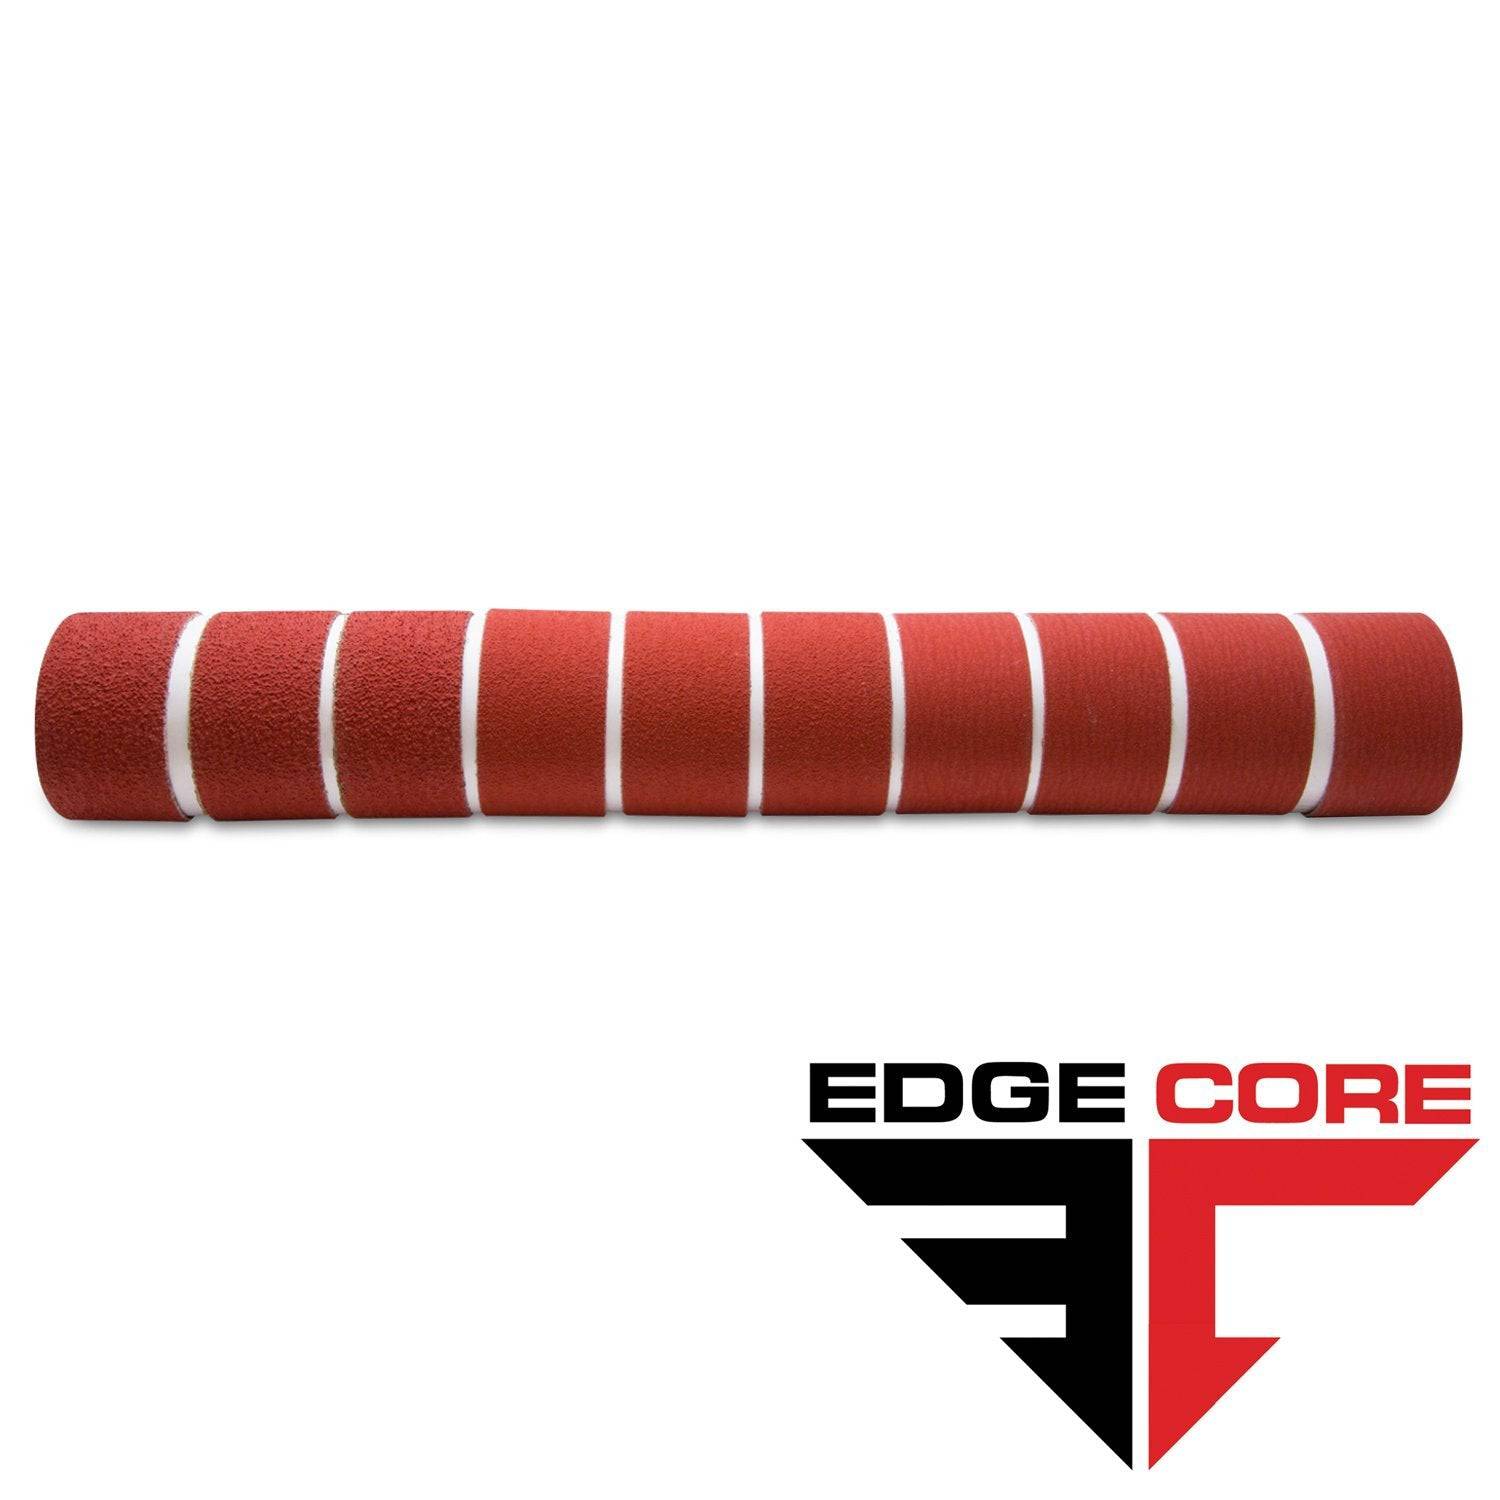
2 X 48 Inch Knife Makers Sanding Belts Assortment
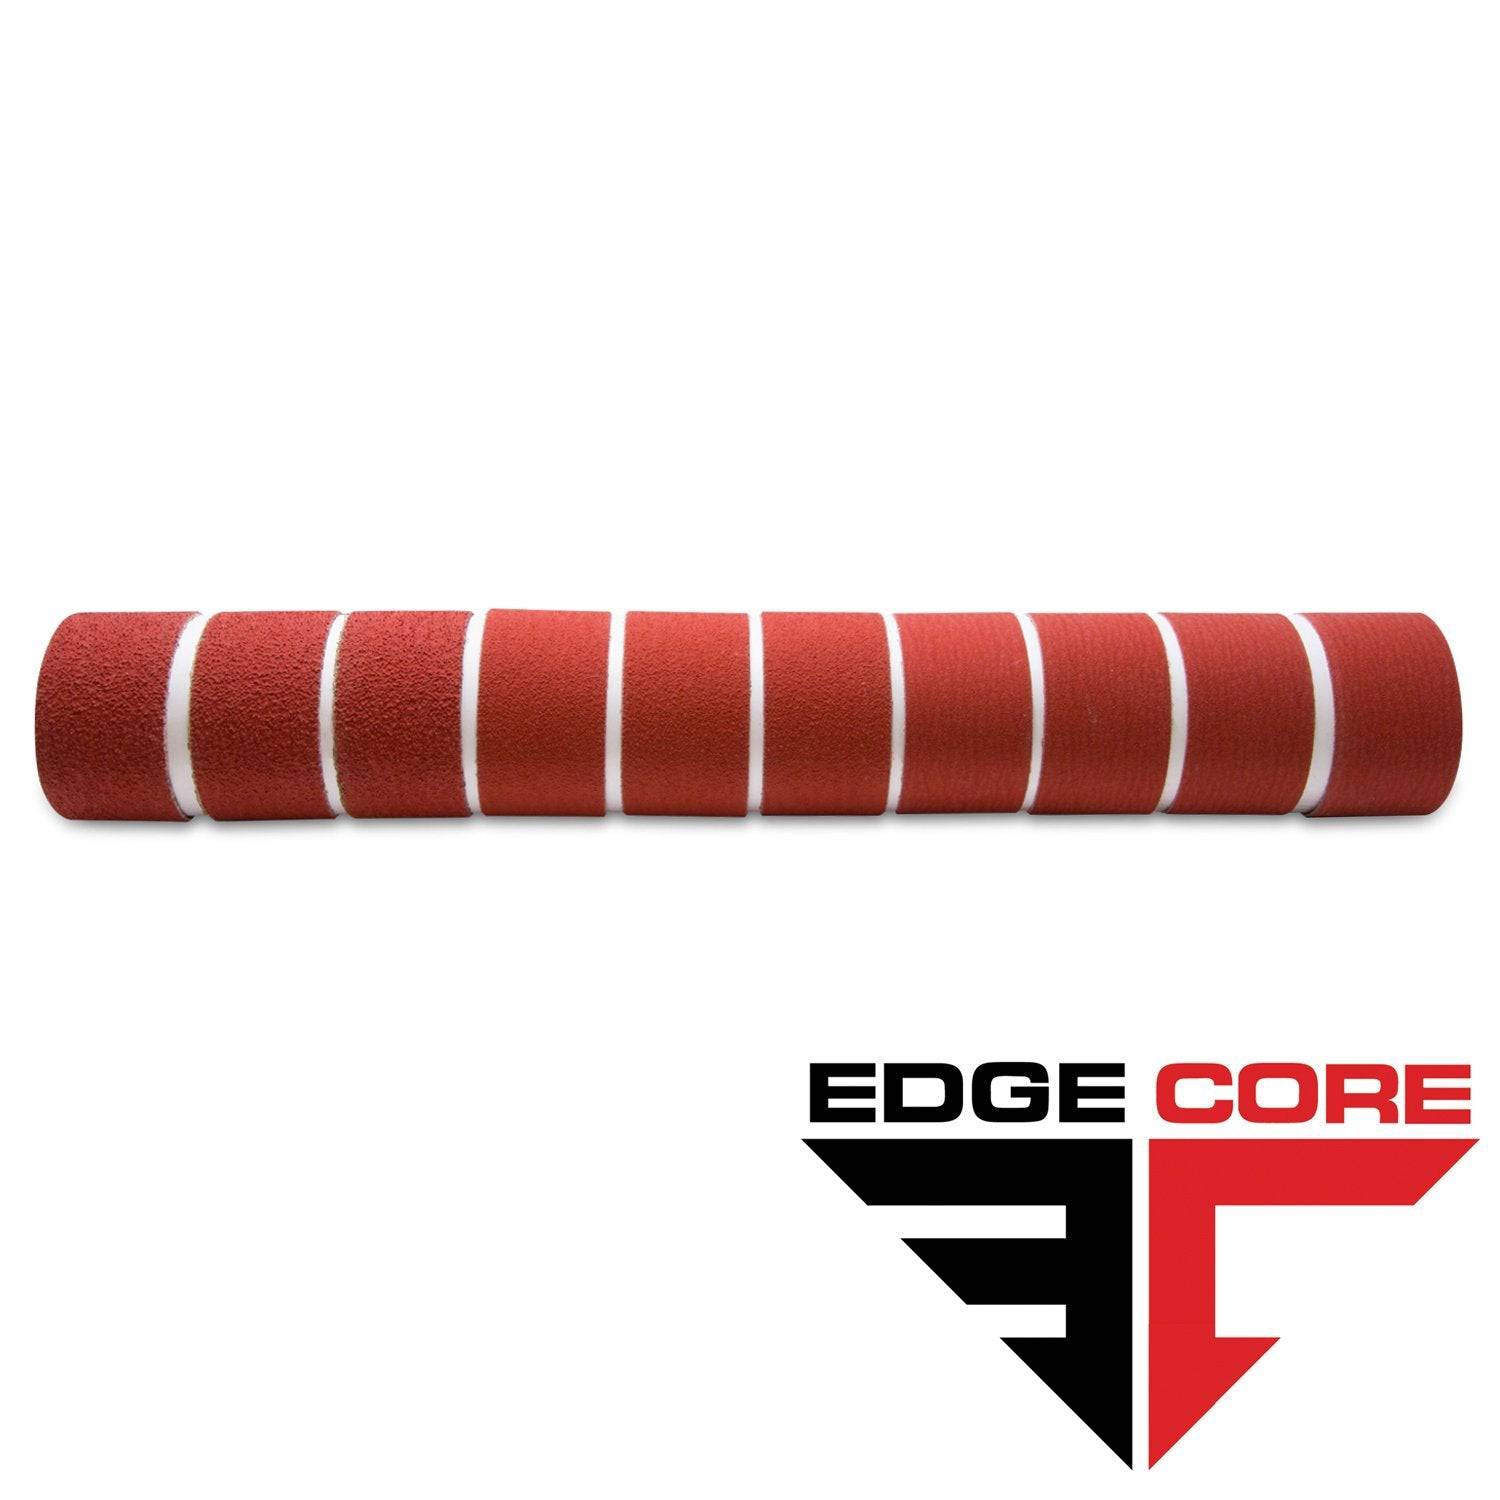
2 X 36 Inch Knife Makers Sanding Belt Assortment
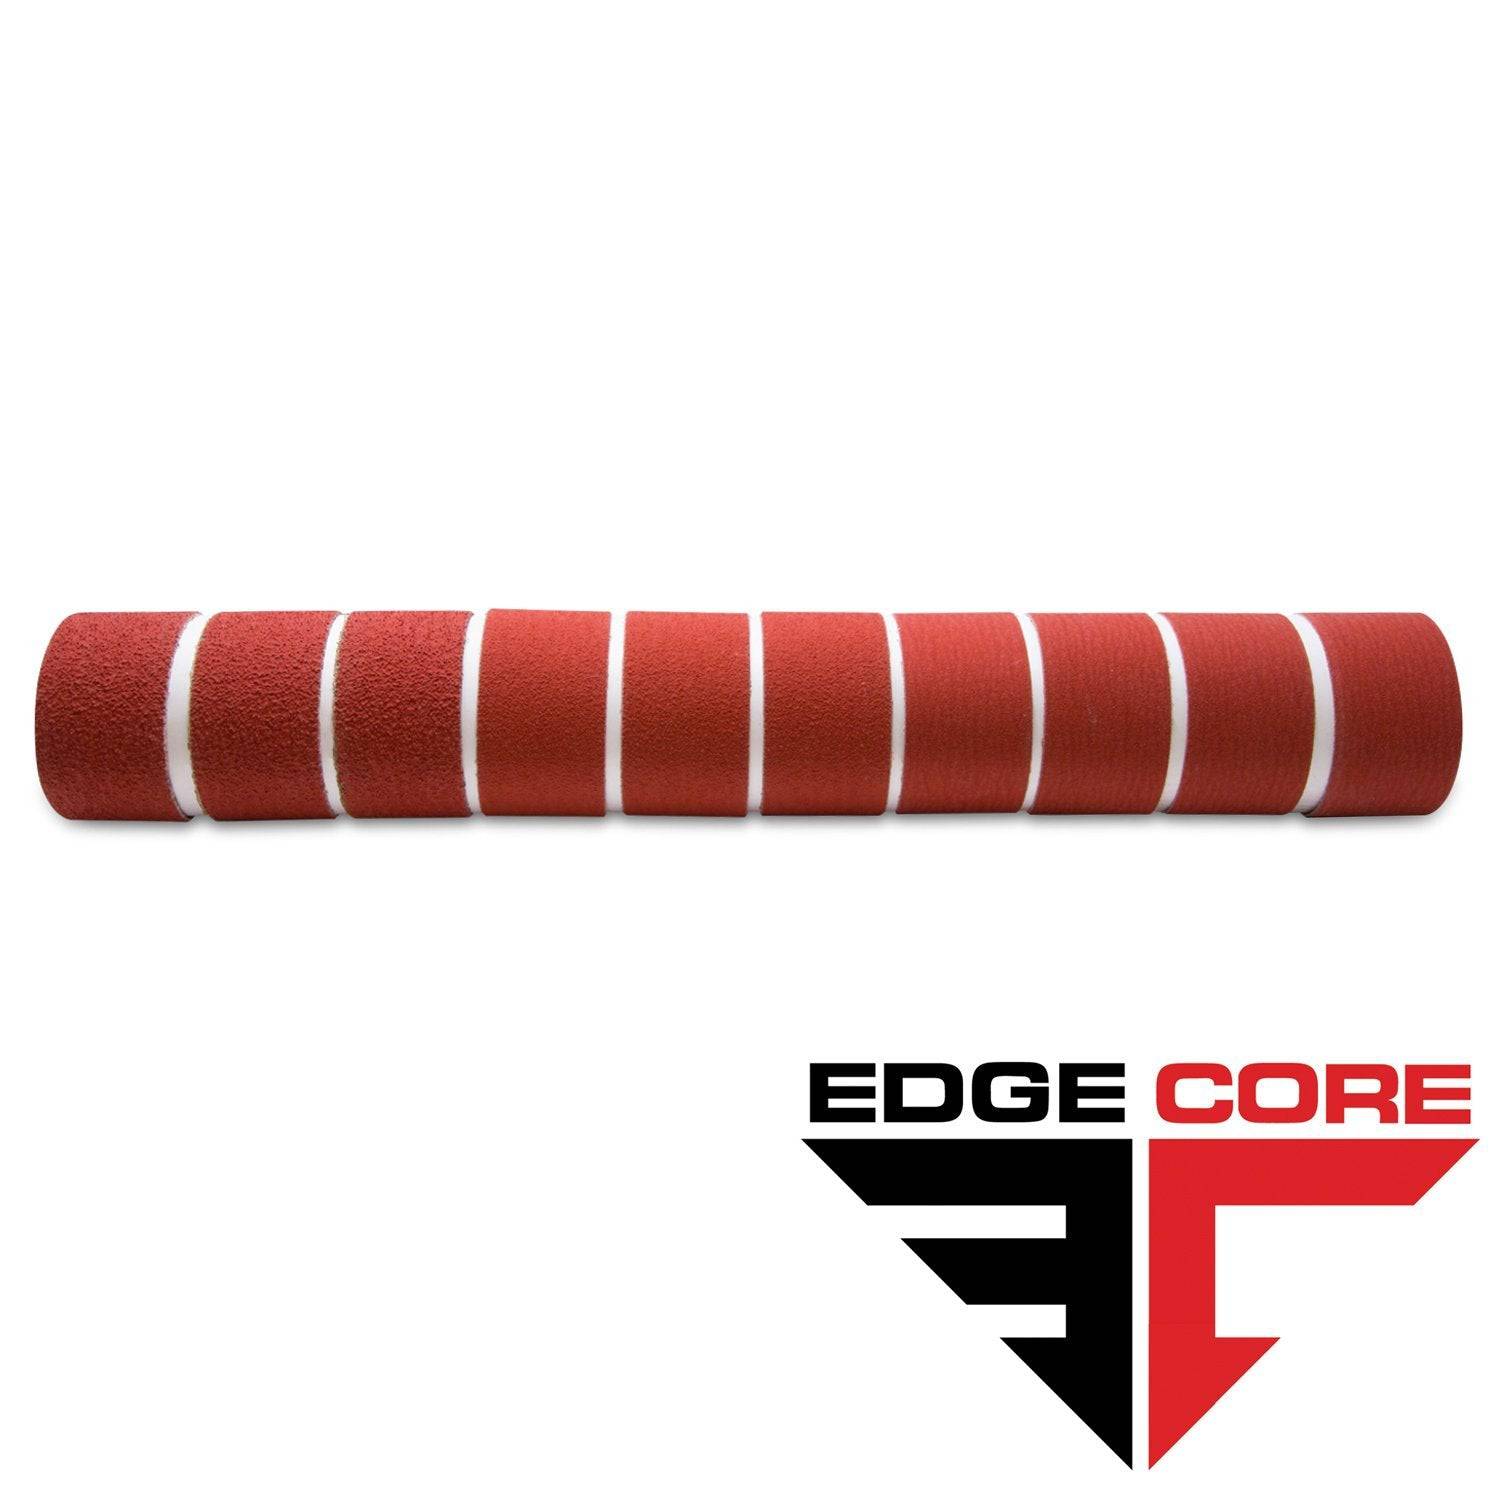
2 X 42 Inch Knife Makers Sanding Belts Assortment
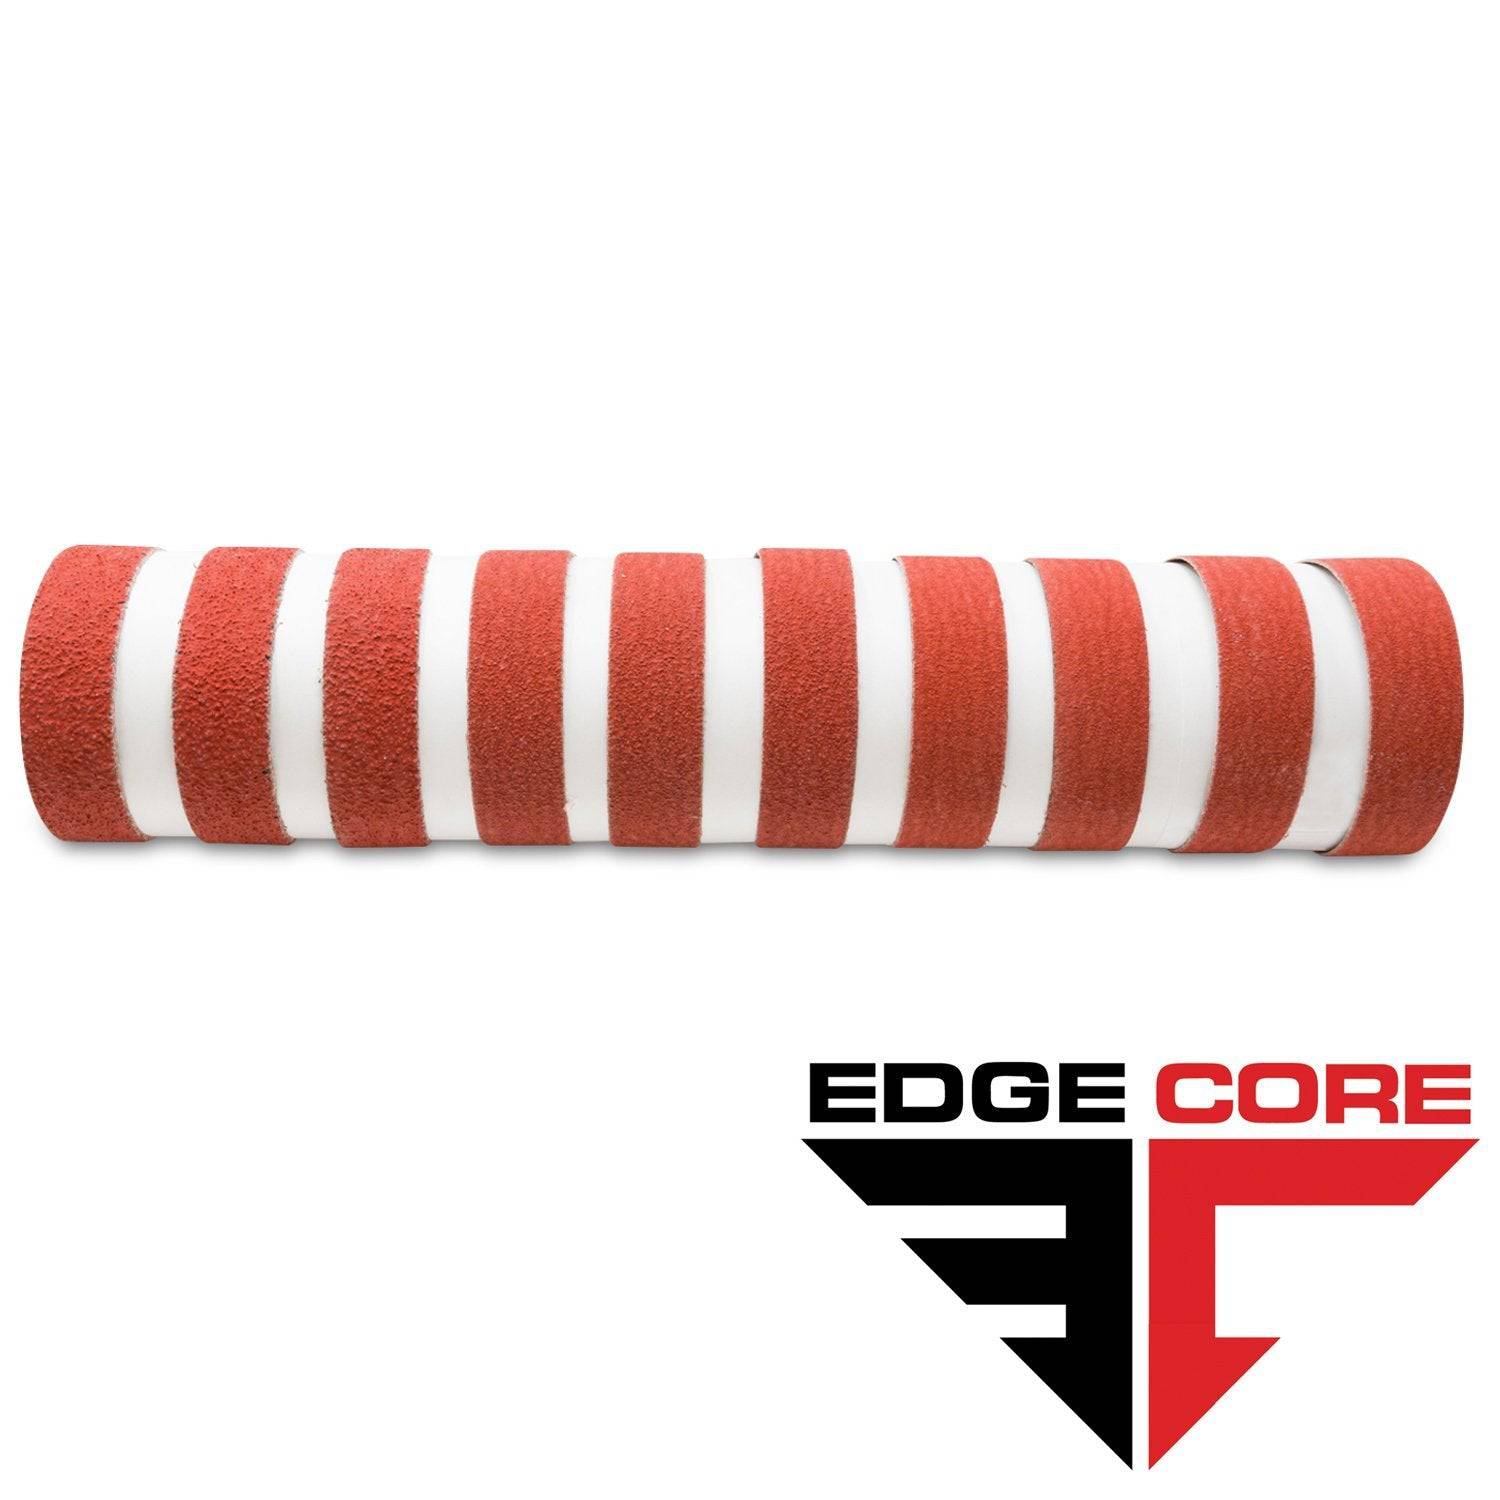
1 X 30 Inch Knife Makers Sanding Belts Assortment
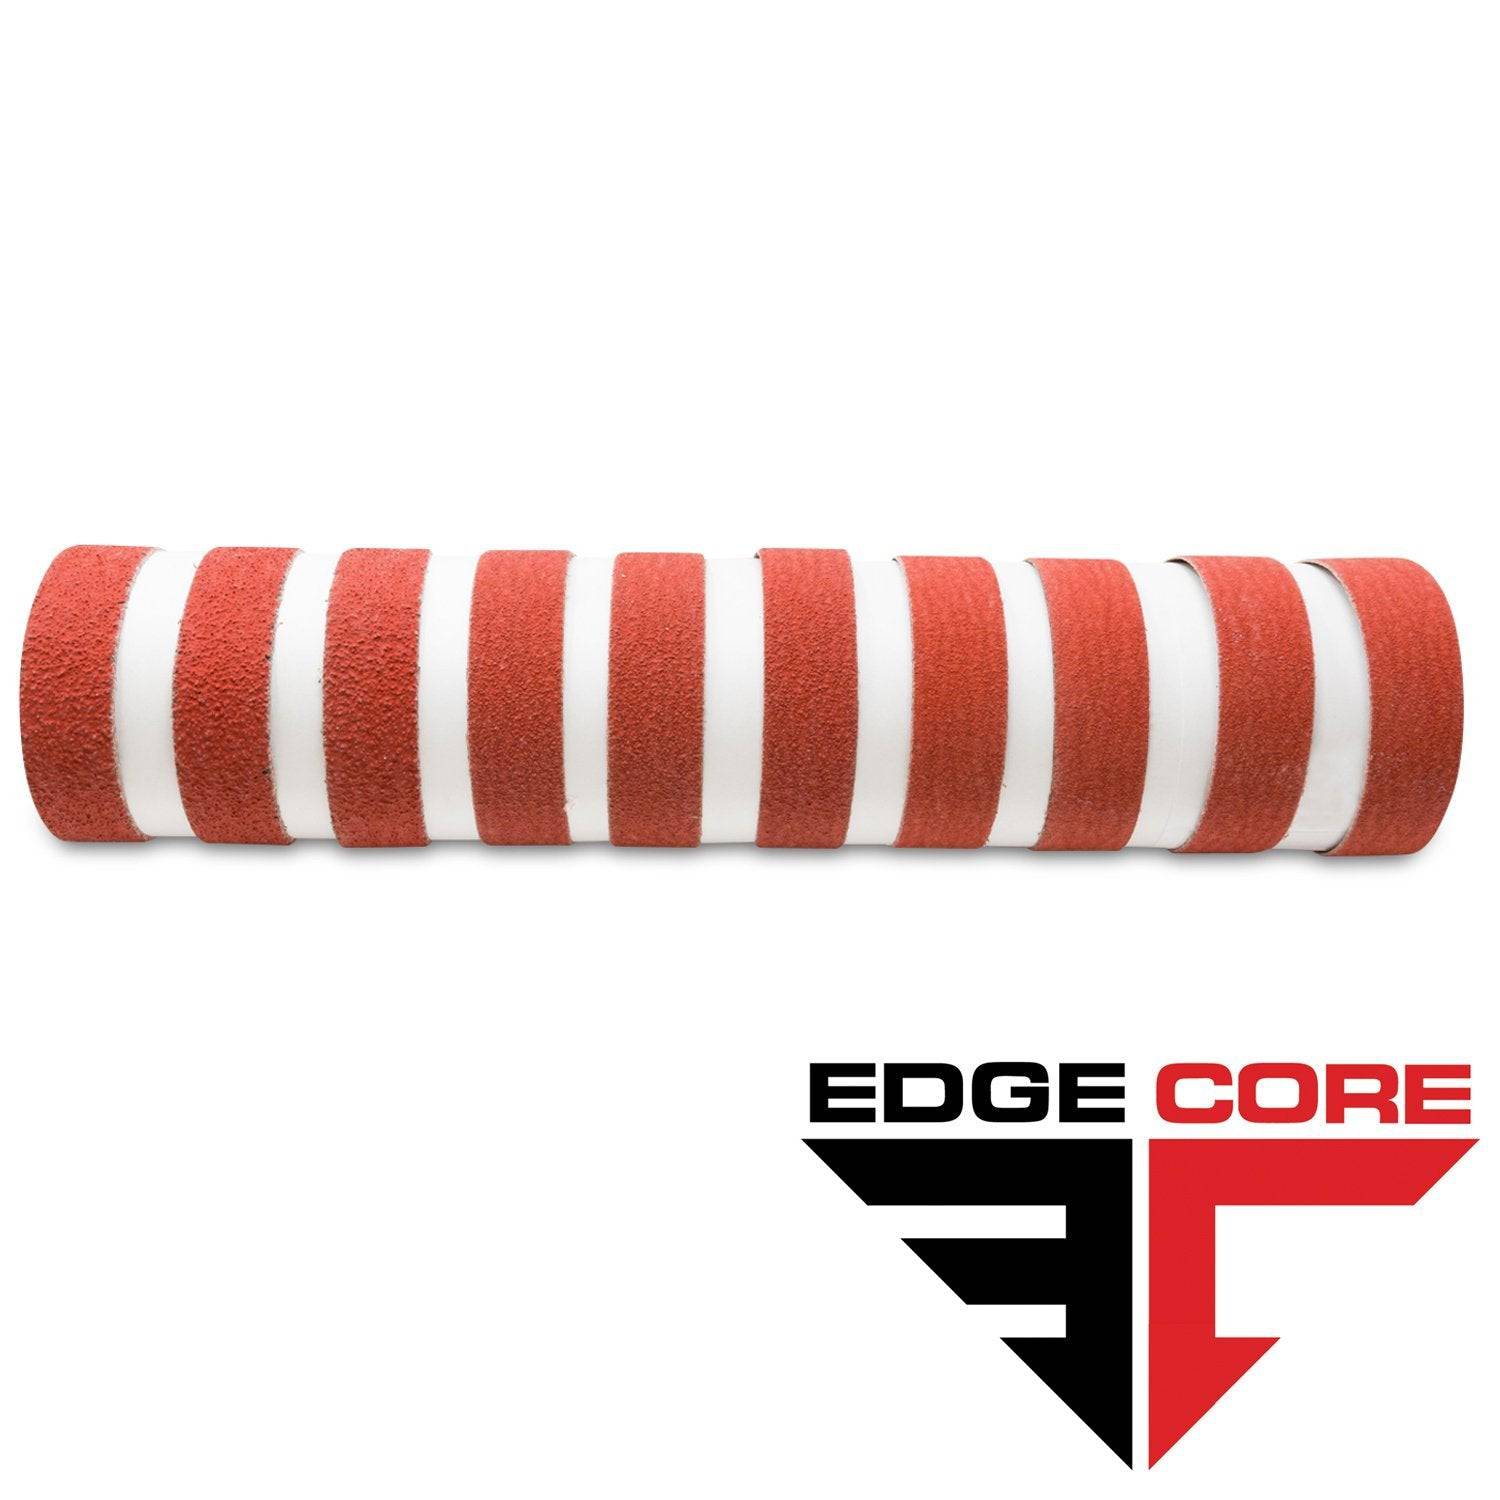
1 x 42 Inch Knife Makers Sanding Belt Assortment
Shop By Product Category


Why Choose Red Label?


