Your Cart is Empty
Free Shipping over $150 (Excludes Oversized Products) | Office Closed 12/24-26 & 12/31-1/2
Free Shipping over $150 (Excludes Oversized Products) | Office Closed 12/24-26 & 12/31-1/2
Sanding Belts
Sanding Discs

The Best Knife Making Tools
by David Kranker 7 min read

Quick Summary
You don't need the fanciest equipment to make knives. If you’ve never made a knife before, there are eleven knife making tools that are essential for beginners. We cover the essentials for beginners, as well as more advanced tools for more experienced makers. The right tools will help you develop the shape of the blade, keep it securely in place while you remove stock and heighten sharpness, give the steel the right degree of resilience, and keep you safe the entire time. Once you’ve mastered the essentials using basic tools, you’ll be ready for next-level knife production.
If you’re thinking about getting into knife making as a hobby or even a future profession, you’ll want to invest in the right tools. This guide goes over the best beginner tools for knife makers, as well as more advanced equipment for seasoned knife makers. The beginner essentials can get you started and keep you going until you’re ready to buy more advanced pieces of equipment.
It doesn’t matter whether you plan on making utility knives, a basic hunting knife, or something more complex like a Bowie knife - you’ll need the basic knife making tools to get started. Before you know it, you’ll be making more than a basic project knife and will be well on your way to using more advanced techniques.
Materials Needed For Knife Making
Steel
You'll need steel to create your knife blade. The type of steel you choose will depend on the type of blade you're trying to produce and qualities you want your blade to have. Different types of steel have varying levels of hardness, toughness, edge retention, corrosion resistance, and more. 1075 or 1084 carbon steel are good steels to start with for beginners. We have a full post on the best steels for knife making if you'd like to learn more.
Wood
Knife handles or scales can be made out of many different materials from antler to plastic. The easiest and most common material to work with for creating knife scales is wood. Wood is resilient, eco-friendly, and available in an assortment of different varieties. Hardwoods tend to work best for knife handles. We also have a full post on the best types of wood for knife scales.
Rivet, Pins, & Glue
You'll use rivets or pins and glue to secure your knife scales to the tang of your knife. Historically, using rivets and pins were the only way to secure scales to the tang. Epoxy and other kinds of glue have improved over the years and rivets and pins have become more of a decorative feature. We also have a guide on epoxy for knife making.
Knife Making Tools For Beginners
The tools listed below aren't just for beginners, but those new to knife making will absolutely need these knife making tools to get started. All of these tools are foundational tools that will help you create your first homemade knife.
Tool #1: Computer
Over time, your drawing skills may improve to the point where you can create a decent knife silhouette, but until then, a computer can yield professional-looking results that lead to a beautiful knife.
After deciding on a blade shape (for example, a hunting knife blade), you can use Microsoft Publisher or a CAD program to design it. You can also use this downloadable template of knife designs to profile the blade style you want.
Once you’re satisfied with the results, cut out the shape, place it on the sheet metal, and trace the outline with a Sharpie.
PRO TIP:When designing a basic knife, allow at least a four-inch grip for the handle.
Tool #2: File
One of the first (non-digital) tools you’ll want to get is a file. You can use it to:
- Profile the shape of your blade and its handle from various types of steel
- Bevel the blade so that it becomes a potent cutting tool
- Chamfer edges
- Add decorative touches like coils and grooves
Although you will probably use a belt grinder (see below) to do heavy-duty cutting on your piece of steel, finer work done at close quarters will definitely call for a quality file. Double-cut flat bastard files do an especially good job of removing stock for a simple knife while single-cut files enhance the smoothness of the finish.
Tool #3: Hacksaw
A hacksaw with a fine-tooth and sharp blade can help you cut and shape different types of steel for handmade knives. Although power tools do a faster cutting job, you can’t use them when working with tight corners. When your hacksaw has served its purpose, you can even use it as blade material.
Tool #4: Clamps
You’ll need a clamp to hold the knife while you work on it. There are different types suitable for varying situations, and they’re relatively inexpensive, so consider purchasing:
- Welder’s clamps
- C-clamps
- Pipe clamps
- Bar clamps
- One-handed clamps
At some point in your knife making practice, you’ll probably need all of them!
Tool #5: Bench Vise
When you work with metal, a bench vise is one of the most valuable tools. You have a lot of options to choose from, but can’t go wrong with a vise that has a 360-degree swivel base adjustment, so you can easily change the workpiece orientation as needed.
Most bench vises are around five inches, but you can go with a larger one. Whichever kind you buy, be sure to also get soft inserts or jaw caps that protect your knife steel from damage during work.
Tool #6: Drill
Once you start making more knives, you may want to spend the money on a drill press, but in the beginning, a hand unit with a drill bit appropriate for steel will work. You will use it to bore round holes for the knife handle pins. If you plan to make folding knives you’ll definitely want to invest in a drill press for greater accuracy, so bear that in mind.
Tool #7: Sharpening Stone
Sharpening is a critical step in the knife making process. Most knife makers use diamond sharpening stones, but you can also try the following types of material:
- Water Stones:These stones are made from aluminum oxide and are softer, so the cut is faster. They’re cleaner to use than oil-based stones but, being softer, they wear out more quickly.
- Oil Stones: Made from aluminum oxide, silicon carbide, or novaculite, these stones use oil to remove bits of metal for sharpening. Being hard, they don’t require flattening, but they tend to have a lower cutting rate, which means it will take you longer to sharpen your blade.
- Ceramic Stones: High-quality ceramic stones are expensive, but they create a fine edge on your blade and rarely need resurfacing.
Tool #8: Belt Grinder
When you’re ready for an affordable belt grinder, you won’t go wrong with a 2-inch-by-72-inch belt grinder made for the pros.
Here are some tips:
- If you work a lot with long, thick steel bar stock, don’t go below 1HP in motor power.
- You should also think about using a Variable Frequency Drive (VFD) speed controller: if you buy a grinder and sander with three phase motors, you can use the same controller for both and save money. Variable speed controllers also maximize belt life, so you’ll save money on belts.
- Attachments add more power and versatility to your machine. For example, a surface belt grinder attachment supports cleaning and smooth, flat surfaces.
Tool #9: Abrasives
Once you buy a belt grinder, you’ll need high-quality abrasives to go with it. Red Label Abrasives sells sanding belt kits for knife makers in seven different belt sizes. Your options include:
- Ceramic grits for added belt life
- Edgecore ceramic for premium grinding results
- Ultra-fine grits for superior sharpening and polishing
A technician at Red Label Abrasives can help you select the kit that may be best for your needs if you’re unsure. We’re here to serve you and take great pride in offering technical support for all of our customers.
Tool #10: Heat-Treating Oven
Your blade needs to be heat-treated. Many shops that sell knife making steel also offer heat treatment services, but if you intend to make more than a knife or two, you’ll want your own heat-treating oven.
Some knife makers prefer the simple method of heating their blades with a torch, but if your blade is over five inches, heat treatment at the constant temperature of 1000 degrees can be difficult. If there’s any inconsistency in hardness, the blade won’t hold its edge. You need a more reliable heat source as a beginner knife maker.
When you go shopping for an oven, be sure to also pick up a ceramic rack to position the knife inside and industrial stainless steel foil to protect the blade and prevent scaling and discoloration.
Tool #11: Safety Gear
Always use safety gear (also known as personal protective equipment) when working with metal. At the very least, you’ll need safety glasses, a respirator or dust mask, and gloves to protect your eyes, respiratory system, and hands from metal dust particles. If you follow in the footsteps of advanced knife makers and forge your steel later on, you’ll also need a fire extinguisher.
More Advanced Knife Making Tools
TOOL #1: Angle Grinder Or Bandsaw
An angle grinder or a bandsaw can be used as a replacement for a hacksaw. These tools will be more of an investment than a hacksaw, but they will allow you to cut your metal blanks faster and with more precision.
A bandsaw will be more expensive and it will take up more space than an angle grinder. However, a bandsaw provides more precision and saves even more time when compared to an angle grinder.
An angle grinder can be used for more than cutting blanks if you do purchase one. You can purchase flap discs for your angle grinder that can aid in shaping and sharpening the blade.
TOOL #2: CALIPERS
Calipers are highly precise instruments designed to take fine measurements that might be beyond the scope of a ruler. Depending on your needs, you may want to buy the following:
-
Carbon steel calipers for taking rough measurements and making sure tapers are even, etc.
-
Stainless steel digital calipers that can measure within a thousandth of an inch. You might need this level of precision to detect variation on handle or tang thickness and avoid unsightly lines.
TOOL #3: Forge & Anvil
Stock removal is the easiest way to get started in knife making, but most die-hard knife makers prefer to forge their own blades. There is a learning curve to forging, but it is a more pleasant experience. Forging is often performed outside in the fresh air and less dust and debris is produced during the process. Forges and anvils can be expensive (upwards of $2,000), but you can save some money by creating your own DIY forge.
Contact an Industrial Abrasive Specialist
Creating handmade knives is a time-honored craft, and Red Label Abrasives manufactures the abrasives you need to produce a sleek and reliable blade. We are well-known for the quality of our sanding belts, sanding discs, and related products, and work hard to bring value to each and every customer. For more information on how we can help you produce a beautiful knife, please call 844-824-1956 or fill out our contact form.
ABOUT THE AUTHOR
David Kranker is a writer and creative maker who has been covering the abrasive and knife-making industries on the Red Label Abrasives Blog since 2020. David spends his time continually researching sanding and bladesmithing to provide readers with the latest and greatest information. In his free time, David utilizes abrasives for many different home and auto projects at his home in Delton, MI.
Belt Packs Made For Knife Makers
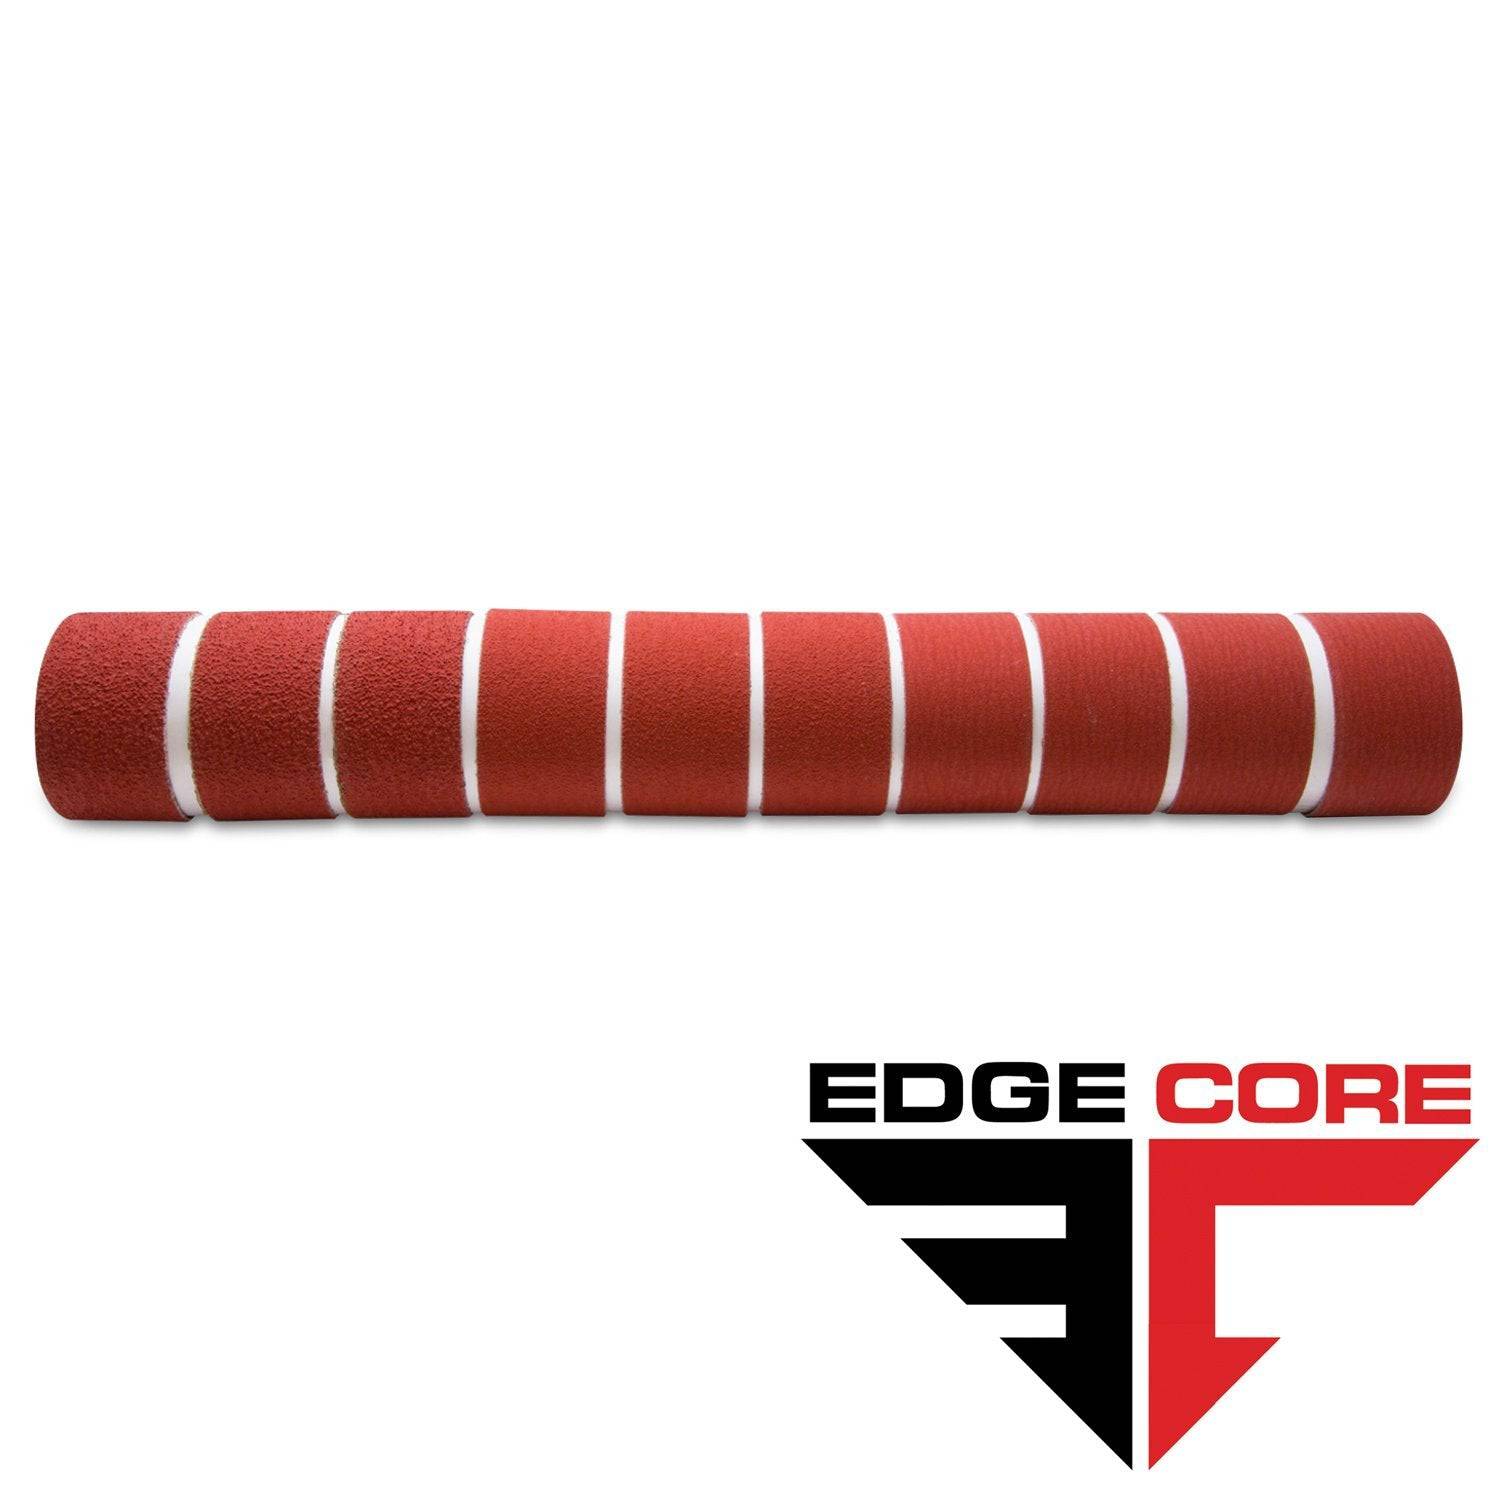
2 X 72 Inch Knife Makers Sanding Belts Assortment
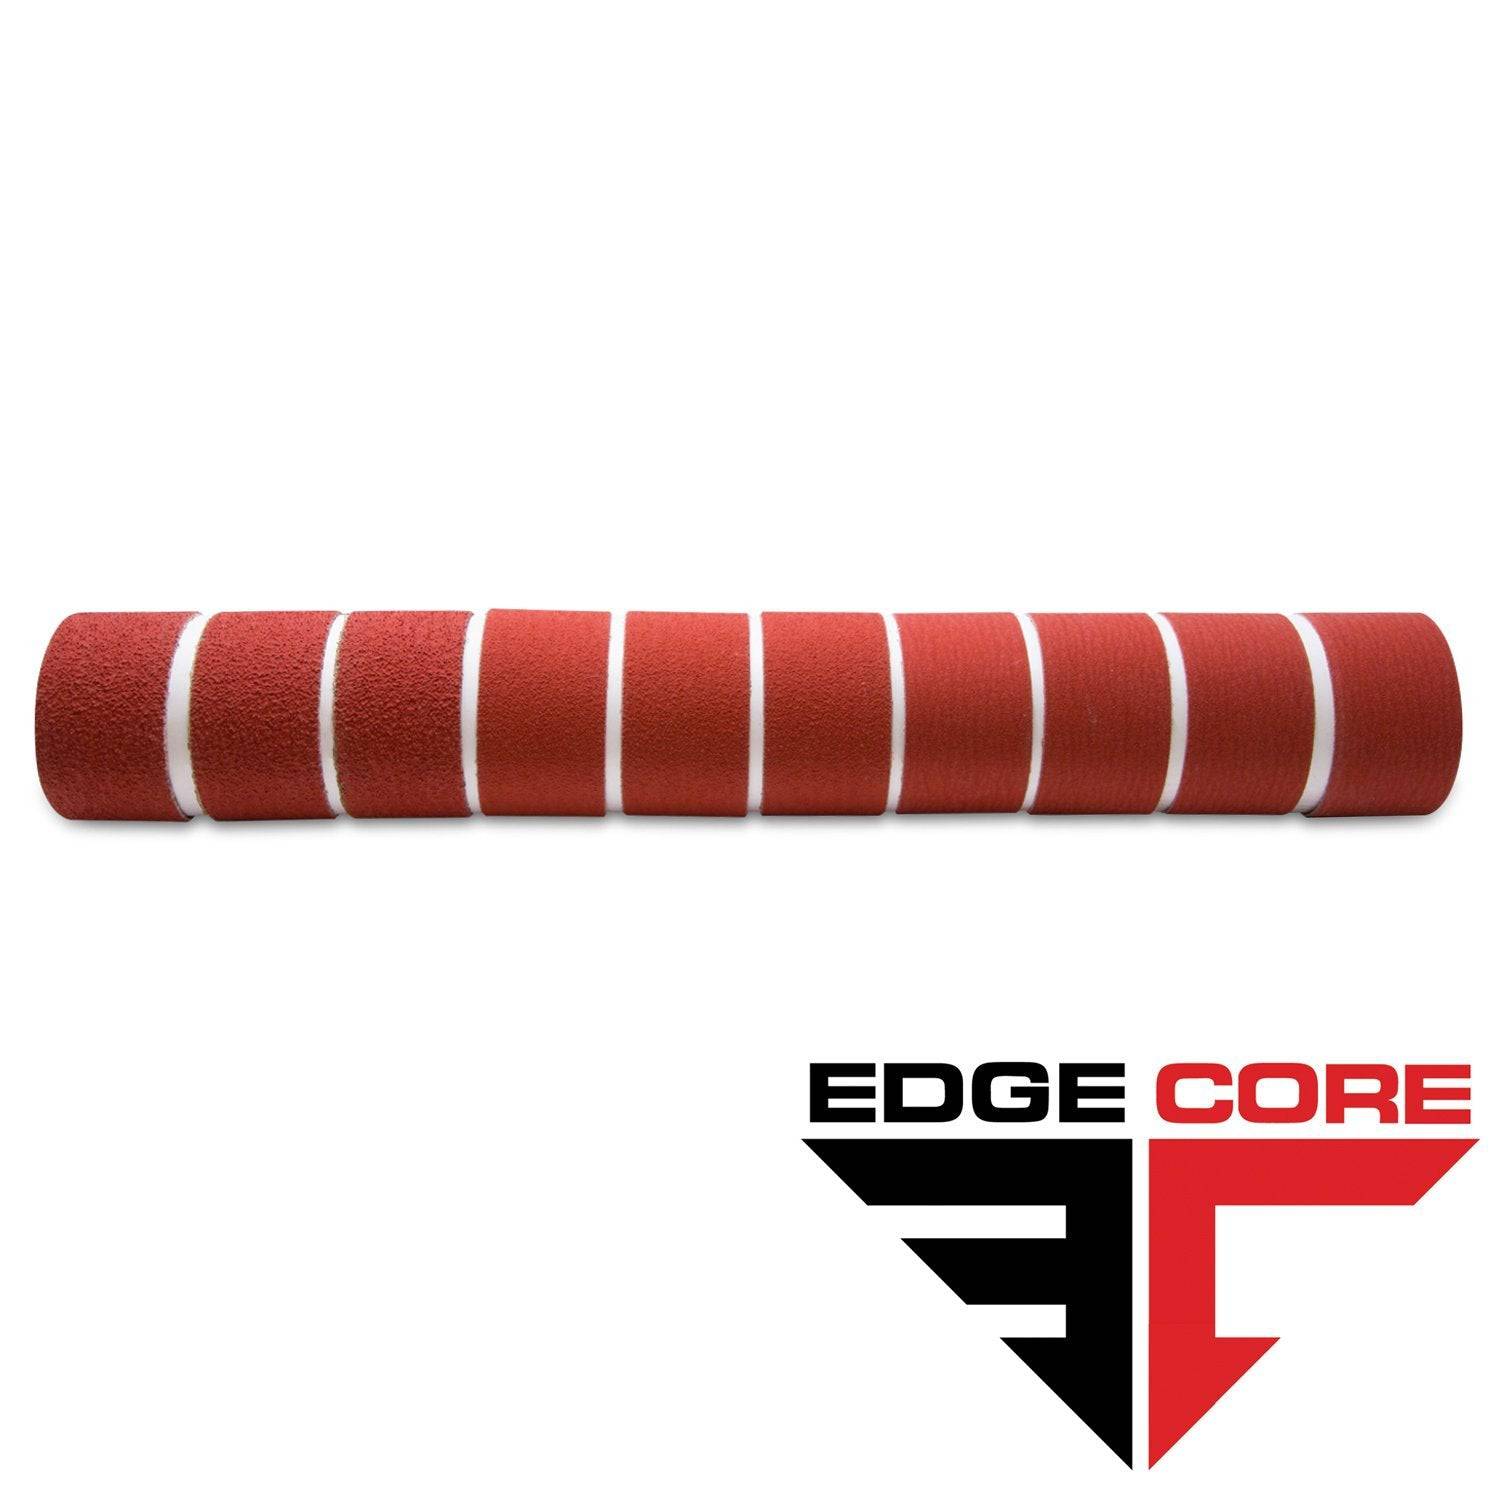
2 X 60 Inch Knife Makers Sanding Belts Assortment
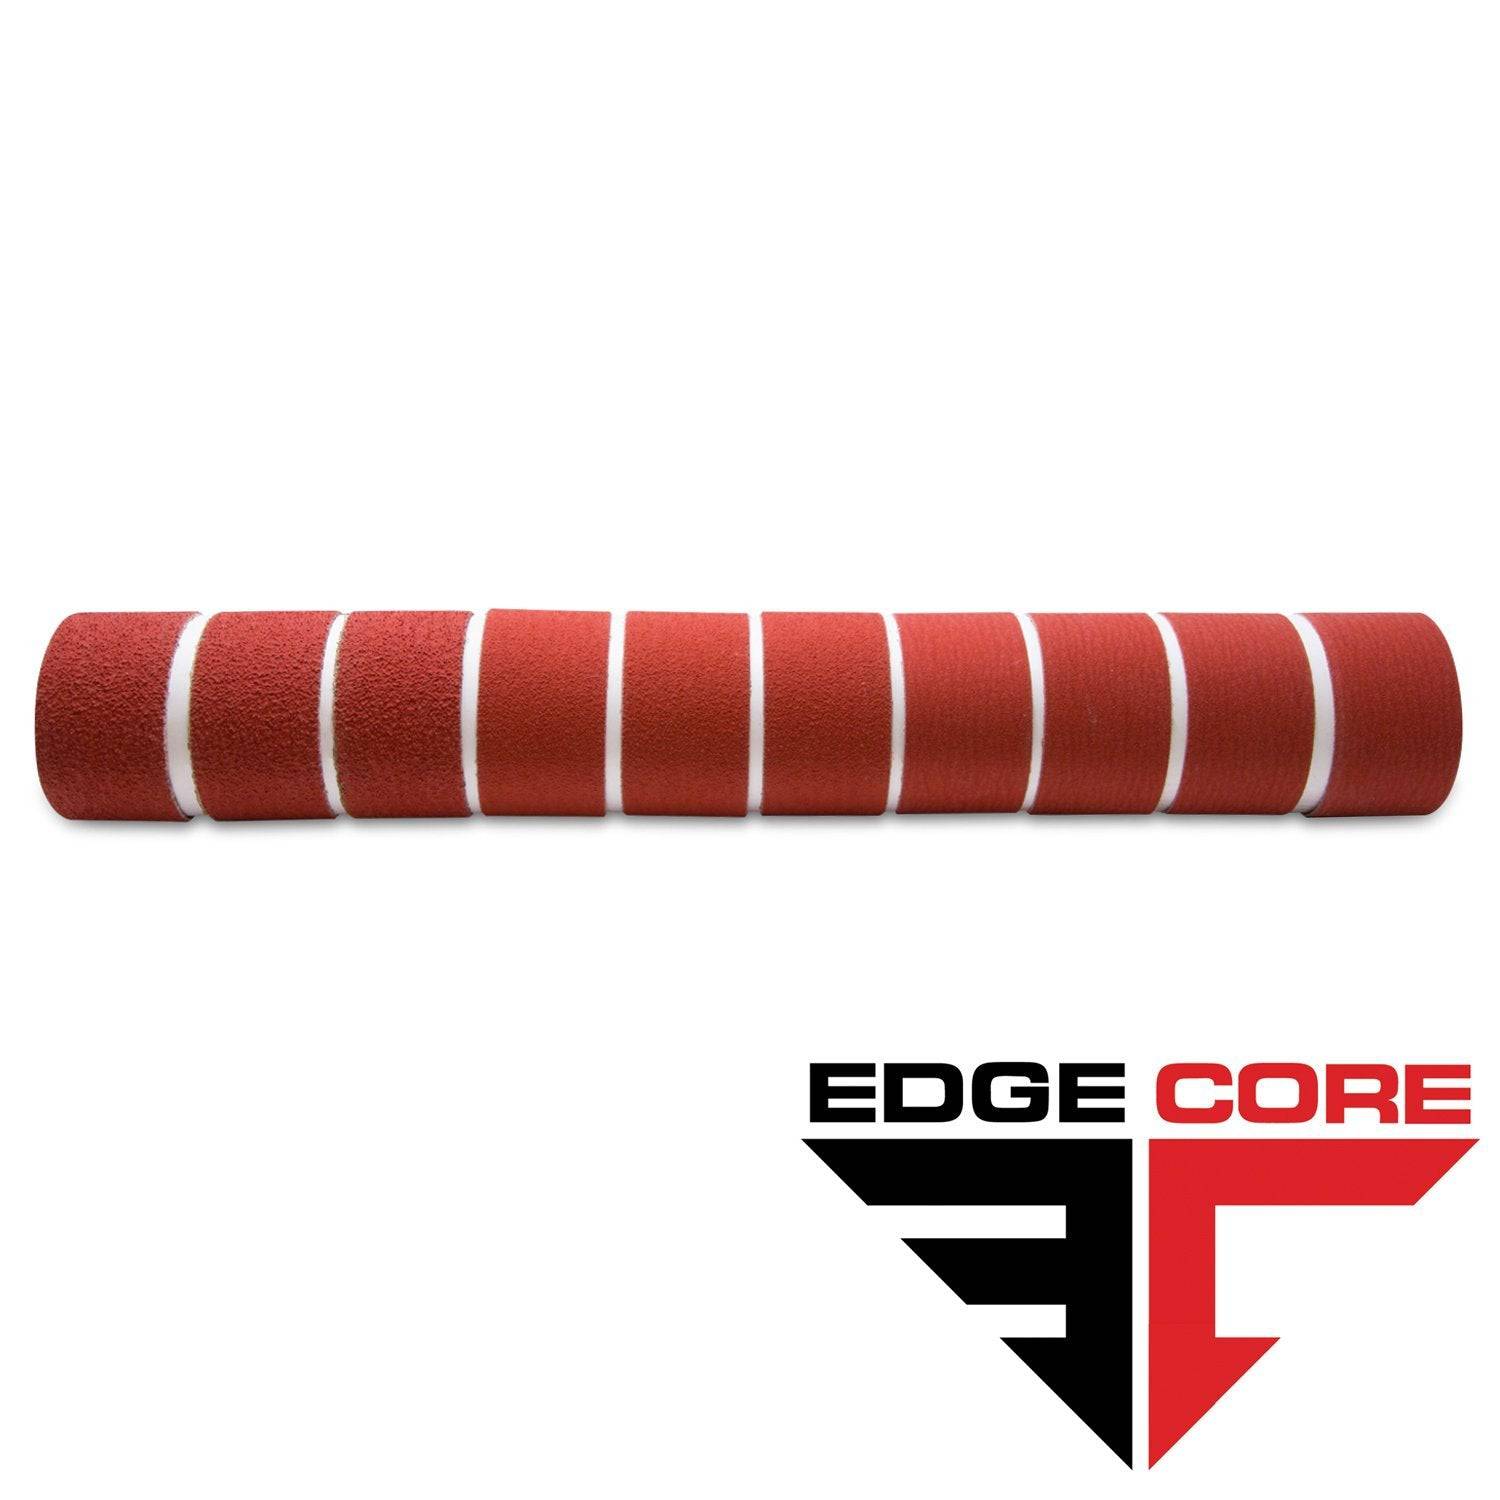
2 X 48 Inch Knife Makers Sanding Belts Assortment
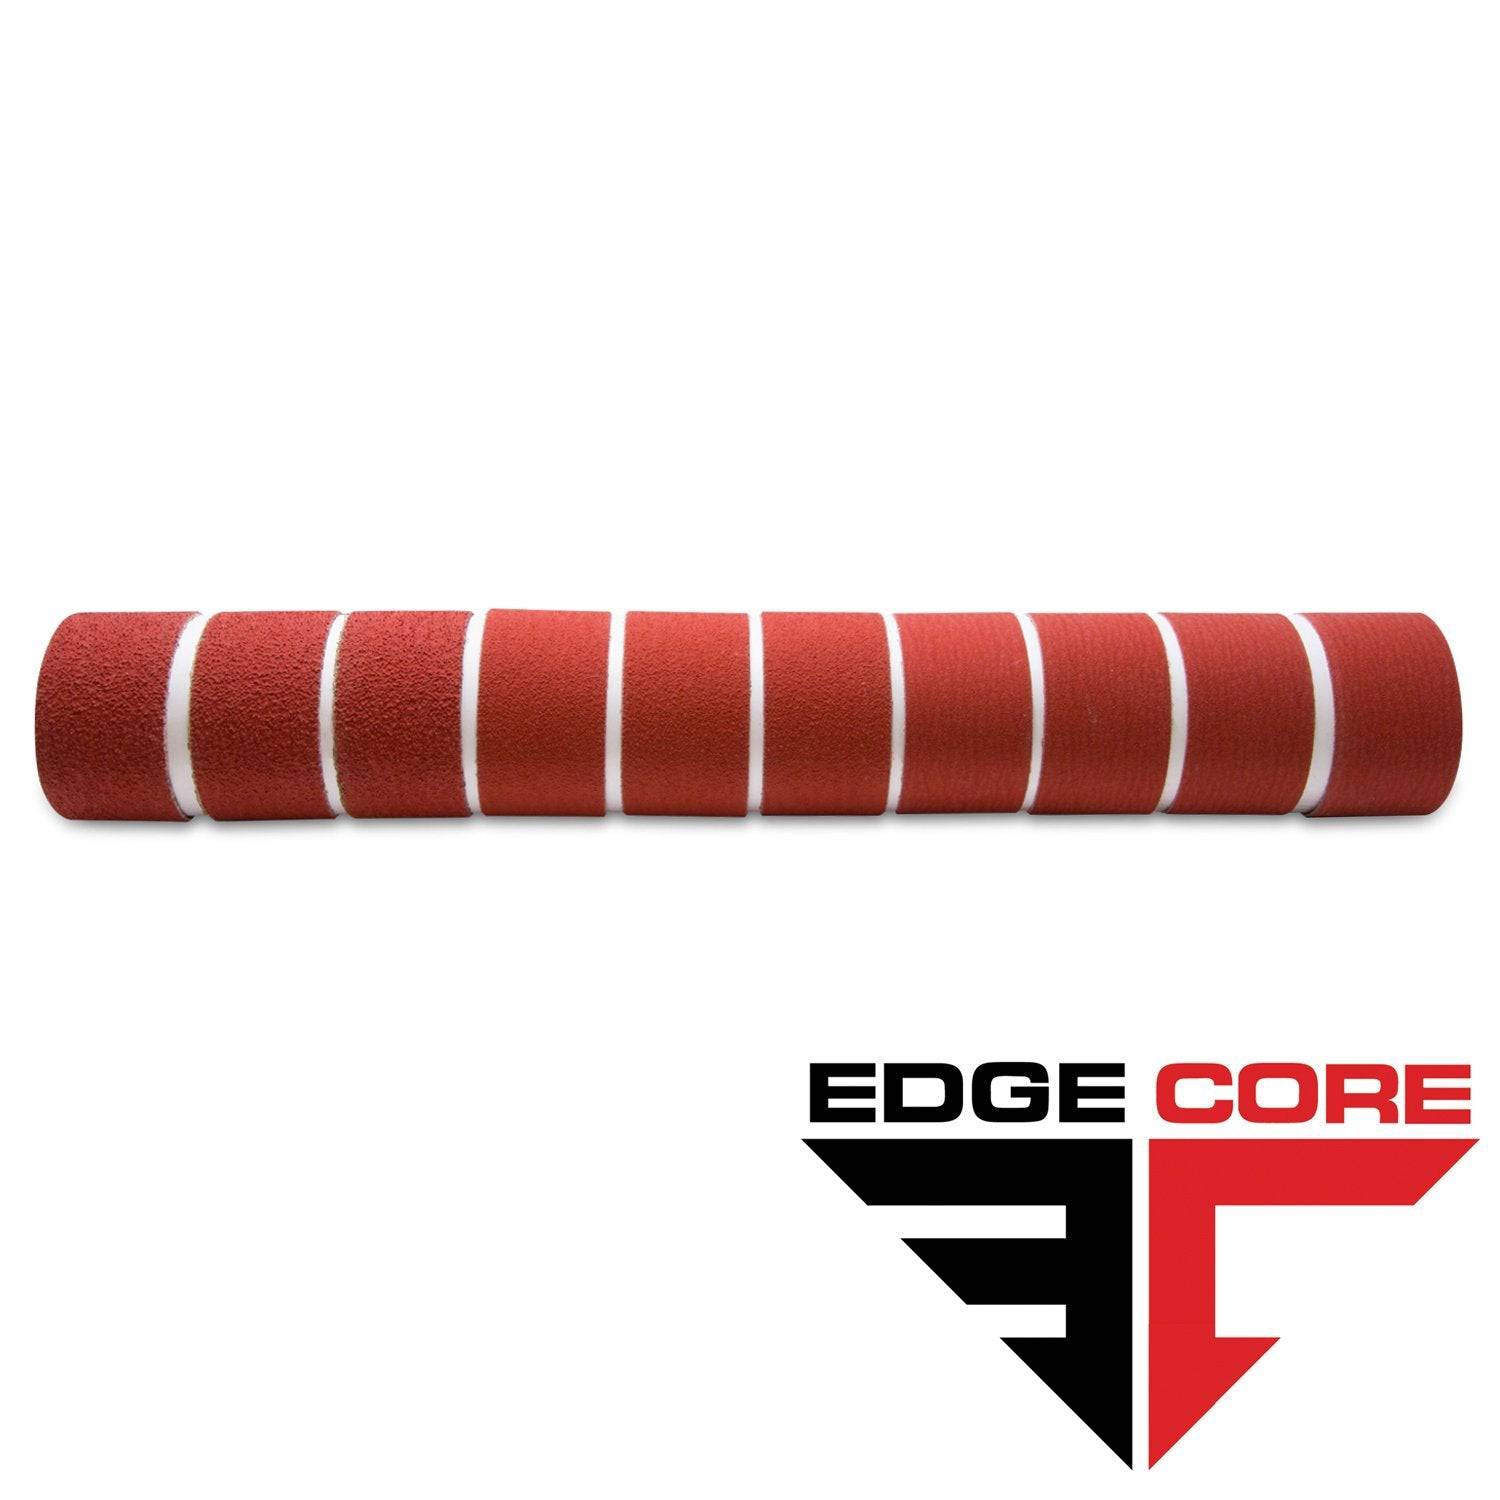
2 X 36 Inch Knife Makers Sanding Belt Assortment
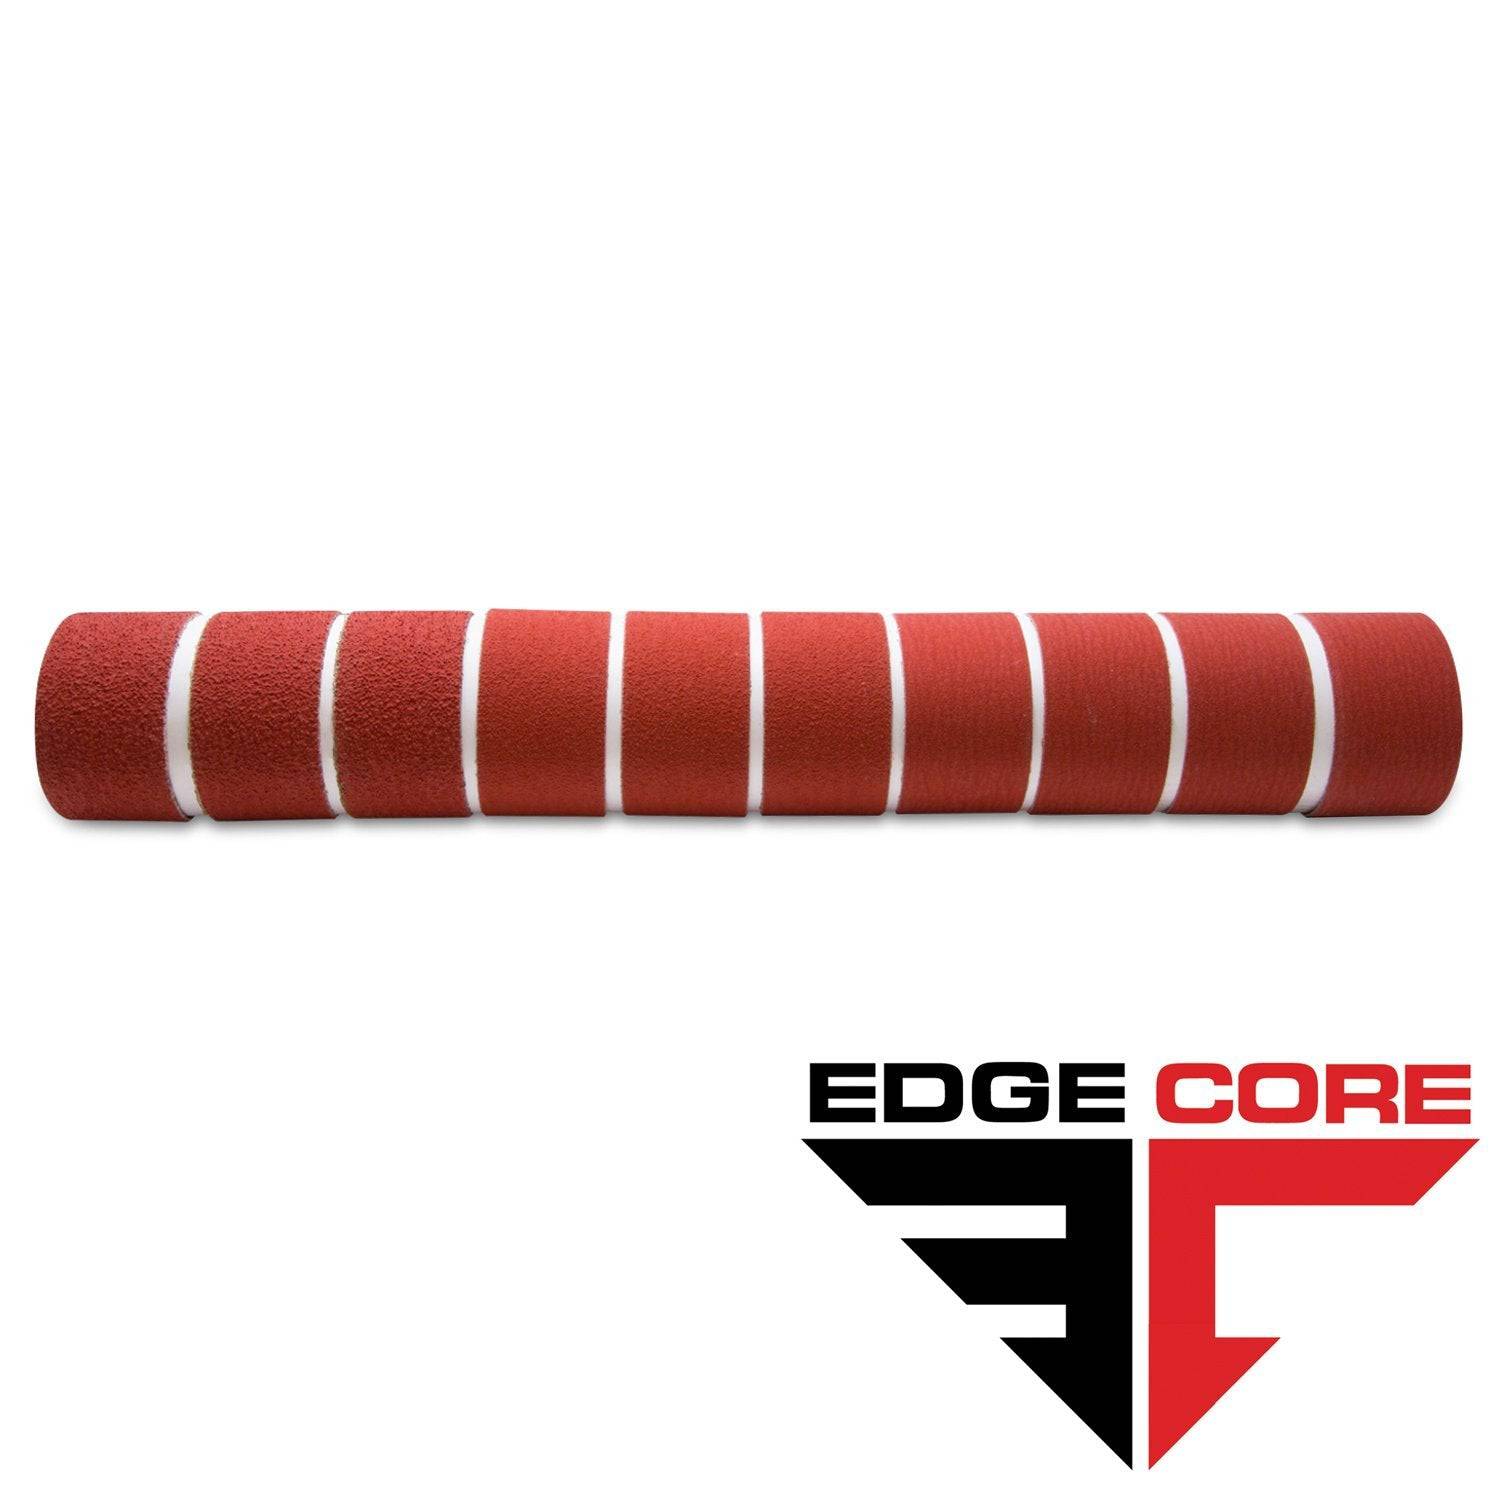
2 X 42 Inch Knife Makers Sanding Belts Assortment
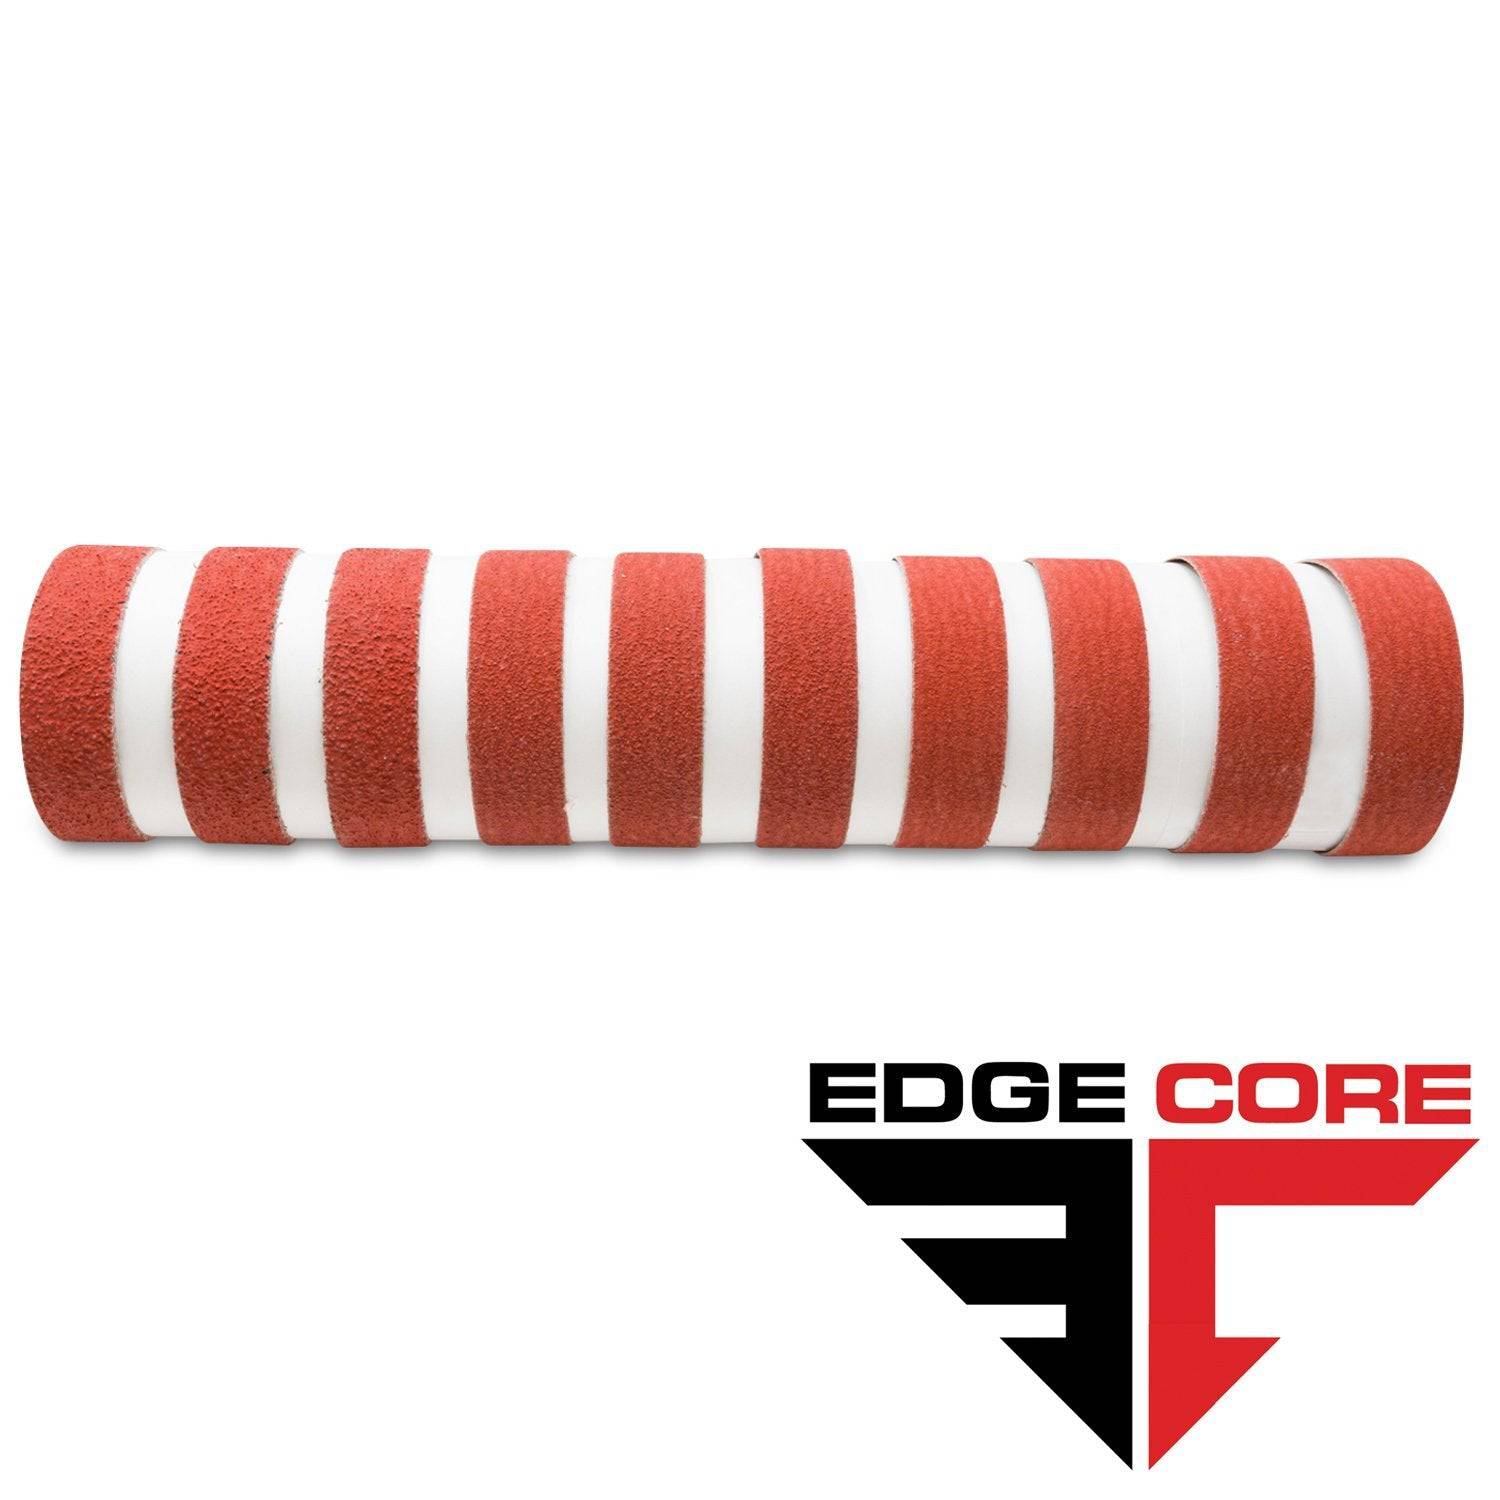
1 X 30 Inch Knife Makers Sanding Belts Assortment
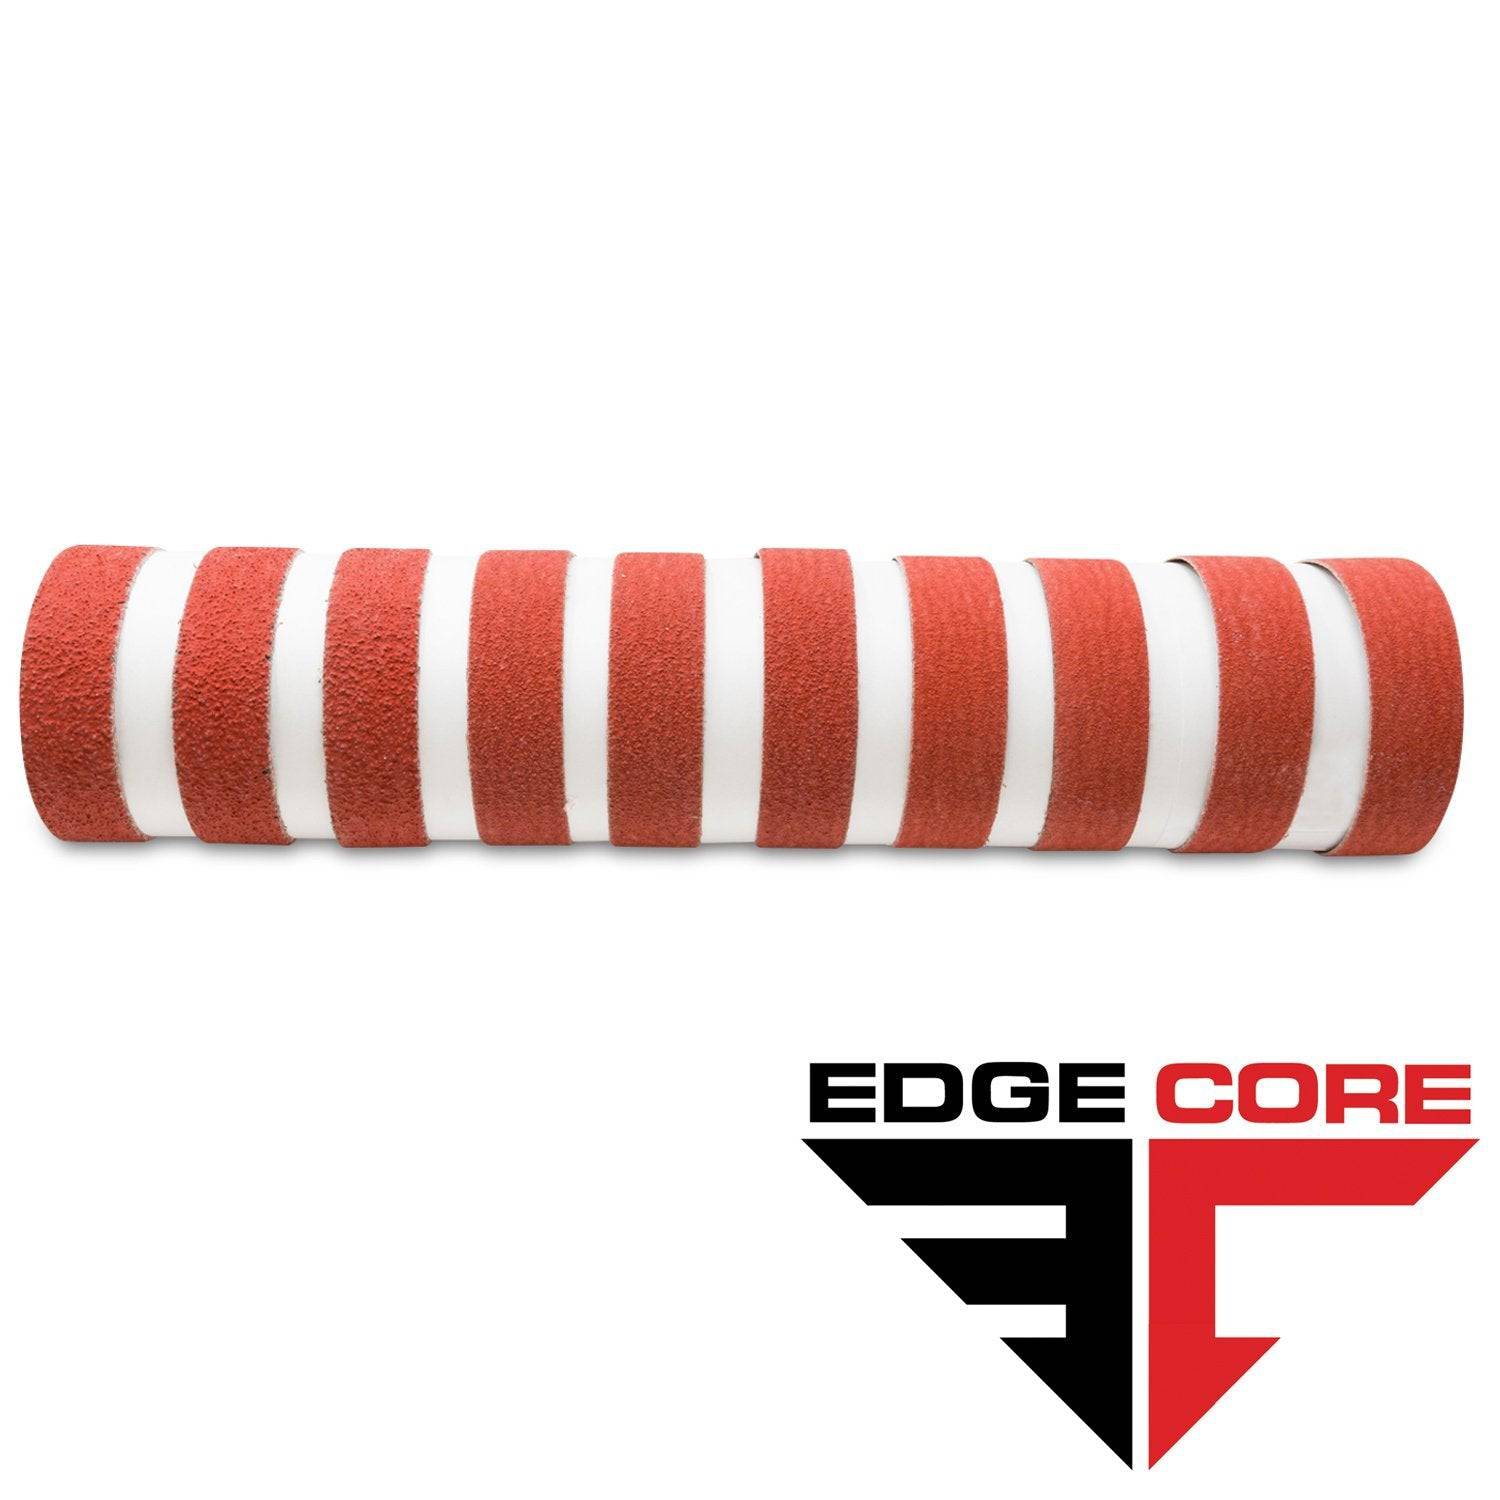
1 x 42 Inch Knife Makers Sanding Belt Assortment
Shop By Product Category


Why Choose Red Label?


