Your Cart is Empty


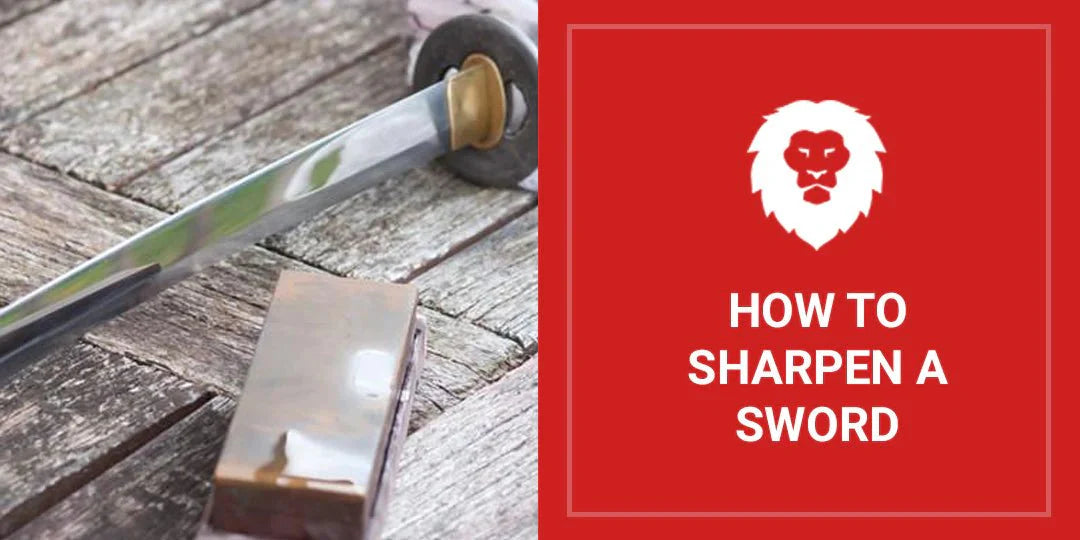
How To Sharpen a Sword

Quick Summary
Keeping a sword sharp enhances its beauty and functionality. The sharpening process is a multi-step undertaking that involves using a metal file to emphasize the edge, sharpening the blade on a whetstone, and blending the finished edge using an abrasive. If you’re new to sword sharpening, you can also buy a specialty tool for that purpose.
For many people, swords are more than costume accessories or unique wall decorations. They are beautiful curios that come in so many different shapes and styles that it’s hard to resist collecting them.
Whether you have one sword or several, a sharp edge is part of their allure. Over time, this edge can become dull and require sharpening. While the prospect of working on a blade traditionally used as a weapon can be daunting, there are safe and effective ways to keep your sword looking like new. In this blog, we’ll go over how you can use easily accessible tools to sharpen your sword.
The Sword Sharpening Process
Sharpening a sword isn’t a very complicated process. In fact, the entire process can be completed in just three steps. Make sure to exercise care and caution if you’re going to attempt sharpening your sword on your own. These days, there are more injuries that occur during sword maintenance than sword use.
Materials Needed
- Protective gloves
- Cloth rag
- Metal file
- Whetstone (1000 to 1500 grit)
- Honing oil
- 400-grit metal sanding sheets
File the Blunt Edge
Start by carefully wiping down the sword with a thick cloth to remove any oil, dust, or residue that may have accumulated since you last sharpened it. To avoid accidentally cutting yourself, run the cloth along the blade very gently - don’t apply pressure.
Once the blade is clean, lay the sword on a table and position a block of wood near the tip to elevate the blade. Using a metal file, apply even strokes to one side of the blade at a 30-degree angle. Depending on the blade’s length, you can divide it into one-half or one-third sections and tackle one section at a time. Be sure to switch sides after every few strokes to ensure an even filing.
Once you see an edge appear, stop filing. At this point, your goal is simply to remove metal until the edge is exposed. It will be very rough at this stage, but don’t worry- you’ll be sharpening it next.
Sharpen The Blade On A Whetstone.
You can get whetstones in different grit levels, from extremely coarse (200 and below) to extremely fine, which is 8000. For sharpening swords, a medium grit of 1000 to 1500 should meet your needs.
Apply a light layer of honing oil to the whetstone, to lubricate it and encourage better sharpening. (You can purchase this oil in most sporting goods stores and gun shops.) If you’re using a Japanese water stone, use water as a lubricant instead of oil.
Once you’ve oiled the stone’s surface, run the blade back and forth across it at a 30-degree angle, using smooth and uniform strokes and consistent pressure. If you’re sharpening a two-sided sword, wear special gloves to protect your hands.
For greater efficiency, divide the blade length into sections and apply the same number of strokes to each side, flipping the blade after every few strokes to keep the sharpening process consistent.
Be sure to check periodically to see if an edge is forming. You can also test the blade by wiping the oil or water away and seeing if it slices smoothly through a sheet of paper. If it rips or tears the paper, you have more sharpening to do.
Tip:As you sharpen, the oil will become discolored from the blade and stone residue. When this happens, wipe it off the stone and apply a fresh layer of oil.
Blend The Edge
Tear or cut out a 2”x2” piece of 400-grit sandpaper and run it up and down both sides of the blade at a 30-degree angle to blend the edge with the rest of the sword. When you’re done, wipe the blade down with a moist cloth to remove oil, residue, and metal shavings. You’ll want to be thorough, as uncleaned residue could cause rust to form on the blade. When done, dry it with a clean cloth.
Tip:You can also use this step to deburr your sword and touch up the edge when it starts to dull from repeat usage.
Sharpening Swords With A Belt Grinder
If you own a belt grinder, you may prefer to sharpen your sword with the grinder as opposed to sharpening by hand. Using a grinder can save you time and effort, especially for thin swords designed to bend.
There are several different types of sanding belts you can use for sharpening swords, including ceramic, zirconia, closed-coat aluminum oxide, and silicon carbide. We recommend silicon carbide sanding belts for sword sharpening, because of their heat-mitigating properties. You’ll be able to sand without worrying about ruining the sword's temper and heat treatment.
You can start with a 120-grit sanding belt. Start your grinder and run the blade of your sword along the belt at a 30-degree angle. The goal is to sharpen your sword while removing as little metal as possible, so you don’t need to apply much pressure to the sword. Make sure to run both sides of the blade across the belt. You should only need one pass for each side of the blade.
Remove your 120-grit belt and replace it with a 240-grit belt. Repeat the process with your 240-grit belt and then move to an 800-grit belt.
Once you’ve run your blade through the full grit progression, you can then move to deburring. Remove your 800-grit belt from the grinder and apply a non-woven polishing belt to your grinder. You can use a leather belt in place of a non-woven belt, but the leather belts tend to stretch and weaken over time.
Run your grinder and apply compound to the grinder by pressing the compound against the running belt. Run the blade edge along the non-woven belt at a 30-degree angle for both sides of the blade. Inspect the blade after one pass for burrs. You may have to do another pass to remove all of the burrs, but you can typically remove the burrs in just one pass. Once the sword has been deburred, it will be sharp and ready for use.
Beginner? Consider Using A Blade Sharpener
If you’re new to sharpening swords or don’t feel confident doing so by hand, you can buy a blade-sharpening tool. They don’t give you as fine of an edge as hand sharpening will, but for beginners, they are an excellent way to safely keep your swords in good shape. You can usually find them in sporting goods stores, kitchen supplies outlets, or specialty websites aimed at sword collectors. AccuSharp makes easy-to-use portable sharpeners that don’t require any power.
Place the tool on a firm and secure surface. Depending on what kind you bought, it may connect to a vise, clamp onto your worktable, or not need to be secured at all. Be sure to read and understand the instructions that came with the sharpener.
Once you’re ready, run the sword through the sharpening tool. Begin at the base and pull the blade through the V-shaped notch, using even strokes for a uniformly sharp edge. As a general rule, spend around 10 minutes on each side of the blade, but sharpening time can vary by tool, so check the documentation.
When done, wipe down the blade with a moistened cloth to remove any residue and then wipe once again to dry, to ensure that rust doesn’t build up on the blade afterward.
Sword Sharpening Tips
- Be extremely careful and go slow when sharpening your swords. To reduce the risk of an accident, wear gloves and prepare to work at a time when you will face minimal distraction.
- If you own an antique sword, enlist the help of an expert when you want to sharpen it. Otherwise, you could risk damaging its value.
- If you’ve never sharpened a sword before, practice on a cheap stainless steel decorative version first.
- Don’t use power tools to sharpen swords unless you’ve got the necessary experience. Not only is it potentially dangerous, but the friction can heat up the blade too much, ruining its shape.
Contact an Abrasive Specialist
Swords are beautiful pieces of art, and maintaining a sharp blade ensures high aesthetic as well as functional value. At Red Label Abrasives, we sell superior quality sanding sheets that you can use to blend the edge seamlessly with the rest of the sword during sharpening, resulting in a perfect finish. For more information or a product recommendation from one of our abrasive specialists, please call 844-824-1956 or fill out our contact form.


Belt Packs Made For Knife Makers

2 X 72 Inch Knife Makers Sanding Belts Assortment

2 X 60 Inch Knife Makers Sanding Belts Assortment

2 X 48 Inch Knife Makers Sanding Belts Assortment

2 X 36 Inch Knife Makers Sanding Belt Assortment

2 X 42 Inch Knife Makers Sanding Belts Assortment

1 X 30 Inch Knife Makers Sanding Belts Assortment

1 x 42 Inch Knife Makers Sanding Belt Assortment
Shop By Product Category


Why Choose Red Label?

