Your Cart is Empty


How To Make A DIY Forge At Home

If you enjoy making your own knives and other metal tools, you may want to think about making your own forge. It’s not as difficult as you might think, and you’ll have unlimited opportunities to perfect your metalworking skills.
Blacksmiths have been using forges to heat and shape metal projects for thousands of years. Despite advances in technology, they have remained essentially the same in purpose and design. In this guide, the team at Red Label Abrasives shows you how to make and use a charcoal or propane forge at home, along with some tips for finding abrasives that can turn your knives into works of art.
Important Note:Put on safety equipment before you start working.This includes safety glasses, respirator, and a long-sleeved shirt to protect your skin. Then set up the forge in an outdoor workspace. Well-ventilated workspaces prevent the buildup of carbon monoxide. If you're working in a garage, open the door and install a carbon monoxide detector. Using a home-built forge is also something you do at your own risk. Red Label is not responsible for any damage or injury caused by the use of a home-built forge.
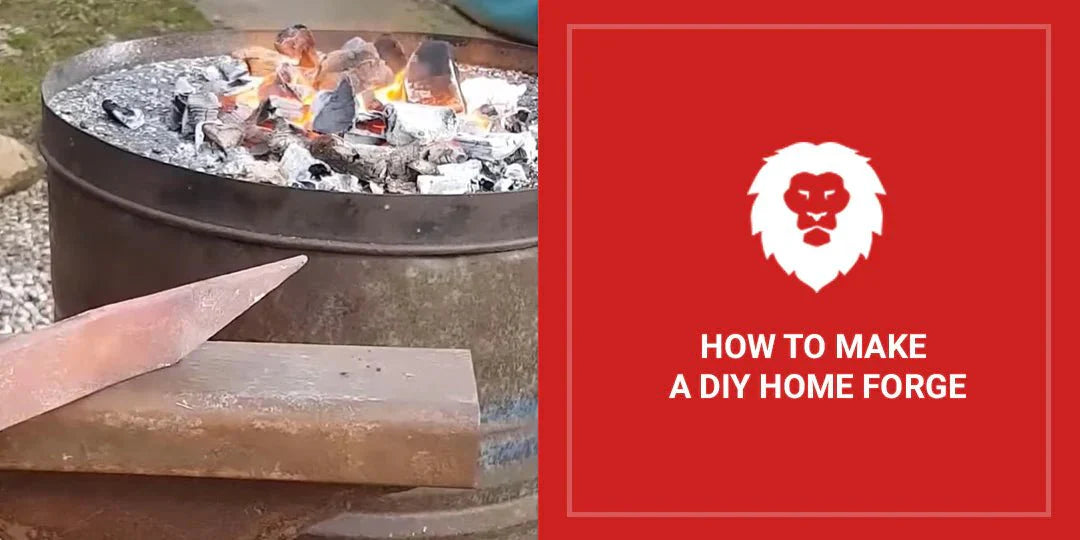
How to Make a Charcoal Forge at Home
This step-by-step guide outlines how to make a solid fuel forge, which is powered by hot charcoal. It is inexpensive to build and can reach hot temperatures enough for quality forge welding.
Supplies needed
- Container made of stainless steel
- Four 40mm M6 bolts and four bolts and washers
- Steel pipe
- Sand
- Plaster of Paris
- Power drill and 6mm drill bit
- Charcoal
- Source of air - hand crank, bellows, or air compressor
Step 1: Punch a Hole and Add Legs
In each corner of the steel tray, punch a hole using a chisel or punch. Then, drill all the way through the marked holes with your power drill and a 6mm bit. Insert an M6 bolt through each hole, and attach a washer and nut. This will raise your forge and assist with insulation.
Step 2: Drill a Hole to Connect the Air Supply
To connect your air supply to your steel pipe, drill a hole in one side of your metal basin. Insert the pipe so that it extends about 6 inches from the hole. This tuyere provides your forge with oxygen. You can push your coal along the cooler sides as it cools down in the forge, and have a reserve of heat on the side of your tuyere.
Step 3: Connect the Air Supply
Keep the oxygen flowing by attaching an air source to the pipe. All types of blowers, from air compressors to hand cranks, can be used. You may need to make an adapter if the width of the air supply differs from the tuyere.
Step 4: Insulate the Forge
Using a 50/50 mix of Plaster of Paris and sand, coat the base of your tray with a refractory coating. Mix the dry ingredients together and add water until it is the consistency of clay. You Aim for a 1cm coating around the inside of the tray. Leave it to dry for a few hours.
Step 5: Fuel the Forge
This charcoal-powered forge is easy to start up. Light it using the same method as you would for a charcoal grill and turn on the air supply. Once it’s reached the desired temperature for metal work, you’re good to go!
How to Make a Propane Forge at Home
This propane forge, which is also straightforward to put together, can be used for knife making, blacksmithing, or anything else that requires a lot of heat.
Supplies Needed
Materials:
- An air tank, freon tank, propane tank, or steel tube, at least 10" wide
- Kaowool (high-temperature mineral wool) blanket and board
- Firebricks
- Brushable refractory such as ITC-100
- Heat-resistant cement for stoves
- BBQ paint that withstands high temperatures
- Iron pipe or steel tube fitting sized for a propane burner
- 1/8" x 3/4" steel flat stock
- Sheet steel of 14 gauge or similar thickness
- 1" steel square tubing
- 3/4" coarse thread screws
- 2" x 10-32 bolts
- A mini-grinder with thin-kerf cutting discs
- Drill and files
- 10-32 tap
- A propane torch or welder
- A propane burner to power the forge
Step 1: Build the Forge Body
A portable air tank is ideal for the forge body, but you can also use something similar, like a used propane or freon tank. If it doesn’t have a built-in stand, add some feet using tubing or some large bolts. Use an object the size and shape of a compass to trace the size of the opening. Then use a mini grinder with a thin kerf cutting disc fitted to cut away both ends of the tank.
Step 2: Add the Burner Mounting Tube
In order to mount the burner, tap and weld a pipe nipple to the forge bottom.
- Place the tube on the top of the forge at an angle.
- Mark the hole and cut it out.
- Tap the pipe nipple using a 10-32 thread tap.
- Weld the nipple to the tank. If you don’t have a welder, you can use a brazier.
Step 3: Set Up the Forge Floor
Line the bottom of the forge with firebrick, which is a durable floor material and can be replaced if you do any forge welding. Cut the bricks to fit the bottom of the tank. Cut one brick into 1” wide pieces and use them as spacers to raise the floor bricks. After placing the bricks, cement them together using high heat stove cement.
Step 4: Add the Kaowool Blanket and Board
Insulate the forge using a Kaowool blanket and board. For the blanket, you want two layers of 1” thickness. The board, which will be used for the opening and back wall of the forge, should also be 1” thick.
Important Note:When working with ceramic materials, wear a good quality respirator and vacuum up any fibers after cutting. This will prevent fibers from getting into your lungs.
Measure the circumference of the forge and cut the blanket to size using a sharp utility knife. Install two layers, making sure to cut an opening for the propane burner, and place some of the blanket between the spacers at the bottom.
Use the ceramic board to create the back wall, which is the exhaust port and allows you to work with longer pieces of metal in the forge. Make the template by draping a piece of plastic over the opening and tracing it out. Then transpose the design onto a piece of cardboard and tracing it onto the ceramic board. Cut using a utility knife.
Step 5: Install the Front Opening
Install a removable front opening to keep the forge interior accessible. Tap bolt holes into a piece of 1”x1” square tubing and install 10-32 bolts. Then weld or braze the square stock to the body of the forge.
Fabricate a front ‘U’ bracket from a piece of 14-gauge sheet metal. Drill some holes for attaching the board, then bend and weld a piece of flat steel stock to the ‘U’ bracket.
Cut a piece of ceramic board so that it’s larger than the forge opening while remaining wide enough to fit incoming or outgoing tongs. Then use coarse screws to fasten it to the ‘U’ bracket assembly.
Step 6: Create Refractory Lining
It is necessary to stabilize the ceramic board and blanket so the fibers don't become airborne when the forge is operating. You can apply ITC-100 HT with a brush after mixing it to the consistency of pancake batter. Cover all exposed ceramic fiber surfaces and allow to dry.
Step 6: Install the Propane Burner
Paint the forge with high-heat paint, especially where metal is exposed. Then place the propane burner into the forge opening and secure it with bolts, making sure the nozzle is flush with the inside of the forge wall.
Step 7: Prepare the Forge for Use
Put on safety glasses and use a long BBQ lighter to light the forge. Put the flame near the burner nozzle inside. Slowly turn on the propane and the forge should ignite.
Do not operate the forge at full power until the refractory has cured. Run the forge at a lower temperature for 15-20 minutes to allow the ceramic fibers and refractory lining to cure. After that, the forge is ready for use.
Superior Sanding Belts for Knife Making
Your new forge can shape metal for your projects. However, finishing your blades requires sanding. For that step, you need a superior quality abrasive suitable for work with metal surfaces.
Red Label Abrasives manufactures sanding belts specifically for knife making. Our EdgeCore ceramic belts eat metal and will save you both time and money sanding. For more information or to place an order, please call 844-824-1956 or fill out our contact form.


Belt Packs Made For Knife Makers

2 X 72 Inch Knife Makers Sanding Belts Assortment

2 X 60 Inch Knife Makers Sanding Belts Assortment

2 X 48 Inch Knife Makers Sanding Belts Assortment

2 X 36 Inch Knife Makers Sanding Belt Assortment

2 X 42 Inch Knife Makers Sanding Belts Assortment

1 X 30 Inch Knife Makers Sanding Belts Assortment

1 x 42 Inch Knife Makers Sanding Belt Assortment
Shop By Product Category


Why Choose Red Label?

