Your Cart is Empty
Free Shipping over $150 (Excludes Oversized Products) | Office Closed 12/24-26 & 12/31-1/2
Free Shipping over $150 (Excludes Oversized Products) | Office Closed 12/24-26 & 12/31-1/2
Sanding Belts
Sanding Discs

How to Use a Belt Grinder for Knife Making
by David Kranker 7 min read

Quick Summary
Different knife makers utilize different techniques for stock removal and blade creation. However, there are a few principles with belt grinding that remain the same no matter what your blade creation process looks like. You need to keep your movements steady and controlled. You’ll want to approach the belt with your workpiece slowly, and you’ll want to use a grit progression that involves starting with a coarser grit belt and moving to finer grits for finishing.
Topics Covered
- Selecting a Belt Grinder
- The Grinding Process For Knife Making
- General Belt Grinding Tips
- Grinding The Initial Blade Shape
- How To Grind The Bevels
- Finishing Up The Blade
- Contact An Abrasive Specialist
Knife making is one of civilization’s oldest crafts, and while many aspects have changed over time, one aspect has stayed the same: you need to master the right techniques. In this blog, we’ll review belt grinders used for knife making and how to use them to deliver superior-quality blades.
Selecting a Belt Grinder
2x72 belt grinders are the most popular size among professional knife makers. The grinding machines are compact and have a wide range of available accessories, such as surface grinding attachments for a smooth finish and wheel attachments for hollow grinds, fullering, and other touches. The belt length also reduces wear and heat accumulation, extending the working life of the abrasive.
If you have a 2x72 belt grinder, Red Label Abrasives sells an assorted kit of 2x72 sanding belts. It includes grits that range from coarse to ultra-fine, so you have everything you need to produce a smooth and flawless blade.
Of course, 2x72 grinders aren’t the only option available. We have an entire post dedicated to selecting the right belt grinder to meet your needs.
If you’re just starting out, you may invest in a more affordable 1x30 belt grinder. They’re within the price range of most hobbyists and do a great job at blade sharpening, but the narrower 1” belt is not as effective on larger knives and the shorter length makes it less effective at heat mitigation compared to a 2x72 belt. This means that you may have to change your belts more frequently, but Red Label Abrasives sells 1x30 sanding belt packages that will keep you well-supplied with high-quality options for all stages of the knife making process.
Other belt grinder size options include:
- 1X42
- 2X36
- 2X42
- 2X48
- 2X60
- 4X24 (more suited to woodworking than knife making)
- 4X36 (also more suited to woodworking than knife making)
As you get more involved in knife making, either professionally or as a hobbyist, you may want to invest in more than one grinder to achieve best results when beveling or doing detail work, but in the beginning, you can use the 2x72 or 1x30 to develop your proficiency.
The Grinding Process for Knife Making
Every knife maker is going to have a unique approach to the grinding process. So, you may find different approaches detailed in various videos or online forums. We’ll be outlining one possible process along with some general principles and best practices.
The process may start with a clean piece of stock sheet metal, or a rough forged blade shape. Many knife makers like to forge their blades, because you get to breathe fresh air and you create less dust. The alternative is stock removal. If you go the route of stock removal, you’ll create your blade design by tracing your knife silhouette onto a piece of sheet metal using a sharpie. More technical knife makers will often use CAD to create a design and print it out to trace the shape.
Once you have your design ready to go, you can start grinding. Some knife makers like to start with an angle grinder for the initial profiling before moving to a belt grinder, but you can use a belt grinder for the whole grinding process. If you decide to start with an angle grinder, you’ll want to clamp your stock metal to your work table using strong clamps or a pair of locking pliers, and use the angle grinder with the cut-off wheel to create a rough shape.
General Belt Grinding Tips
Before you start grinding with a belt grinder, there are a few important principles and techniques you should be aware of. The most important things to remember can be found below.
- To prevent chattering, you’ll want to make sure your grinder is securely fastened to your workbench. You’ll also want to make sure you apply steady pressure to your workpiece when grinding.
- Support the blade firmly with a two handed grip to keep the piece stable. If your piece is smaller, you can use your thumb with one hand to press from the back of the piece.
- Keep your elbows tight to your body to do more of the work with your body instead of your appendages. This will help to ensure more controlled movement.
- To grind both sides of the knife, you’ll need to switch the hand that’s doing the guiding as you switch sides on the knife. This means you’ll need to develop skills in both hands. For beginners, it’s easier to start with your weakest hand doing the guiding first, because it’ll be easier to match the other side with your dominant hand.
- Keep a bucket of water by your belt grinder. You’ll use this water to cool your piece to reduce heat build up. Excessive heat build up can ruin the temper of your metal after heat treatment. Whenever you feel your knife starting to get hot, you can dip the metal into water. Using ceramic belts is also highly recommended for knife making, because ceramic belts mitigate heat really well.
Grinding The Initial Shape With A Belt Grinder
If you decide to use your belt grinder instead of an angle grinder to shape the outline of the blade, you’ll want to ensure you have some form of flat surface to set the metal on while grinding. Most belt grinders either have a built in work rest or a work rest attachment you can use to rest the blade on. Keeping the metal pressed firmly down to the work rest, you’ll rotate the piece while sanding along the belt to create the initial curves and remove the unwanted stock material. Once the outline of the blade is shaped, you’ll be grinding the bevel of the blade. For both the initial shaping and beveling, you’ll want to use a coarse grit belt (somewhere between P36 and P150).
How To Grind The Bevels
Beveling is by far the hardest part of crafting a blade. Creating perfect bevels is a skill that will require many hours of practice to master. Bevel grinding entails applying pressure to your workpiece at an angle to create an angled blade edge. To ensure your grind lines are crisp and clean when you bevel, it helps to draw your lines out onto your workpiece before you start beveling. This will give you an outline to work from.
One of the many tricks to beveling is to ensure you’re grinding smoothly from one side of the blade to the other. If you hesitate or try to correct a grind as you’re moving from side to side, you’ll likely dig into the material and create a wobble in the grind line. It’s better to commit and keep your movement steady as you grind from one side to the other. Smooth movements equate to a smooth blade.
The next thing you’ll want to do when beveling is ensure you’re grinding from the edge towards the spine of the blade and not the other way around. It’s best to slowly move the workpiece towards the belt and allow the edge of the metal to lightly kiss the belt before applying your angle and pressure. If you press too hard initially, you could cut into the cutting edge too far. Again, slow and steady is the key.
The plunge line for your bevel can either be crisp and sharp or more soft and rounded in appearance. You can modify your plunge line by adjusting your belt tracking. If your belt edge matches up with the edge of the platen, you’ll create a crisp plunge line as you bevel. However, if you adjust the tracking so your belt hangs off the edge of the platen, there will be a smooth transition between where the belt is cutting hard and where it’s not cutting at all, which you can use to create a soft rounded plunge line.
Finishing Up The Blade
Once you’ve got your initial bevel completed, you can switch your belt to a finer grit (anywhere from P180 to P220) to create a secondary bevel and sharpen the edge of your blade. A finer grit belt will give you more precision to ensure a smooth bevel.
Many knife makers don’t like to use belts for grits higher than P220. For the final finishing, many knife makers revert to hand sanding, because it can be easier to make a mistake with using higher grit belts. Hand sanding is a grueling process, so if you decide to go that route, you may want to use a surface conditioning belt first. A surface conditioning belt will do some of the finishing work, so you can spend less time hand sanding.
Some knife makers may use ultra fine belts (P1000 to P5000) for a final finish. Ultra fine grits are ideal for show pieces that won’t be used. Blades that will get used will show immediate wear if finished with an ultra fine grit.
The exact process will vary in parts, depending on the result you are trying to achieve (for example, a V bevel or chisel bevel), but these steps will give you the blueprint for producing high-quality handcrafted knives with precision and ease.
Contact an Abrasive Specialist
Few pursuits are more satisfying than creating your own knives. At Red Label Abrasives, we sell knife maker sanding belt kits in a variety of belt sizes and grits. From preliminary grinding to final polishing, our kits have the range of abrasives you need to produce exceptional results. We take great pride in crafting premium-quality belts at affordable prices and we’ve been doing so for over 35 years. For more information about our products or to place a custom order, please call us anytime at 844-824-1956, or fill out a contact form.
ABOUT THE AUTHOR
David Kranker is a writer and creative maker who has been covering the abrasive and knife-making industries on the Red Label Abrasives Blog since 2020. David spends his time continually researching sanding and bladesmithing to provide readers with the latest and greatest information. In his free time, David utilizes abrasives for many different home and auto projects at his home in Delton, MI.
Belt Packs Made For Knife Makers
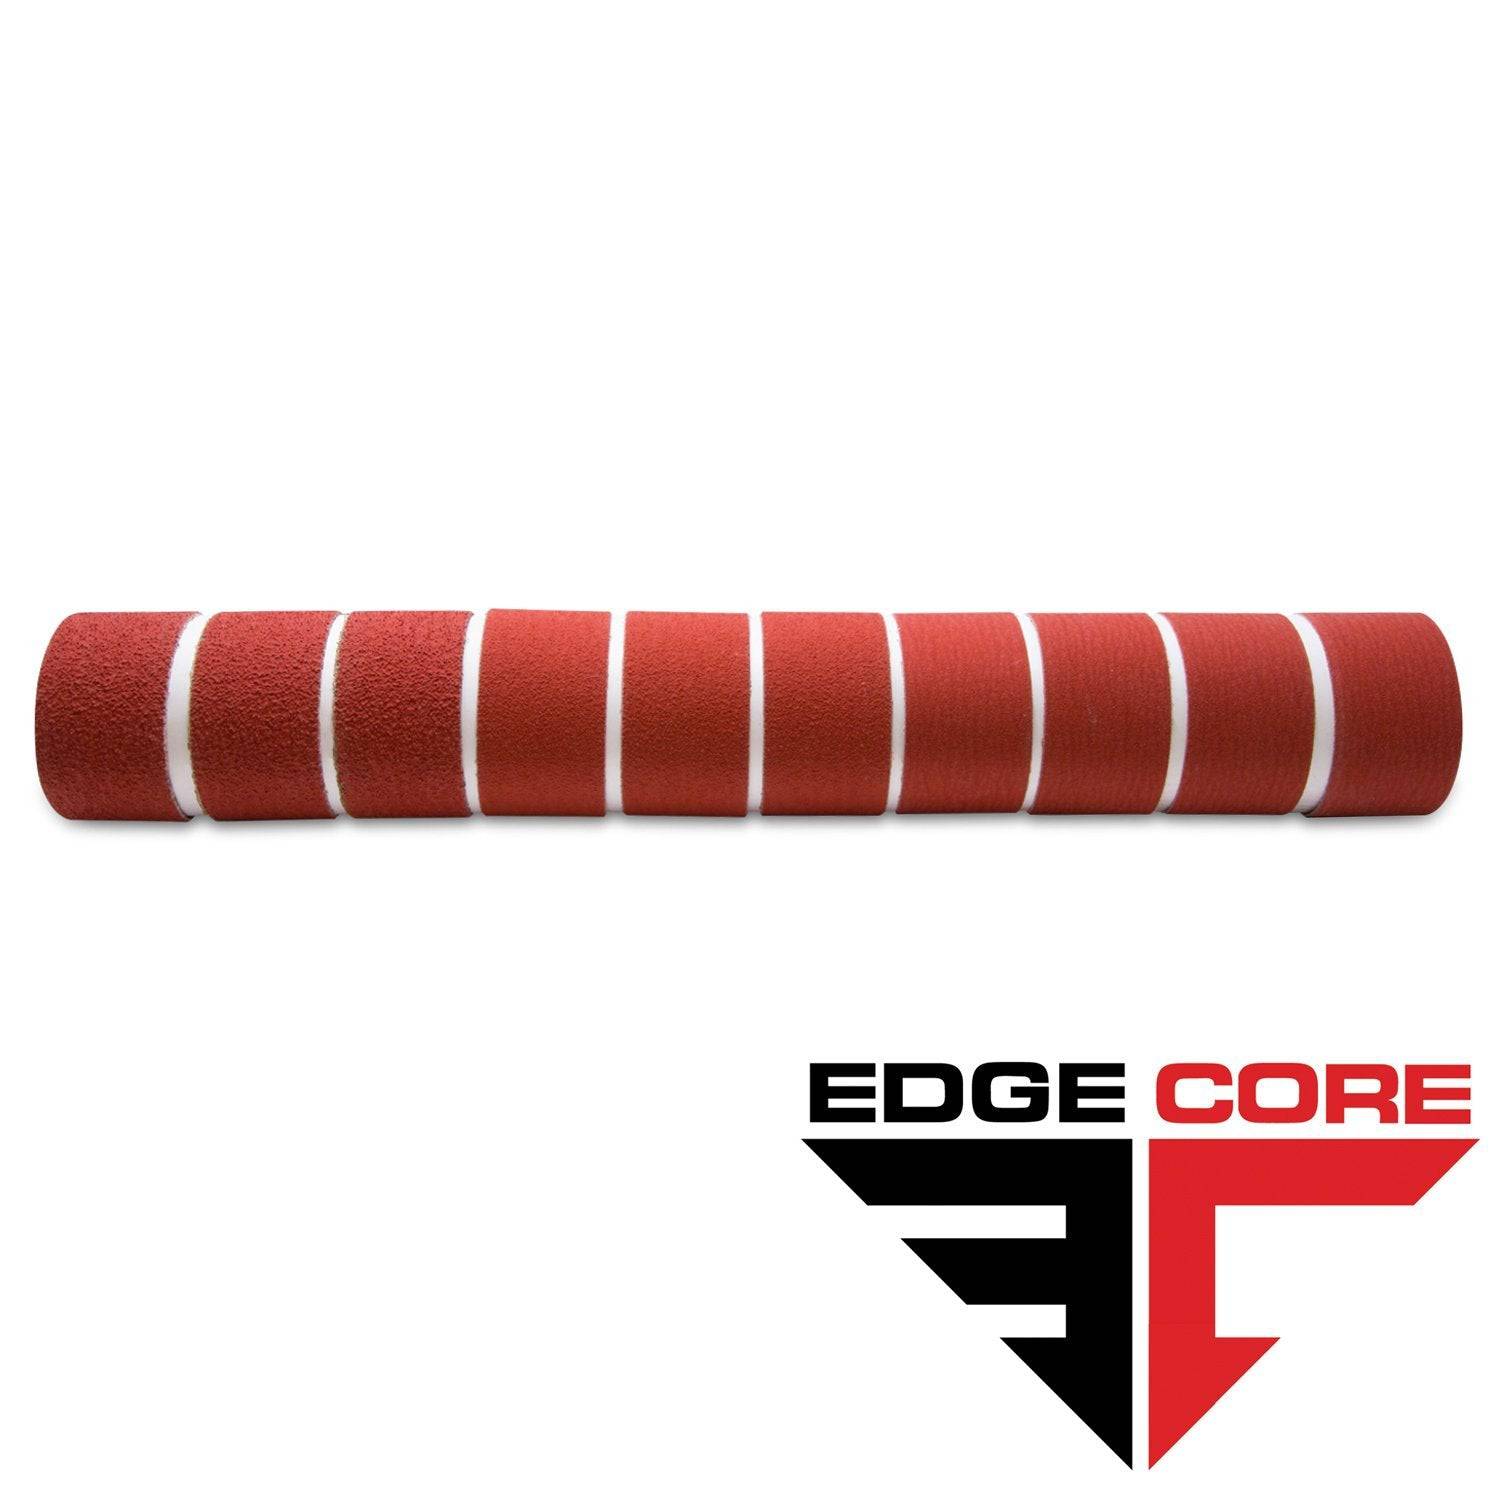
2 X 72 Inch Knife Makers Sanding Belts Assortment
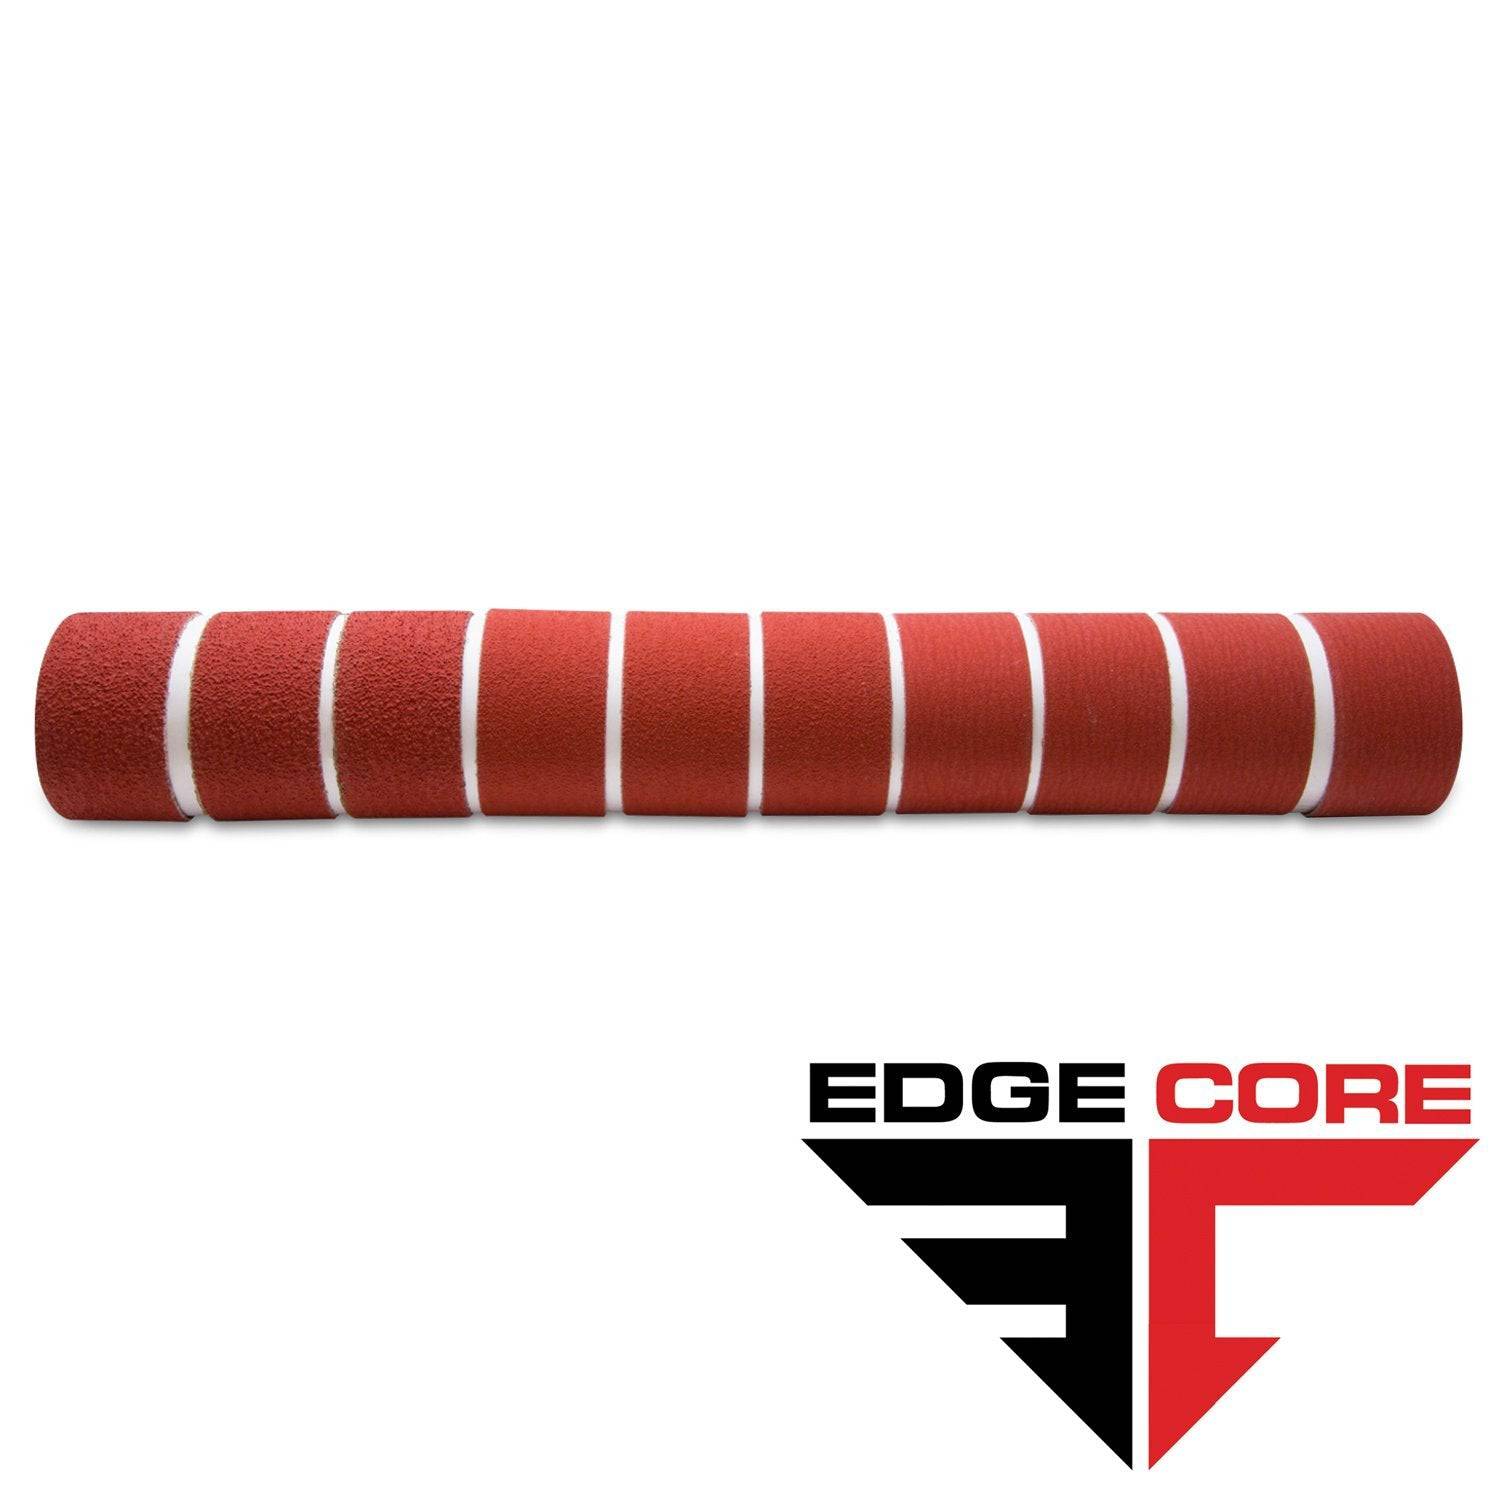
2 X 60 Inch Knife Makers Sanding Belts Assortment
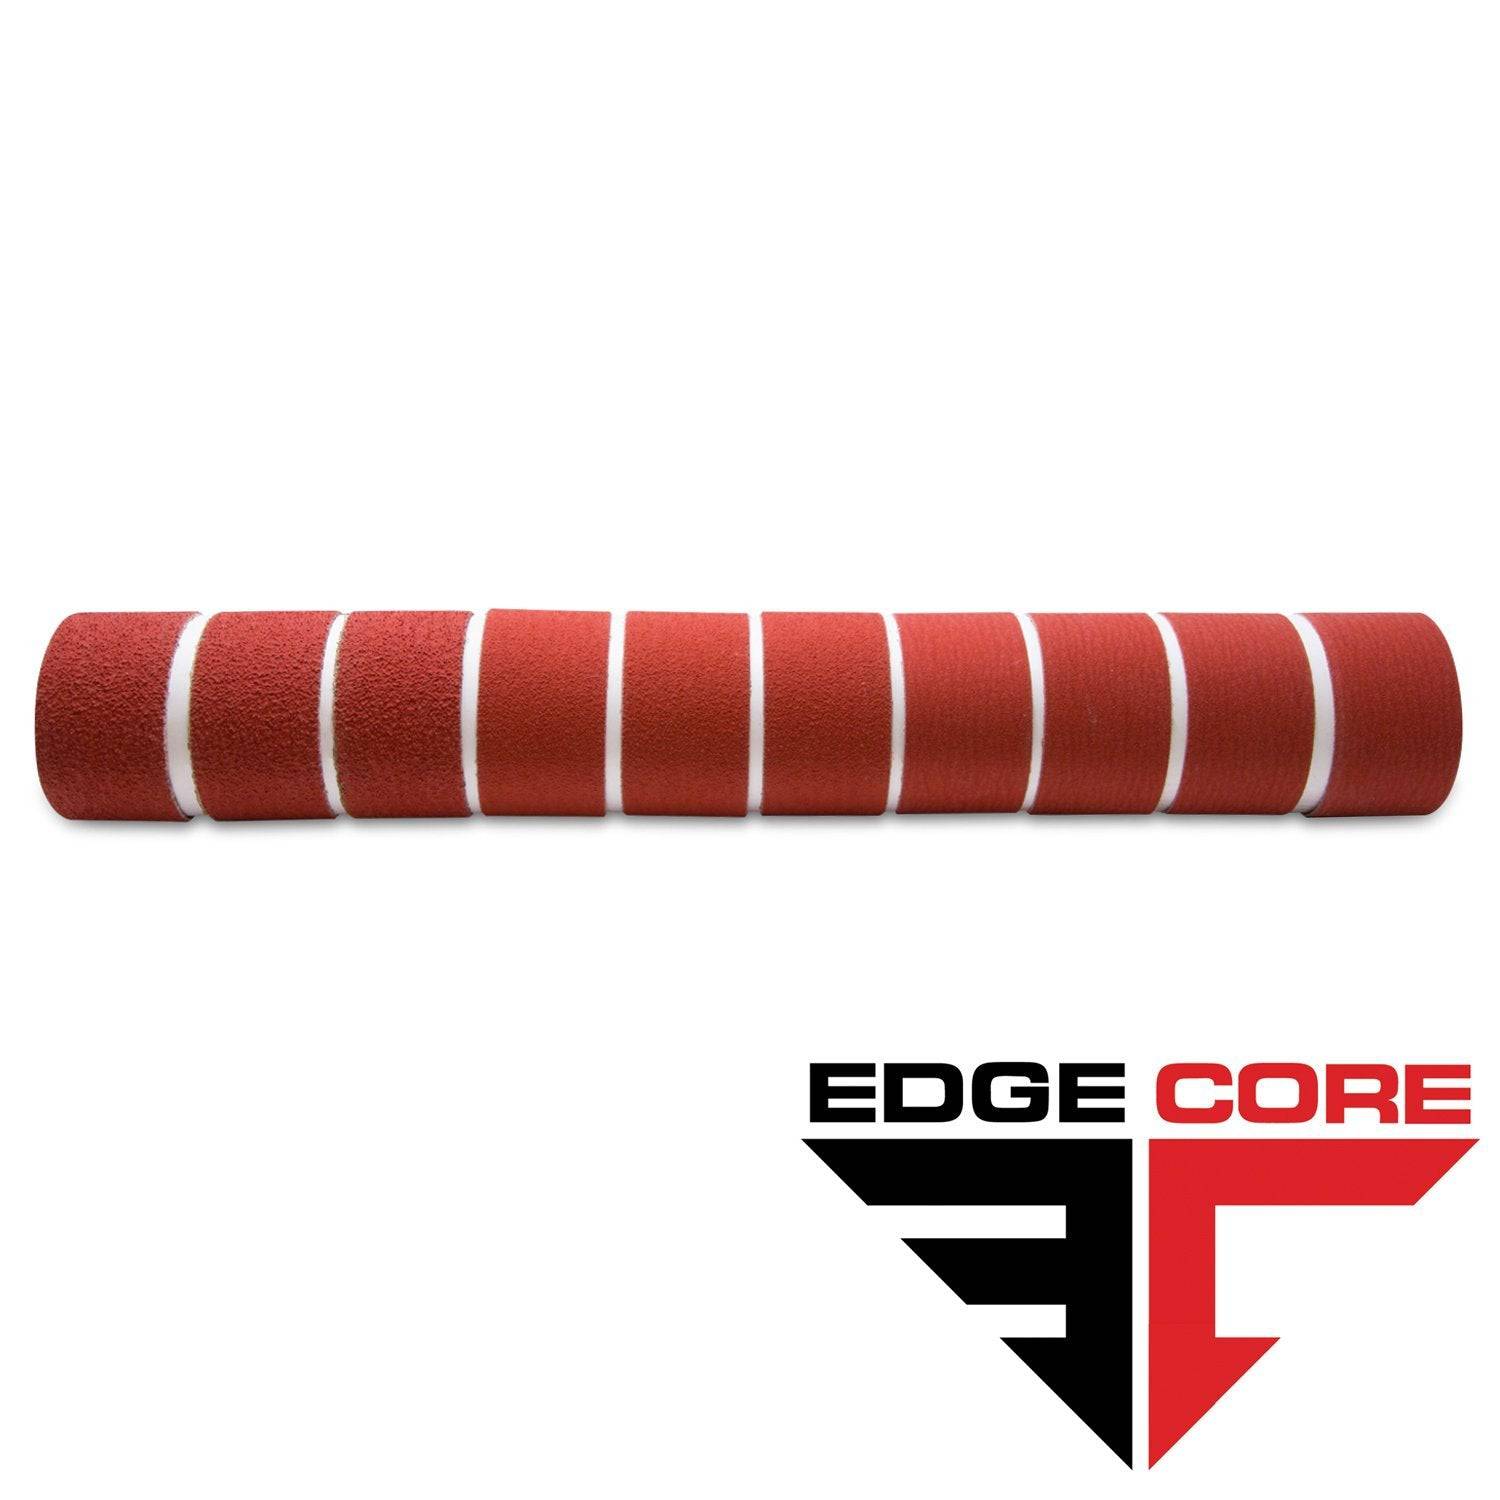
2 X 48 Inch Knife Makers Sanding Belts Assortment
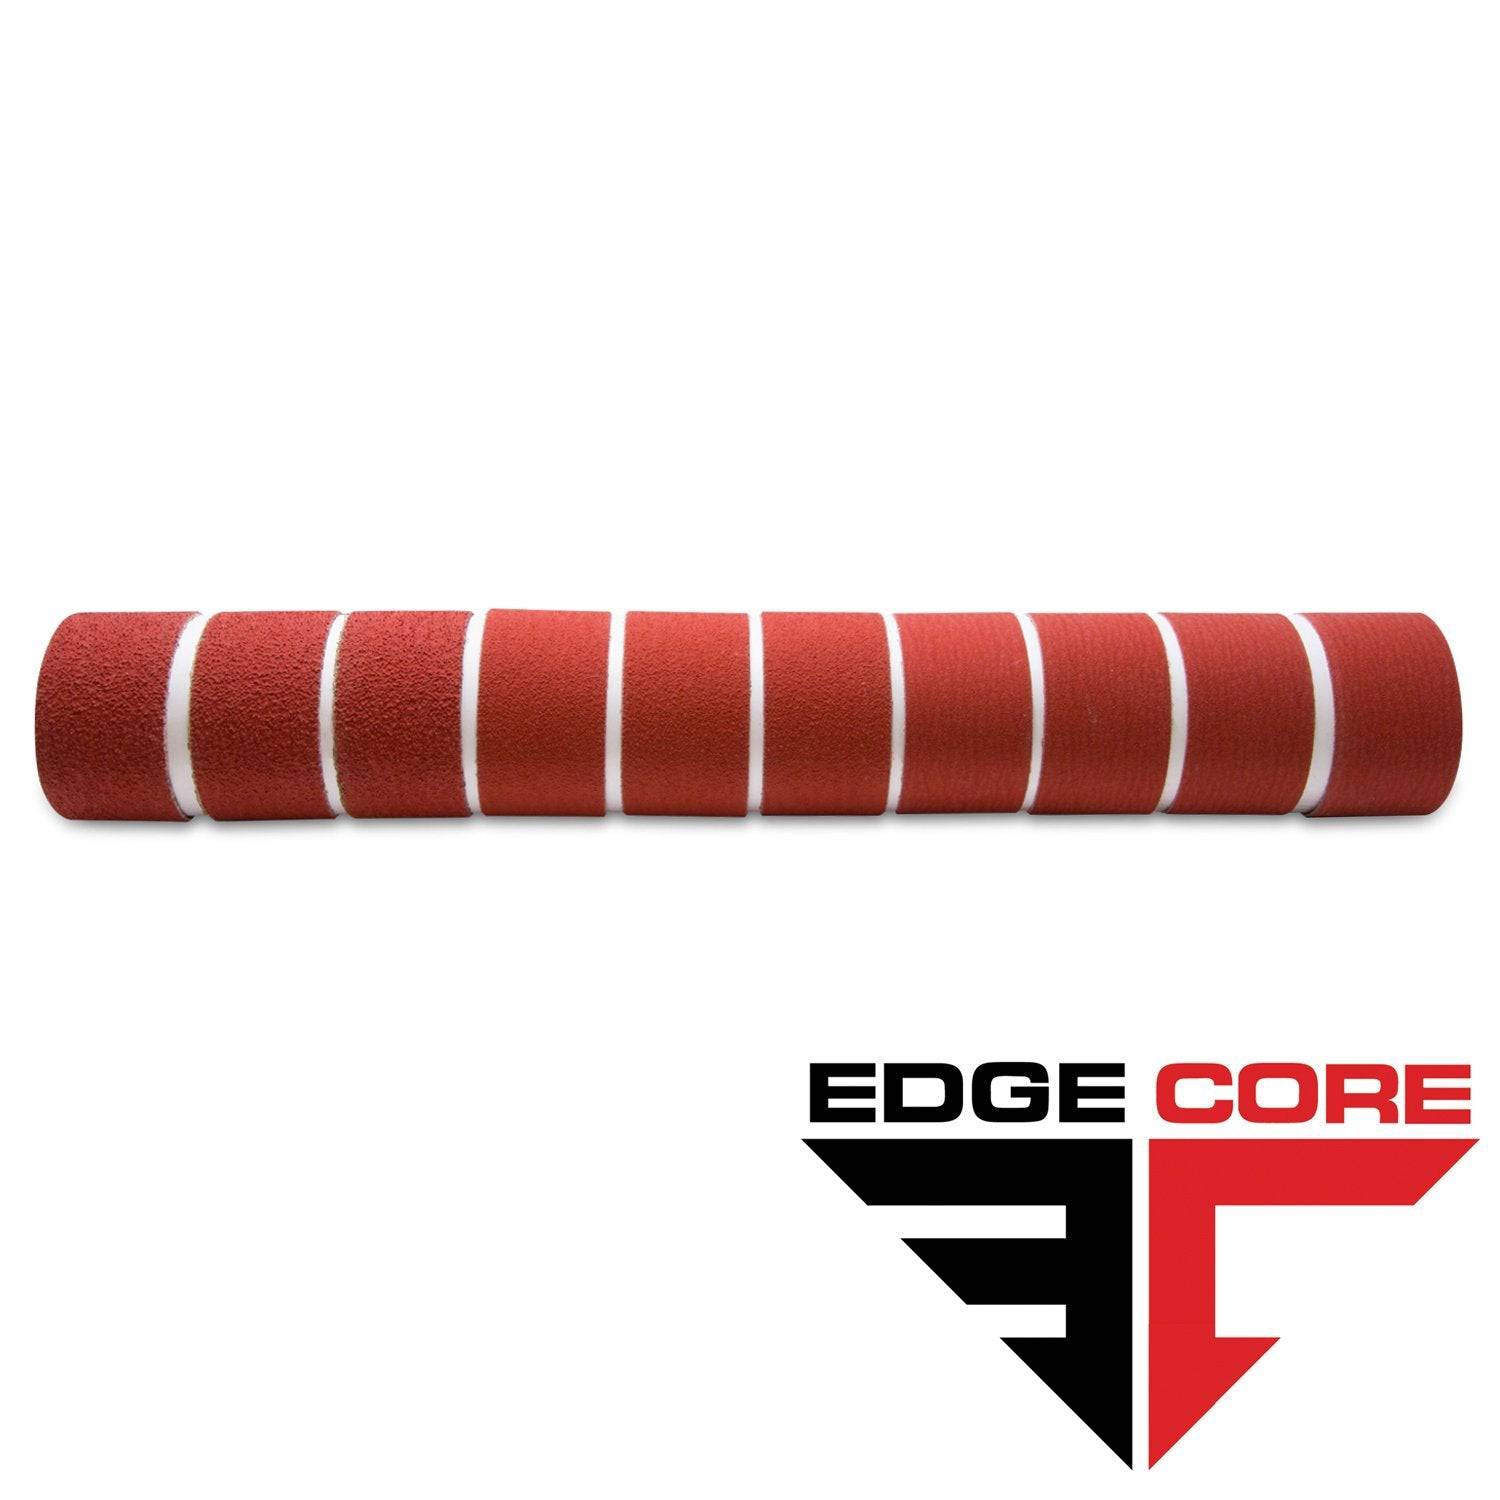
2 X 36 Inch Knife Makers Sanding Belt Assortment
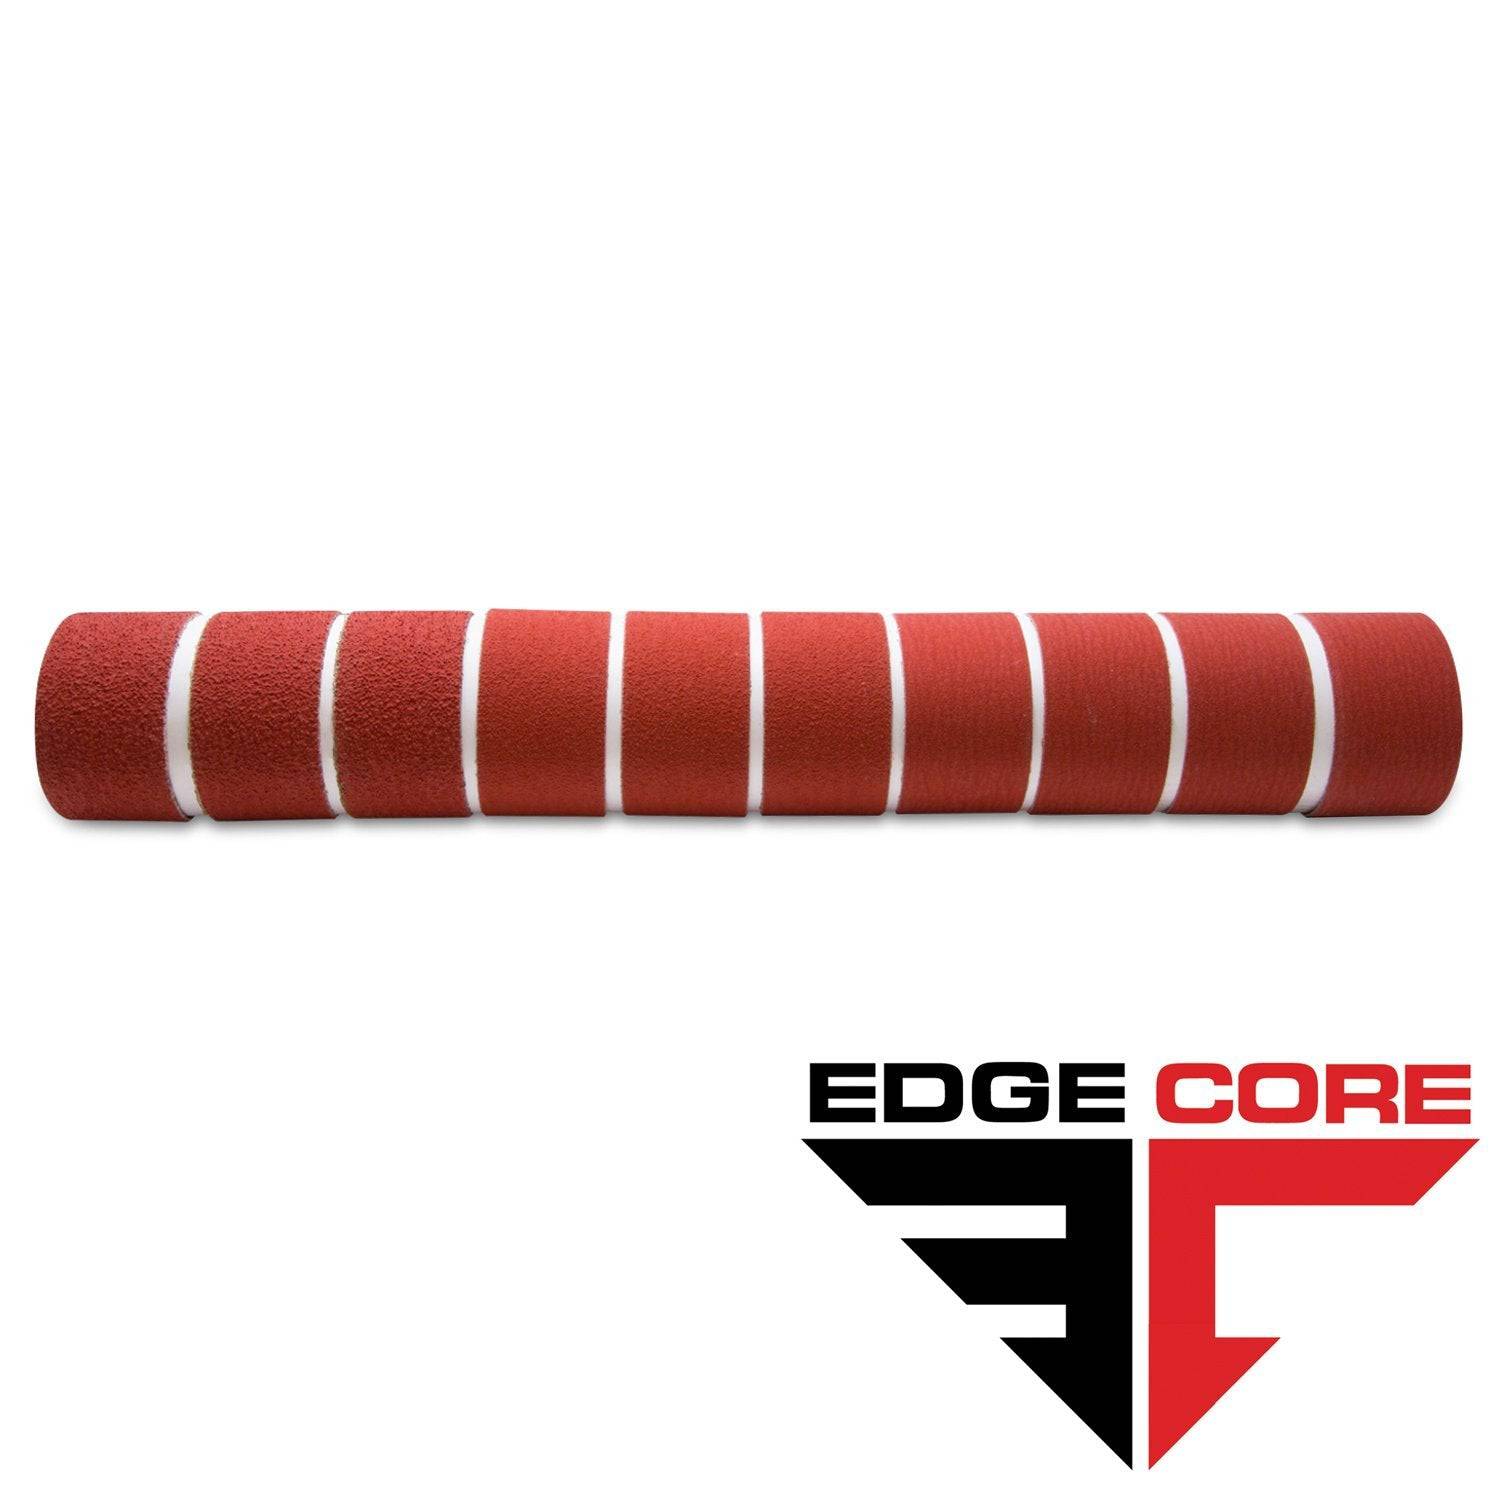
2 X 42 Inch Knife Makers Sanding Belts Assortment
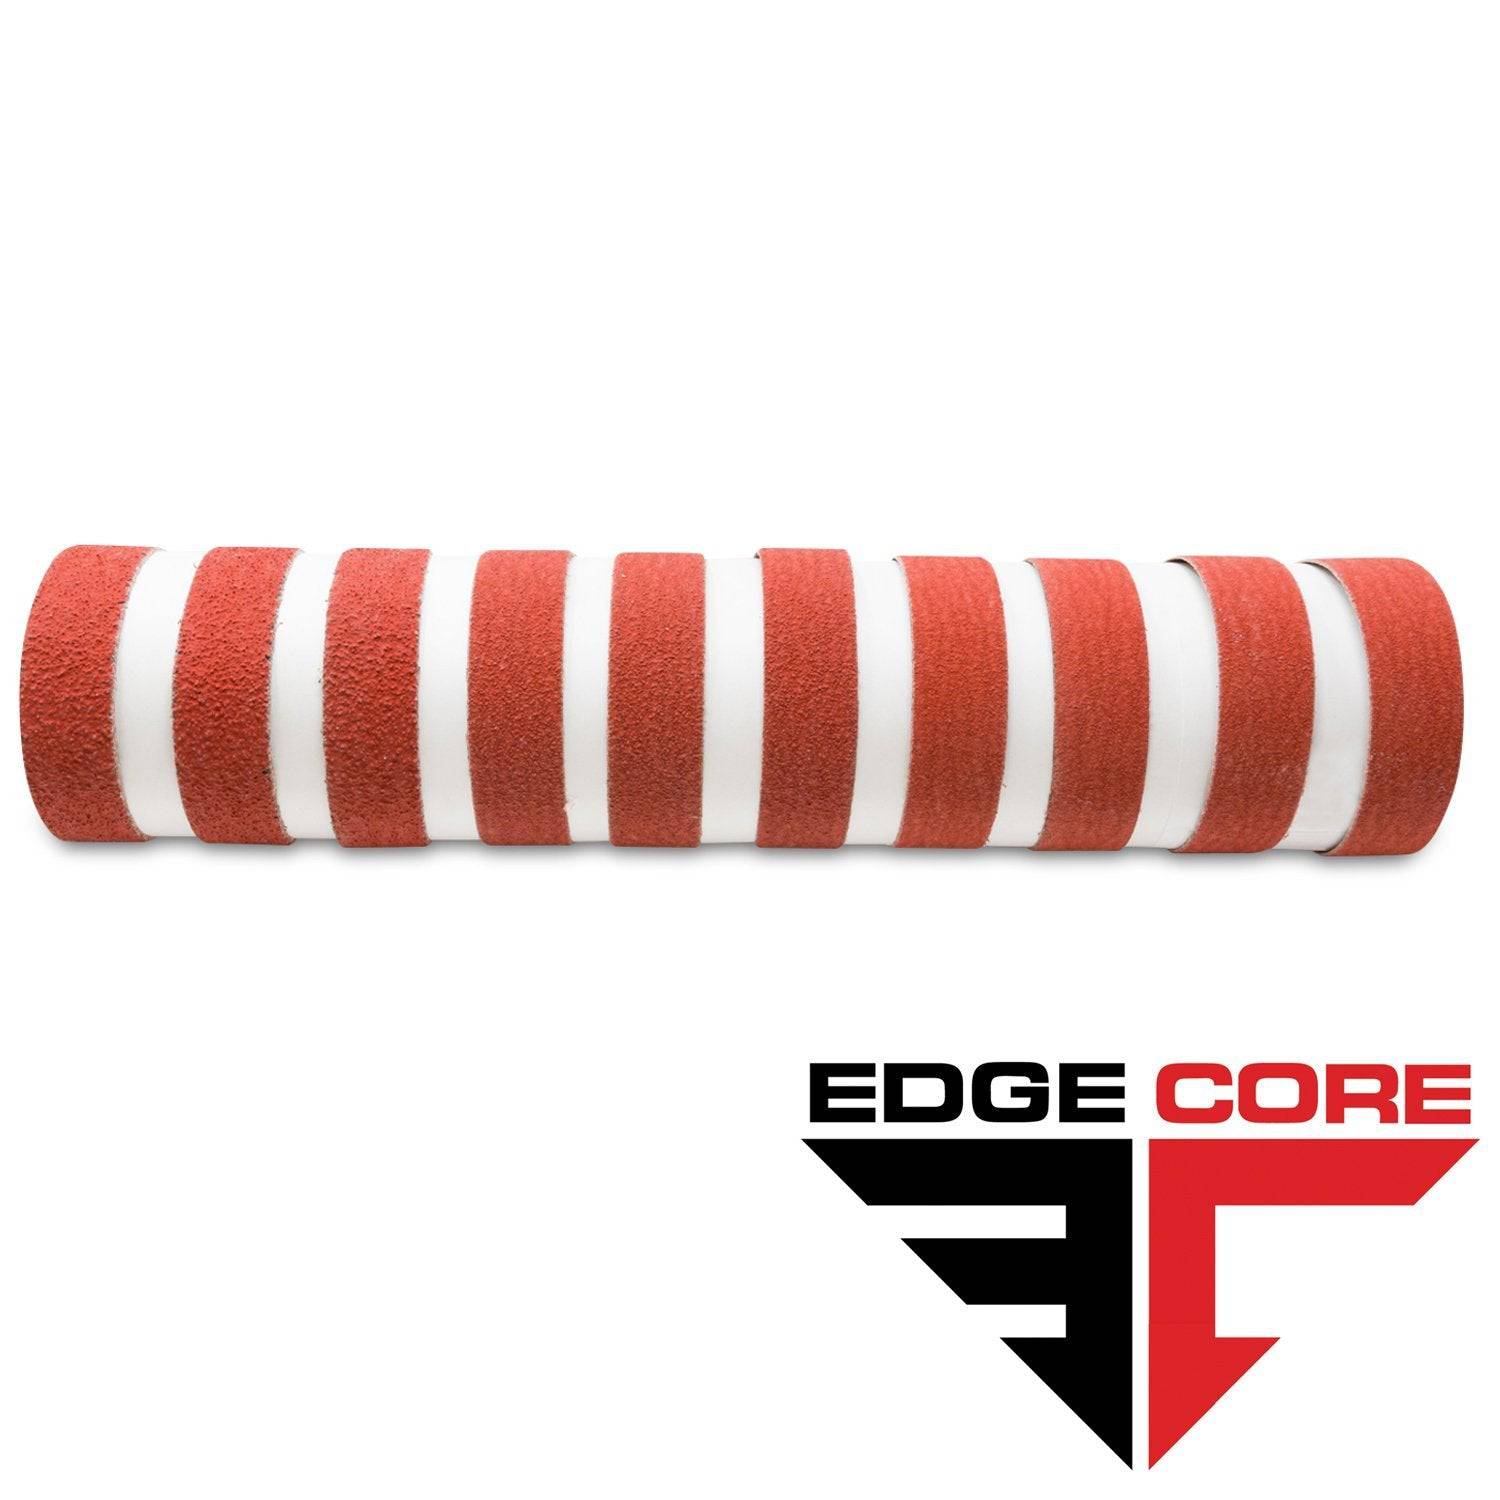
1 X 30 Inch Knife Makers Sanding Belts Assortment
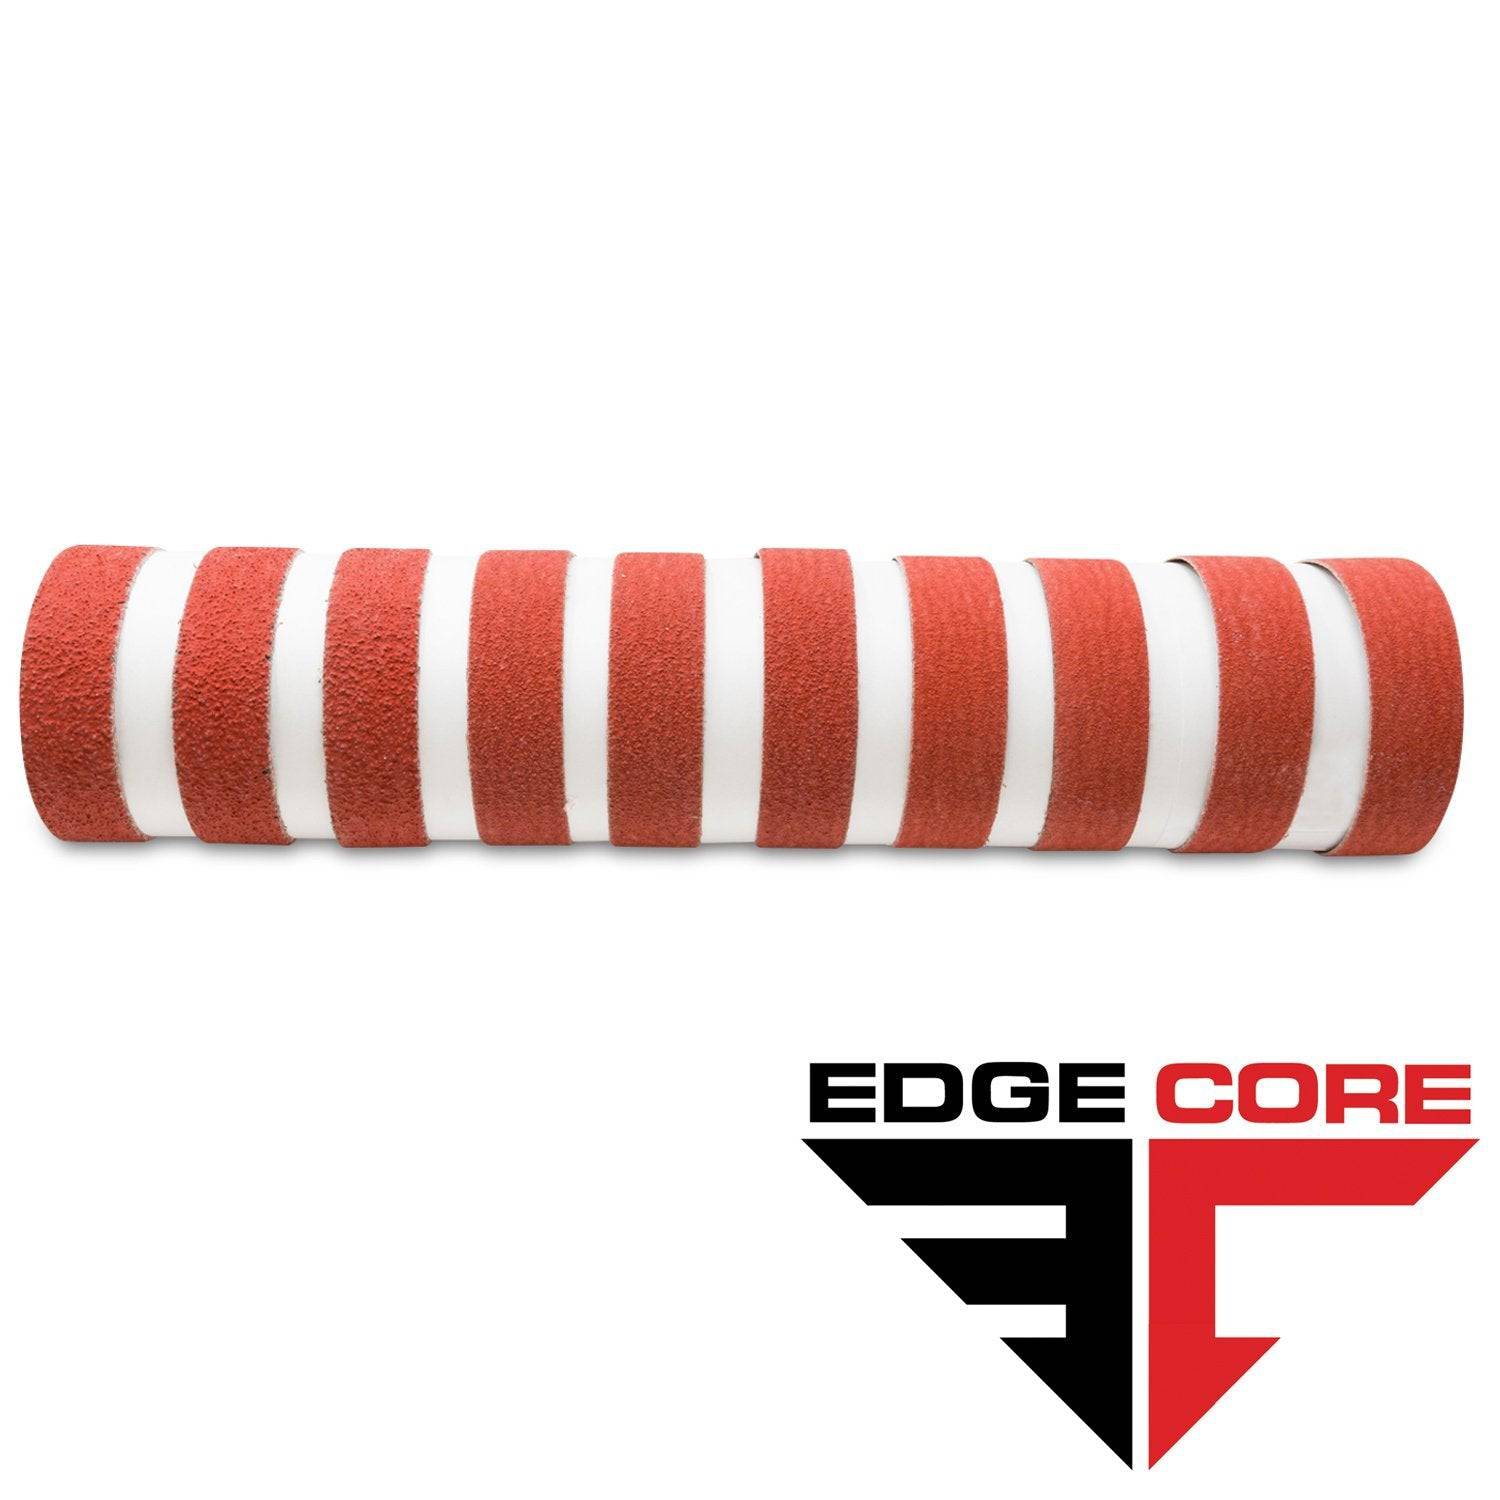
1 x 42 Inch Knife Makers Sanding Belt Assortment
Shop By Product Category


Why Choose Red Label?


